Finding the perfect No Bake Granola Bars recipe is often a journey of trial and error. Most homemade versions suffer from two fatal flaws: they are either too crumbly to hold their shape or so sticky they require a spoon to eat.
This professional-grade formula solves both issues through the science of compression and specific ingredient ratios. By utilizing the natural viscosity of amber honey and the structural integrity of whole rolled oats, we achieve a bar that is dense, moist, and remarkably cohesive.
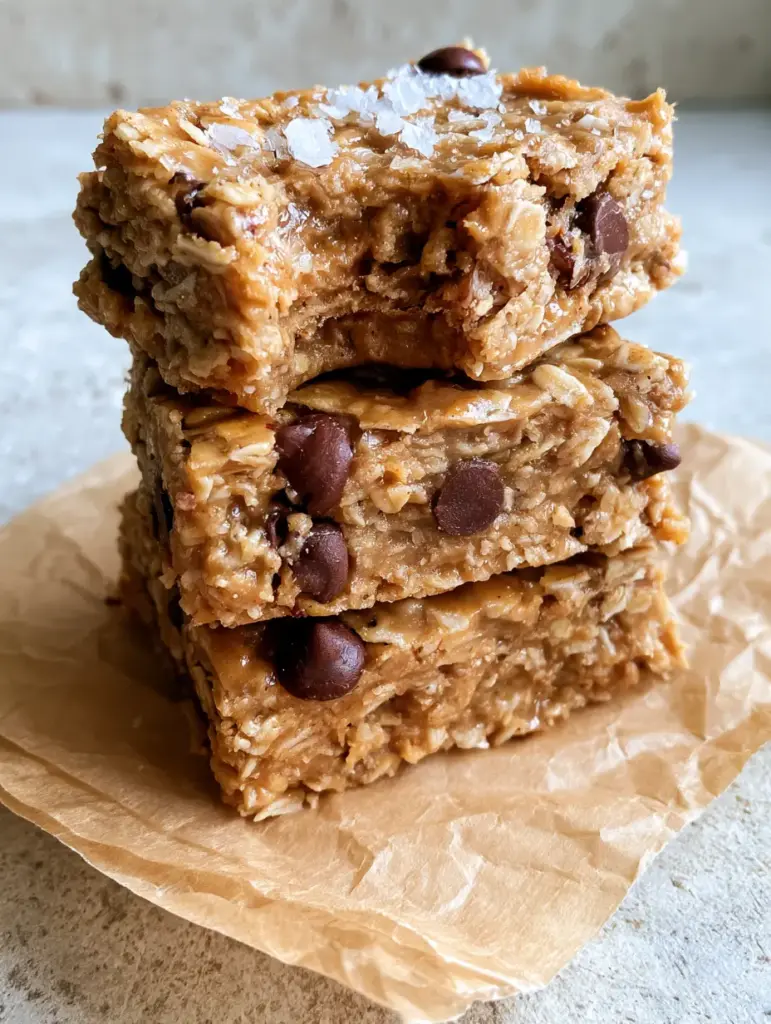
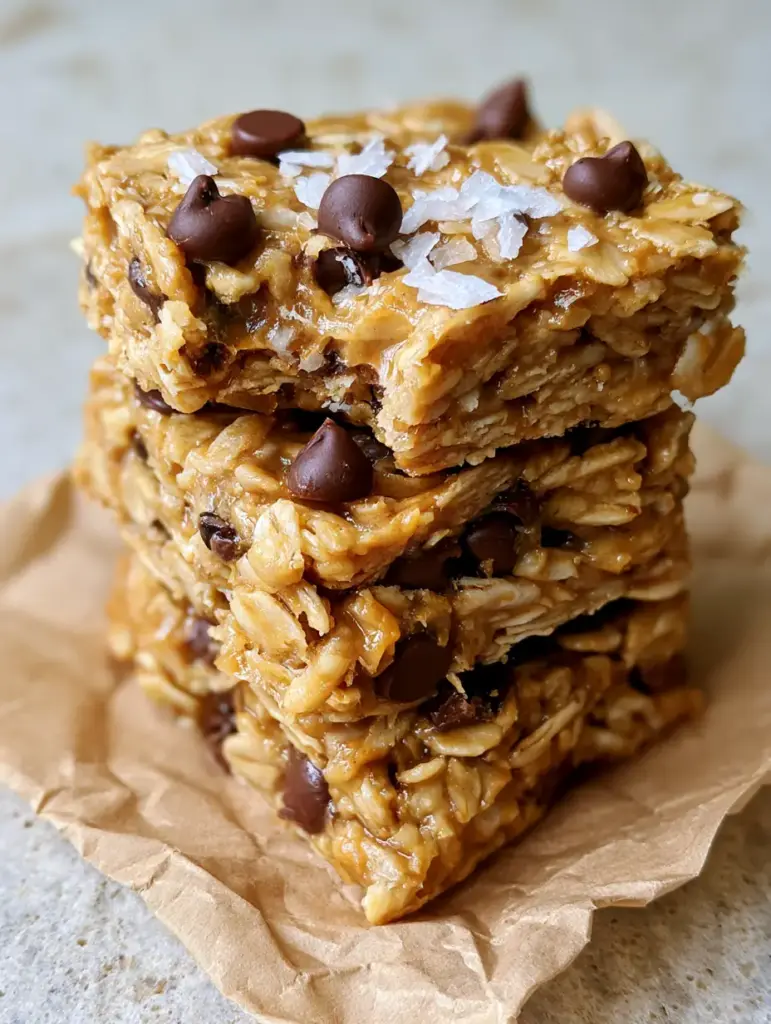
When you take a bite of these bars, you will notice a clean break with absolutely no loose crumbs falling away. The texture is thick and chewy, held together by a rich, slightly glossy peanut butter binder that glistens under natural light.
Why These Chewy No-Bake Snacks Are a Game Changer
- Structural Integrity: These bars are engineered to stay solid at room temperature, making them the perfect grab-and-go fuel for busy mornings.
- Glossy Visual Appeal: The combination of honey and creamy peanut butter creates a beautiful, reflective sheen that makes these look as good as they taste.
- Zero Crumble Technology: Through a specific chilling and pressing technique, we ensure a perfectly dense interior that holds mini dark chocolate chips in every single bite.
- Customizable Foundation: While we use a base of semi-sweet chocolate and sea salt, this blueprint allows for endless variations once you master the binder ratio.
The Science of the Perfect No-Crumble Binder
The secret to a successful no-bake bar lies in the “invisible ingredients” and the temperature of your binder. To achieve that thick, chewy texture seen in professional photography, we don’t just stir the ingredients together; we emulsify them.
Peanut butter provides the protein and healthy fats that give the bar its body. However, the amber honey acts as the “glue.” When combined, they form a matrix that traps the large, textured whole rolled oats, preventing them from separating when sliced.
If you enjoy the flavor profile of nut-based binders, you might also find our flourless peanut butter banana muffins to be a perfect addition to your weekly meal prep rotation.
Essential Ingredients for High-Protein Energy Bars
Whole Rolled Oats: Use 3 cups (240g) of old-fashioned rolled oats. Avoid instant oats, as they lack the surface area and texture needed to create a “thick” bar that stands up in a neat stack.
Creamy Peanut Butter: You will need 1 cup (250g) of smooth, creamy peanut butter. This provides the glossy finish and the foundational richness that carries the other flavors.
Amber Honey: 1/2 cup (170g) of high-quality honey is essential. The sugar content in the honey is what creates the “chilled and compressed” state that allows for a clean bite.
Mini Semi-Sweet Chocolate Chips: Use 1/2 cup (90g) of mini chips rather than full-sized ones. Mini chips distribute more evenly, ensuring every square inch of the bar has a hit of chocolate without compromising the structural bond of the oats.
Flaky Sea Salt: A generous sprinkle of large salt crystals on the top surface. This provides a necessary contrast to the amber honey and enhances the deep cocoa notes of the chocolate.
Vanilla Extract (Optional but Recommended): 1 tsp (5ml) of pure vanilla extract. This “invisible” ingredient rounds out the sweetness of the honey and makes the peanut butter flavor pop.
Tools for Professional Compression and Shaping
To achieve the “neat stack” aesthetic described in our visual blueprint, your equipment is just as important as your ingredients. You cannot simply pat these into a pan with your hands and expect a professional result.
An 8×8 inch (20x20cm) square baking pan is the gold standard for this recipe. Using a smaller pan will result in bars that are too thick to bite, while a larger pan will make them thin and prone to breaking.
You will also need high-quality wrinkled brown parchment paper. Not only does this prevent sticking, but it also allows you to lift the entire slab out of the pan for clean, straight-edged cuts.
Mastering the Art of the No-Bake Method
Step 1: Preparing the Emulsified Binder
In a medium saucepan over low heat, combine your creamy peanut butter and amber honey. Stir constantly until the mixture is completely smooth and starts to show a slight glossy sheen.
Do not let the mixture boil. You are looking for a warm, pourable consistency where the oils from the peanut butter have fully integrated with the honey. Remove from heat and stir in the vanilla extract and a pinch of fine salt.
Step 2: Incorporating the Textured Oats
Place your 3 cups (240g) of whole rolled oats into a large mixing bowl. Pour the warm peanut butter mixture over the oats and fold gently with a silicone spatula.
Ensure every single oat is coated in the binder. The oats should look wet and heavy. If you see dry patches, keep folding; dry oats are the primary cause of crumbly bars.
Step 3: Folding and Chilling the Chocolate
Allow the oat mixture to cool for about 5 minutes before adding the mini chocolate chips. If the mixture is too hot, the chips will melt and turn the bars brown, losing the “meticulously placed” look of embedded chips.
Once the mixture is warm but not hot, fold in the chips. Then, transfer the mixture to your parchment-lined pan. Press down with extreme force using the bottom of a heavy measuring cup to achieve that “compressed state.”
Troubleshooting Common Granola Bar Mistakes
If your bars are falling apart, you likely didn’t press them hard enough. The goal is to remove all air pockets between the oats. A well-compressed bar will have a perfectly dense, moist interior when sliced.
Another common issue is the temperature of the honey. If you use cold honey, it won’t blend correctly with the peanut butter. Always warm the binder to ensure a cohesive, glossy finish.
For those looking for more snack-time inspiration, our blueberry lemon pie bars offer a fruit-forward alternative that uses similar pressing techniques for the crust.
Maximizing Freshness and Longevity
Storage is critical for maintaining the “chilled and compressed” state. These No Bake Granola Bars should be kept in an airtight container in the refrigerator for up to two weeks.
If you prefer a softer, more “chewy” texture, you can let a bar sit at room temperature for 10 minutes before eating. However, for that clean bite and no-crumb experience, eating them straight from the fridge is best.
You can also freeze these bars for up to three months. Wrap them individually in parchment paper and place them in a freezer-safe bag. They make an excellent addition to a meal plan that might include easy chicken dinner ideas for a streamlined weekly routine.
Creative Flavor Variations and Pairings
While the peanut butter and honey combination is a classic, you can experiment with almond butter or sunflower seed butter for different dietary needs. Just ensure the viscosity remains the same.
These bars pair exceptionally well with a hot cup of coffee or as a post-workout snack. If you are serving them as part of a larger brunch, they complement our Nutella banana swirl muffins beautifully.
For a savory contrast later in the day, consider a light meal like a chickpea spinach salad to balance out the richness of the peanut butter and chocolate.
Frequently Asked Questions
This recipe is naturally gluten-free provided you use certified gluten-free whole rolled oats, as oats are often processed in facilities that handle wheat.
Yes, but keep the total volume of ‘add-ins’ to 1/2 cup to maintain the binder-to-oat ratio. If you add too many dry ingredients, the bars will become crumbly.
While maple syrup works for flavor, it is thinner than amber honey. You may need to boil the syrup slightly to thicken it, or the bars will be much softer and less structural.
The secret is chilling. You must refrigerate the bars for at least 2 hours until they are in a fully compressed state. Use a very sharp chef’s knife and wipe it clean between each cut.
The most common reason is lack of compression. You must press the mixture into the pan with significant force to remove air pockets. Additionally, ensure your honey-peanut butter binder was properly warmed and emulsified.
The Official Recipe for No Bake Granola Bars
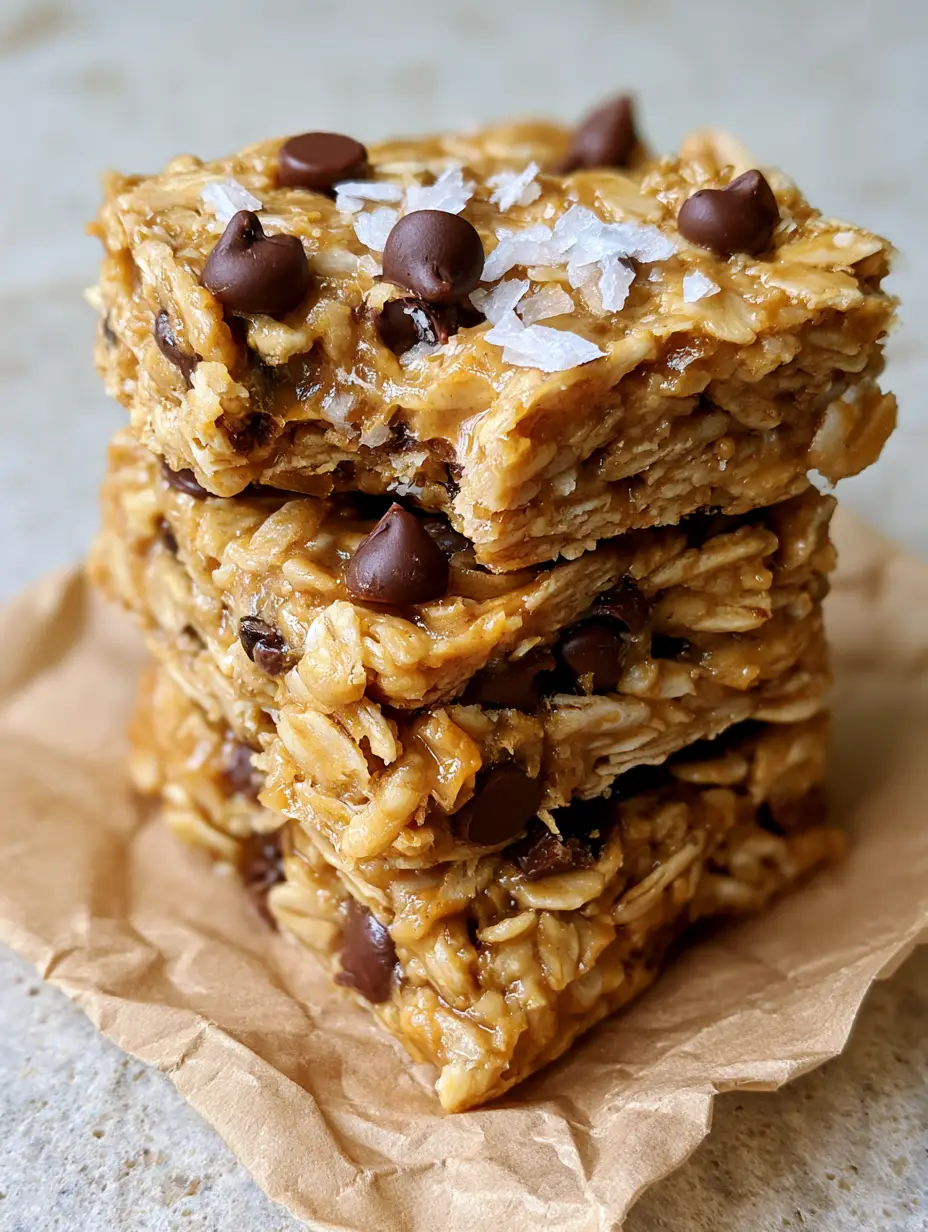
No Bake Granola Bars: The Ultimate Chewy, 5-Ingredient Meal Prep Snack
Ingredients
Equipment
Method
- In a medium saucepan over low heat, whisk the creamy peanut butter and amber honey until smooth, glossy, and fully combined. Remove from heat immediately.
- Pour the warm binder over the rolled oats in a large bowl. Fold thoroughly until every oat is glistening and coated. Let cool for 5 minutes.
- Fold in the mini chocolate chips. Transfer to a parchment-lined 8x8 pan. Press the mixture down with significant force using a flat-bottomed tool to ensure a dense, compressed state.
- Top with flaky sea salt. Refrigerate for at least 2 hours. Once chilled, lift from the pan and slice into 12 bars with a sharp knife for a clean, crumb-free finish.
Notes
Compression is key: the harder you press the mixture into the pan, the better the bars will hold their shape without crumbling.
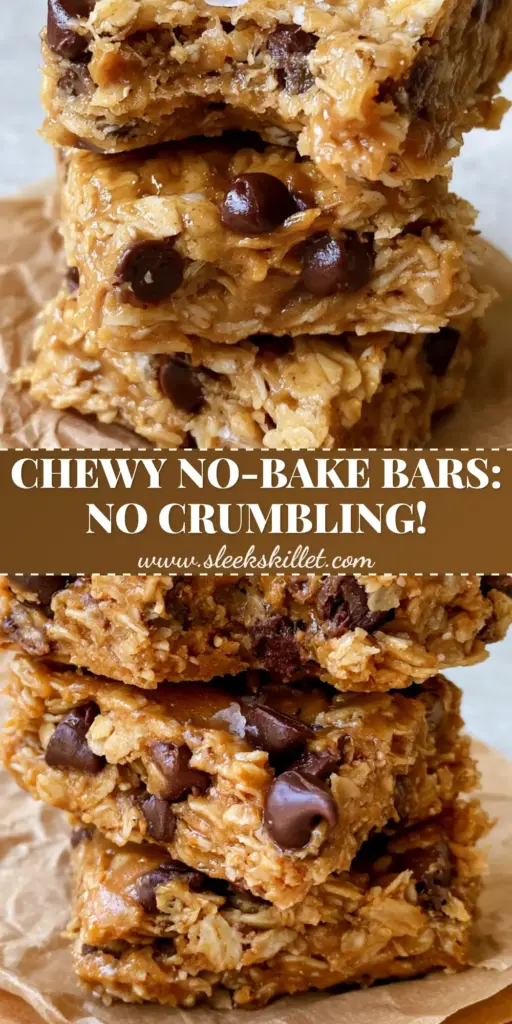
Closing & Call to Action
Mastering these No Bake Granola Bars is a fundamental skill for any home cook looking to improve their meal prep game. The balance of salty peanut butter, sweet amber honey, and textured oats creates a snack that is both indulgent and functional.
If you enjoyed this recipe and achieved that perfect “clean bite” texture, we want to hear about it! Leave a comment below or share your photos with us. Don’t forget to save this recipe to your snack board on Pinterest so you never lose this structural blueprint.