Red Velvet Banana Pudding is the show-stopping, vibrant twist on a Southern classic that your dessert table has been missing. This isn’t just a simple pudding; it’s a decadent architecture of moist red velvet cake chunks, Madagascar vanilla bean pudding, and billowy cream cheese whipped cream. If you love the deep cocoa notes of red velvet and the nostalgic comfort of a traditional banana pudding, this viral-ready trifle is your new obsession.
Whether you are hosting a holiday party or looking for a weekend project, this Red Velvet Banana Pudding delivers high-impact visuals and professional-grade flavor. Every spoonful captures the messy, delicious contrast of porous crimson cake saturated with thick ivory pudding and the tang of fresh cream cheese. It is the perfect follow-up to a comforting meal like cabbage roll soup or a hearty bow-tie pasta lasagna.
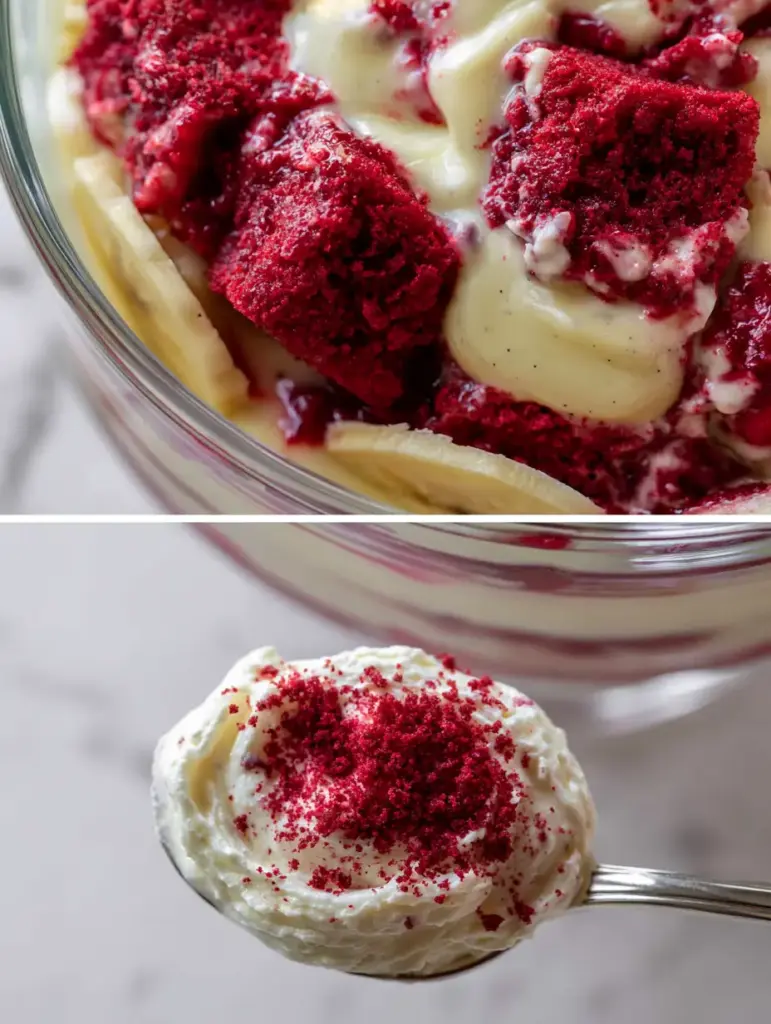
Why This Vibrant Red Velvet Pudding Works
- Textural Contrast: The porous red velvet cake absorbs the vanilla pudding without becoming mushy, creating a melt-in-your-mouth experience.
- Tangy Balance: Using a cream cheese whipped cream instead of plain topping cuts through the sweetness of the bananas and cake.
- Stunning Visuals: The distinct layers of crimson, ivory, and pale yellow make this a centerpiece-worthy dessert for Pinterest-perfect tablescapes.
- Make-Ahead Friendly: This dessert actually tastes better after 4-6 hours in the fridge, making it the ultimate stress-free entertaining recipe.
Essential Ingredients for Red Velvet Banana Pudding
To achieve the “handheld smartphone photo” quality seen in our visuals, you need specific ingredients that provide both structure and flavor. Using high-quality vanilla and real cream cheese is non-negotiable for that signature Red Velvet Banana Pudding taste.
The Red Velvet Base
Red Velvet Cake: You will need 6 cups (approx. 600g) of moist red velvet cake chunks. You can use a store-bought loaf, a boxed mix, or your favorite homemade recipe. The key is that the cake must be slightly dense so it can be cubed without crumbling into dust.
Cake Crumbs: Reserve about 1/2 cup (50g) of the cake to turn into fine red velvet cake crumbs for the final garnish. This provides that professional bakery finish.
The Creamy Vanilla Layer
Madagascar Vanilla Bean Pudding: Use 3 cups (720ml) of whole milk and 1 box (5.1 oz / 144g) of instant vanilla pudding mix. For the best flavor, whisk in 1 teaspoon (5ml) of Madagascar vanilla bean paste to get those beautiful black specks visible in the ivory pudding.
Condensed Milk: 1 can (14 oz / 396g) of sweetened condensed milk adds a silky, fudge-like thickness to the pudding layer that prevents it from running.
The Fresh Fruit & Topping
Ripe Bananas: You need 4-5 large ripe bananas. Look for yellow peels with just a few brown spots—they should be sweet but firm enough to hold their shape when sliced into 1/4-inch (6mm) rounds.
Cream Cheese Whipped Cream: Combine 8 oz (225g) of softened cream cheese with 2 cups (480ml) of cold heavy whipping cream and 1/2 cup (60g) of powdered sugar. This creates the billowy cream cheese whipped cream that defines this dish.
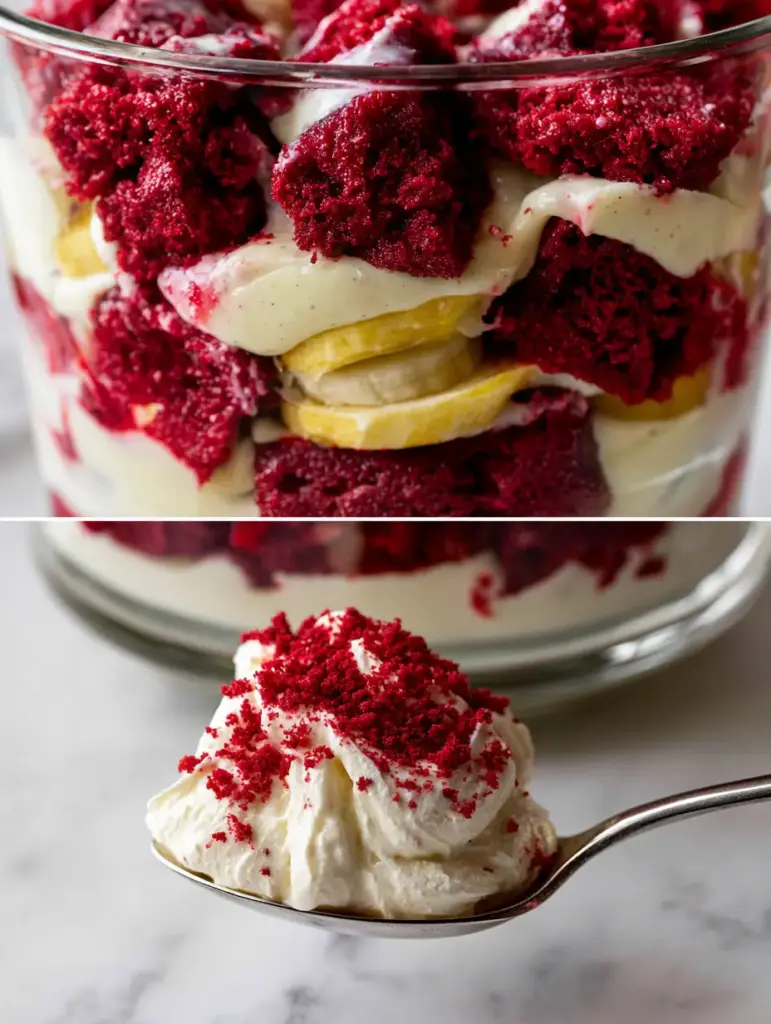
How to Make Red Velvet Banana Pudding Step-by-Step
Step 1: Prepare the Red Velvet Foundation
Start by baking or purchasing your red velvet cake. Once completely cooled, cut the cake into 1-inch (2.5cm) cubes. You want moist red velvet cake chunks that are uniform in size. Set aside a small portion of the cake scraps and pulse them in a blender or crumble them by hand to create the fine red velvet cake crumbs for the topping.
Step 2: Whisk the Thick Vanilla Pudding
In a large mixing bowl, combine the cold whole milk and the sweetened condensed milk. Whisk until smooth. Slowly add the instant vanilla pudding mix and the vanilla bean paste. Whisk vigorously for 2 minutes until the mixture begins to thicken. Let it sit in the refrigerator for at least 10 minutes to set into a thick ivory Madagascar vanilla bean pudding.
Step 3: Whip the Cream Cheese Topping
In a separate chilled bowl, beat the softened cream cheese and powdered sugar until completely smooth. While the mixer is running on medium-low, slowly pour in the cold heavy whipping cream. Increase the speed to high and whip until stiff, billowy peaks form. This stable topping is what allows you to get that perfect “silver spoon scoop” visual.
Step 4: Layer the Trifle Dish
Grab a clear, heavy glass trifle dish or large bowl. This is where the Red Velvet Banana Pudding magic happens. Start with a layer of cake chunks at the bottom. Follow with a layer of sliced bananas, then a generous spread of the vanilla pudding. Repeat the layers, ensuring the cake chunks are pressed against the glass so the vibrant crimson color pops against the ivory cream.
Step 5: The Final Garnish
Top the entire dish with the billowy cream cheese whipped cream. Use a spatula to create swirls and peaks. Finally, sprinkle the fine red velvet cake crumbs over the top. The contrast of the deep red crumbs against the white cream is the ultimate Pinterest aesthetic.
Expert Tips for the Perfect Red Velvet Pudding
- Prevent Banana Browning: Toss your banana slices in a tablespoon of lemon juice or pineapple juice before layering. This keeps them bright yellow for up to 24 hours.
- Chill Time is Vital: Let the pudding sit in the fridge for at least 4 hours. This allows the porous cake to become saturated with cream, creating a cohesive texture.
- Cold Tools: Chill your metal mixing bowl and whisk attachment for 15 minutes before making the whipped cream to ensure maximum volume.
- Don’t Over-mix the Pudding: Once it starts to thicken, stop whisking. Over-mixing can break the starches and lead to a runny consistency.
Storage and Make-Ahead Instructions
Red Velvet Banana Pudding is best enjoyed within 24-48 hours. After 2 days, the bananas may begin to soften too much and the cake may lose its structure. Store in an airtight container or tightly covered with plastic wrap in the refrigerator.
Can you freeze banana pudding? We do not recommend freezing this recipe. The texture of the fresh bananas and the cream cheese whipped cream will change significantly upon thawing, losing that “thick and luscious” mouthfeel.
What to Serve With This Dessert
Since this is a rich, sweet dessert, it pairs beautifully with savory, salty main courses. Try serving it after a breakfast-for-dinner spread featuring a bacon egg and cheese breakfast casserole or a savory sausage and cheese breakfast casserole. If you’re looking for something lighter before the decadence, a bowl of chicken orzo soup is the perfect balance.
Frequently Asked Questions
Absolutely! It is best made 4-6 hours in advance so the cake can absorb the cream. We recommend serving it within 24 hours for peak freshness.
Yes! A boxed red velvet cake mix works perfectly. Just ensure the cake is completely cooled before cubing to prevent it from falling apart.
To prevent browning, toss the banana slices in a small amount of lemon or pineapple juice. The acidity slows down oxidation without altering the flavor significantly.
Wait until the cake is fully cooled, then pulse a few scraps in a food processor for 10 seconds, or rub them between your palms over the dish.
This usually happens if the milk wasn’t cold enough or if too much liquid was added. Ensure you use whole milk and follow the measurements for the condensed milk exactly.
The Ultimate Red Velvet Banana Pudding Recipe
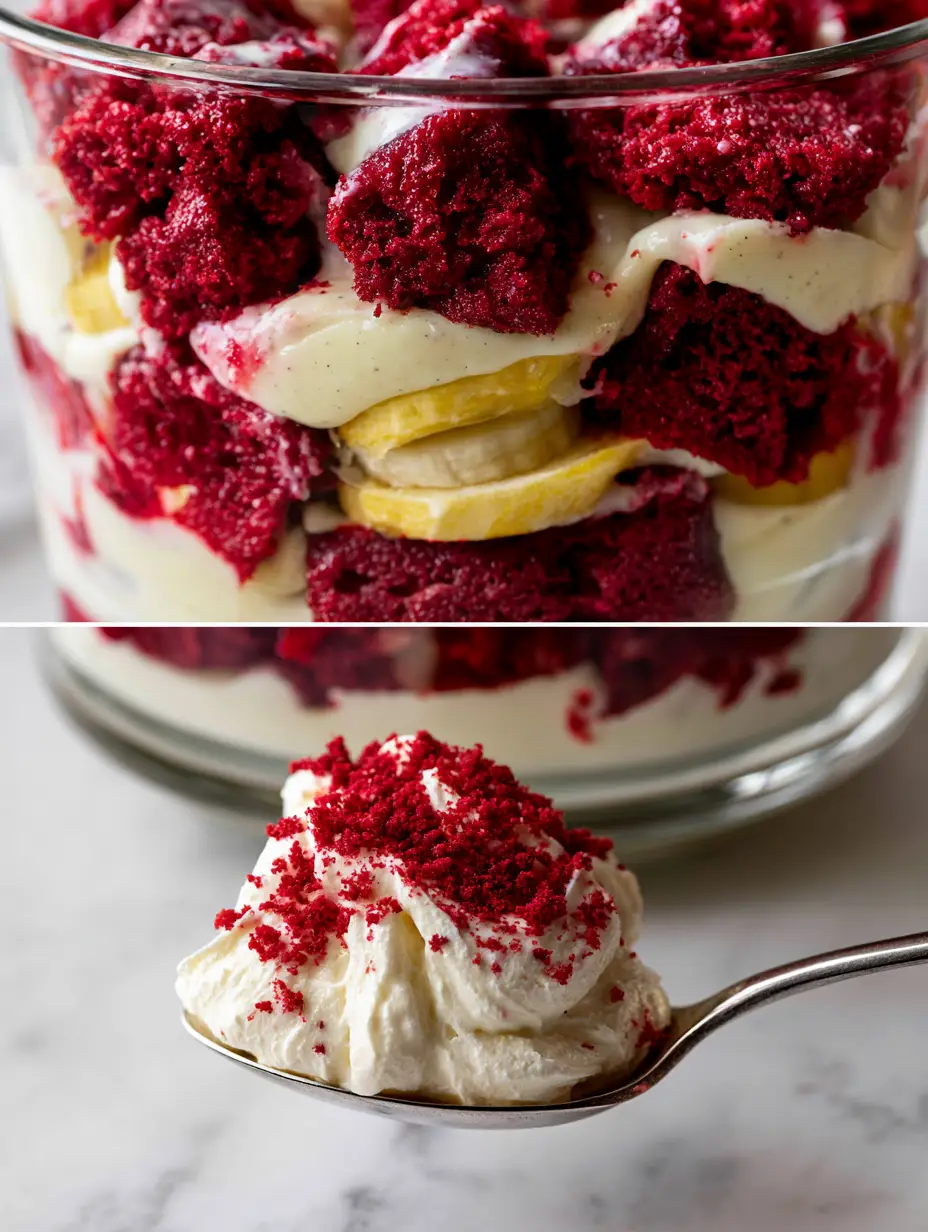
Red Velvet Banana Pudding: The Ultimate Creamy Layered Dessert
Ingredients
Equipment
Method
- Cut the moist red velvet cake into 1-inch chunks and set aside. Blitz scraps into fine crumbs for the topping.
- Whisk cold milk, condensed milk, vanilla bean paste, and pudding mix until thick. Chill for 10 minutes.
- Beat softened cream cheese and sugar until smooth, then slowly add heavy cream and whip to billowy stiff peaks.
- Layer cake chunks, banana slices, and pudding in a glass dish. Repeat. Top with whipped cream and crumbs.
Notes
Ensure the cake is moist but firm enough to hold its cube shape.
Chill for at least 4 hours before serving for the best texture.
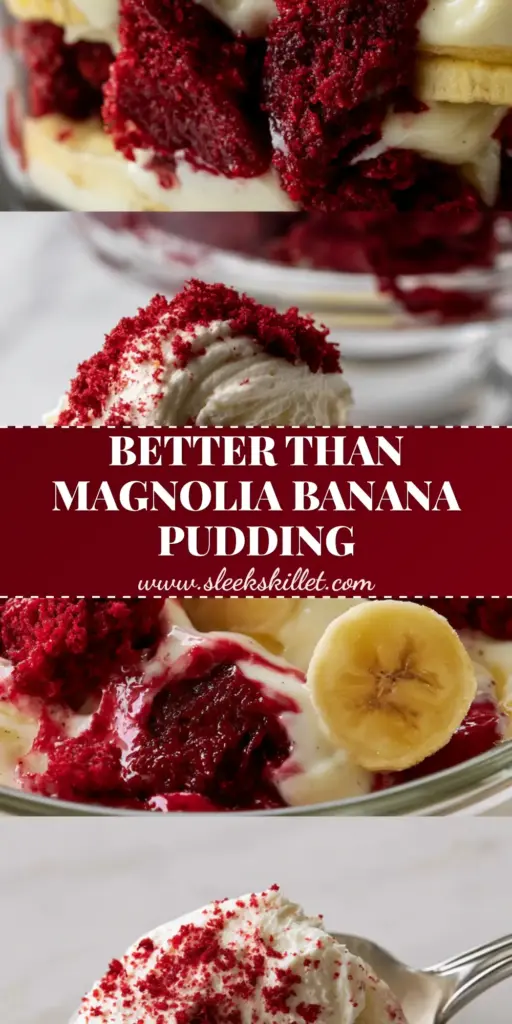
Save This Recipe to Pinterest!
If you enjoyed this Red Velvet Banana Pudding, please take a moment to save it to your favorite Dessert or Holiday board on Pinterest! We love seeing your recreations, so please share a photo of your messy, delicious layers in the comments below. Don’t forget to follow toastpantry for more viral-worthy recipes and give this a 5-star rating if it’s the best pudding you’ve ever had!