When it comes to satisfying a craving for something savory, few things compete with the addictive crunch of perfectly seasoned salty snack recipes. We aren’t just talking about opening a bag of store-bought chips; we are diving into a forensic culinary experience that transforms the humble pantry staple into a gourmet masterpiece. These aren’t your grandmother’s plain crackers—these are fire-toasted, oil-shimmering, spice-drenched gems that demand attention.
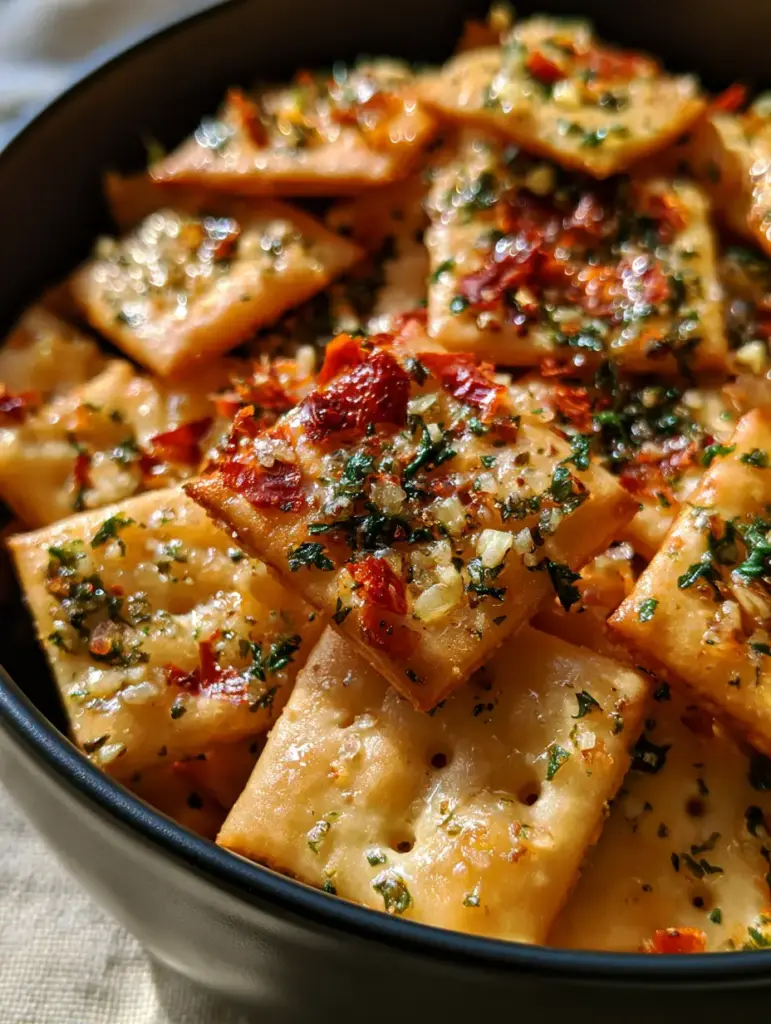
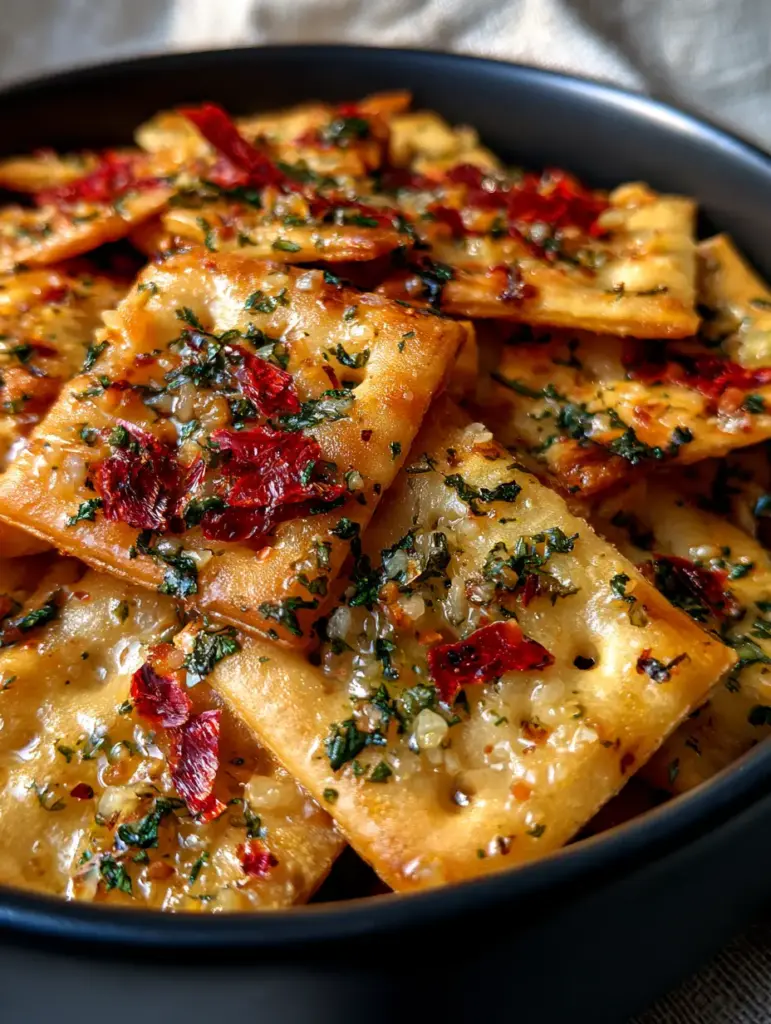
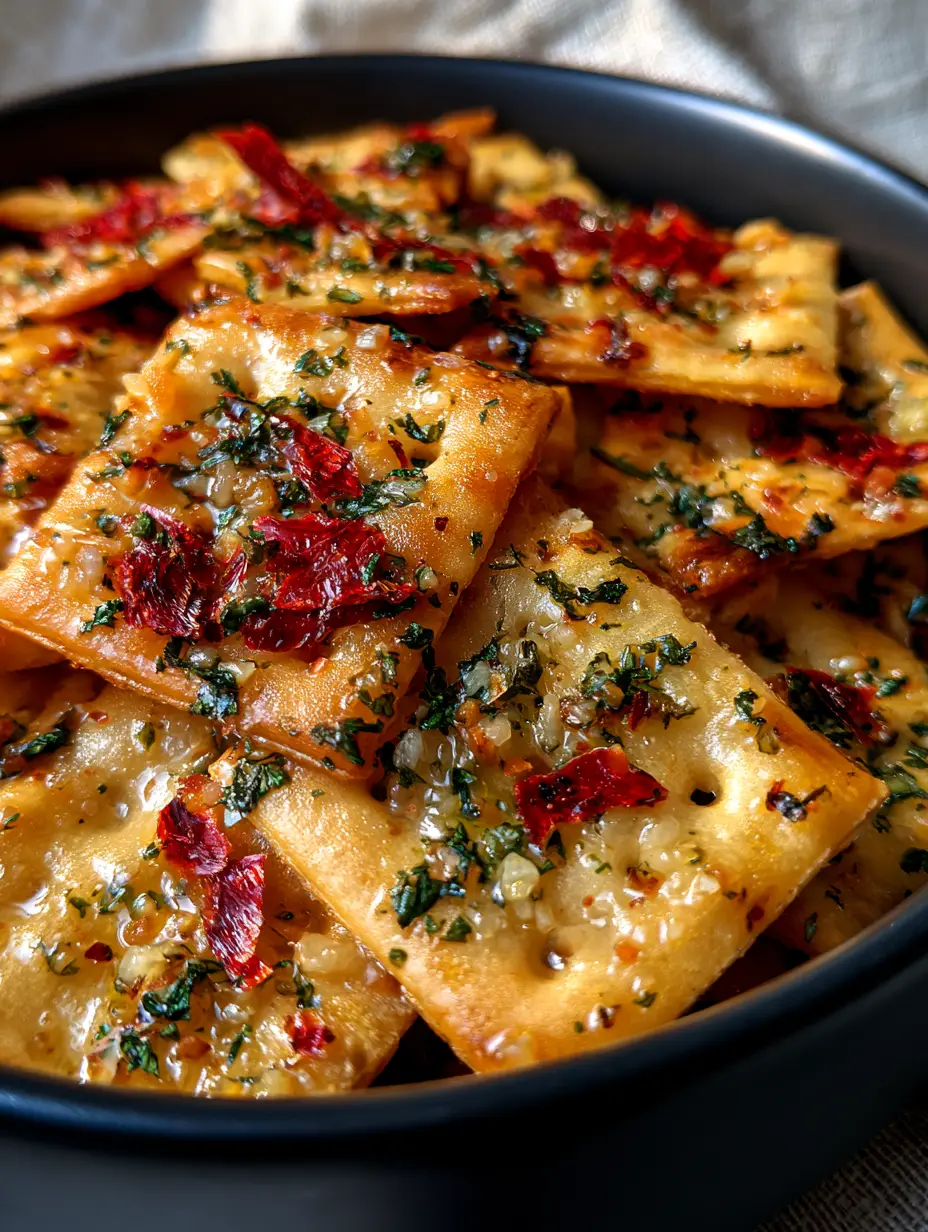
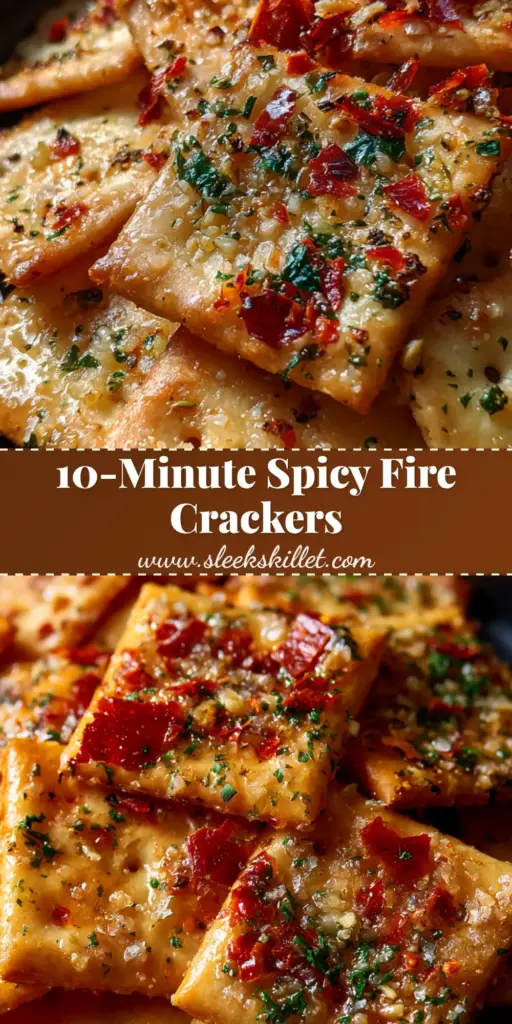
Imagine a mountain of square saltine crackers, their distinct docking holes peeking through a dense layer of vibrant seasonings. The visual appeal is undeniable: large, jagged flakes of crimson red pepper mingle with bright emerald-green dried parsley specks. A fine dusting of translucent garlic and onion granules coats every edge, while a light, shimmering coat of infused vegetable oil creates a brilliant highlight under natural light. This is the ultimate benchmark for crunchy appetizers.
Whether you are preparing a spread for a weekend gathering or looking for a quick pantry-friendly treat, mastering these salty snack recipes will elevate your culinary game. The secret lies in the balance of the toasted char and the scientific application of fats to carry the aromatics deep into the cracker’s wheat structure. Let’s explore how to achieve this professional result in your own kitchen.
Why This Savory Cracker Recipe Dominates the Snack Category
- Extreme Sensory Contrast: The initial hit of fine salt crystals is followed by the slow, warm burn of crushed red pepper and the savory depth of granulated aromatics.
- Structural Integrity: By using a controlled low-temperature bake, we achieve a toasted char on the edges without compromising the snap of the cracker.
- Visual Brilliance: The glistening oil coating doesn’t just add flavor; it acts as a culinary adhesive that makes the vibrant herbs and spices pop against the golden-brown base.
- Pantry Accessibility: This recipe uses everyday ingredients to create a result that looks and tastes like a high-end artisanal product.
The Anatomy of the Infused Seasoning Layer
To achieve the professional look described in our visual blueprint, we must understand the role of every ingredient. We aren’t just throwing spices at a cracker; we are building a flavor profile that is scientifically balanced for maximum palatability.
Premium Square Saltine Crackers: You need 2 sleeves (approx. 8 oz / 226g) of classic saltines. Look for brands with deep docking holes, as these small indentations trap the oil and spice mixture, ensuring every bite is loaded with flavor.
Shimmering Vegetable Oil: We use 1 cup (240ml) of high-quality vegetable oil. This is the “invisible” foundational ingredient that creates the glistening sheen and carries the fat-soluble compounds in the garlic and pepper flakes across the tongue.
Crushed Red Pepper Flakes: 2-3 tbsp (10-15g) of large, jagged crimson flakes provide both the heat and the primary visual contrast. These flakes should be vibrant and not dusty, indicating freshness and high capsaicin content.
Dried Parsley Flakes: 1 tbsp (2g) of bright emerald-green parsley adds an earthy, herbaceous note. Visually, it breaks up the warm tones of the cracker and pepper with a refreshing pop of color.
Granulated Garlic and Onion Powder: 1 tsp (5g) of each provides the savory backbone. We use granulated versions rather than fine powders to ensure the “translucent granules” described in the visual prompt remain visible and add a slight grit that enhances the mouthfeel.
Fine Salt Crystals: While saltines are already salted, an additional ½ tsp (3g) of fine sea salt ensures the seasoning blend is perfectly seasoned. These crystals will sparkle on the surface of the oil, catching the light beautifully.
Essential Equipment for Forensic Precision
To replicate the “mountain of crackers” look in a minimalist matte-black stoneware bowl, you need the right tools. A large, airtight mixing container is non-negotiable for the infusion process, allowing the crackers to absorb the oil without breaking.
A rimmed baking sheet lined with parchment paper is essential for the toasting phase. This allows for even airflow, which creates that slight toasted char on the edges of the crackers. Finally, a silicone spatula is recommended for gentle tossing to keep the crackers whole and maintain the integrity of the docking holes.
Step-by-Step Instructions to Perfection
1. Preparing the Infused Oil Suspension
In a large mixing bowl or a gallon-sized airtight container, whisk together the 1 cup (240ml) of vegetable oil with the red pepper flakes, parsley, garlic, onion powder, and salt. Allow this mixture to sit for at least 10 minutes. This “blooming” phase ensures the spices hydrate slightly in the fat, which prevents them from burning during the toasting process.
2. The Gentle Integration Phase
Add your two sleeves of crackers to the oil mixture. Instead of shaking vigorously, which can shatter the crackers, use a slow, folding motion. You want to see each cracker glistening with a light, shimmering coat of oil. Check the docking holes; they should be filled with the spice suspension.
3. Achieving the Toasted Char
Preheat your oven to 250°F (120°C). Arrange the crackers in a single layer on your prepared baking sheet. Bake for 15-20 minutes. You are looking for a visual change: the edges should show a very slight toasted char, and the oil should appear “set” rather than wet. This low-and-slow approach is what separates professional salty snack recipes from home-made attempts.
Expert Tips for Success
- The Overnight Secret: For the most intense flavor, let the crackers sit in the oil mixture overnight in an airtight container before baking. This allows the oil to penetrate the core of the cracker.
- Avoid Overcrowding: If the crackers are piled on the baking sheet, they will steam rather than toast. Ensure they have space to breathe to achieve that “perfectly crisp golden-brown” texture.
- Monitor the Aromatics: If you smell the garlic becoming pungent or acrid, remove the crackers immediately. The line between toasted and burnt is thin.
- Cooling is Cooking: Allow the crackers to cool completely on the baking sheet. As the oil cools, it creates a crisp, shimmering seal that locks in the spices.
Storage, Reheating, and Freshness
These crackers are incredibly shelf-stable due to the oil coating. Store them in an airtight glass jar or a minimalist stoneware container for up to two weeks. Avoid plastic bags if possible, as they can sometimes leach a “plastic” scent into the fats of the oil coating.
If the crackers lose their snap due to humidity, a quick 5-minute refresh in a 300°F (150°C) oven will restore their crispness. However, because this is one of the best salty snack recipes, they rarely last more than a day or two in most households!
What to Serve With Spicy Seasoned Saltines
These crackers are powerful enough to stand alone, but they truly shine when paired with complementary textures. Try serving them alongside a viral cucumber salad to provide a cool, crisp contrast to the heat of the red pepper flakes. The acidity of the salad cuts through the shimmering oil coating beautifully.
If you are looking for a more substantial spread, these crackers act as the perfect vessel for dips. They pair excellently with a cottage-cheese pizza bowl for a high-protein snack, or even crushed over potato side dishes to add a spicy, crunchy crust. For those who enjoy a bit of indulgence, a few of these crackers next to ricotta stuffed peppers creates a Mediterranean-inspired appetizer tray that hits every flavor note.
Frequently Asked Questions
While butter adds flavor, the water content in butter can make the saltines soggy. Vegetable oil is scientifically superior here to maintain a glistening coat and extreme crispness.
Yes! This blend works perfectly on pretzels, oyster crackers, or even toasted nuts, following the same oil-infusion and low-heat baking method.
Increase the red pepper flakes to 4 tablespoons or add a half-teaspoon of cayenne pepper to the oil infusion for a deeper heat profile.
Store them in an airtight glass jar at room temperature. The oil acts as a barrier, but air is the enemy of the crunch, so keep that lid tight.
This usually happens if the crackers are overbaked or if the oil-to-cracker ratio is too low. Ensure you use a full cup of oil and bake at a low 250°F (120°C).
The Ultimate Salty Snack Recipe Card
Salty Snack Recipes: The Ultimate Spicy Seasoned Saltine Crackers
Ingredients
Equipment
Method
- In a large container, whisk together vegetable oil, red pepper flakes, parsley, garlic, onion powder, and salt. Let sit for 10 minutes.
- Gently add crackers to the oil mixture. Fold carefully until each cracker has a shimmering coat and seasonings are trapped in docking holes.
- Preheat oven to 250°F (120°C). Spread crackers in a single layer on a parchment-lined sheet.
- Bake for 15-20 minutes until edges show a slight toasted char and the oil coating is glistening and set.
Notes
Ensure the oven is not too hot, or the garlic granules will turn bitter.
Closing & Call to Action
Mastering salty snack recipes like these spicy seasoned saltines is a gateway to becoming the ultimate host. The combination of visual precision—the crimson flakes, emerald parsley, and shimmering oil—and scientific baking techniques creates a snack that is as beautiful as it is delicious. If you enjoyed this forensic look at snack development, please leave a comment below and share your results! Don’t forget to follow toastpantry on Pinterest for more visual recipe blueprints and culinary inspiration.