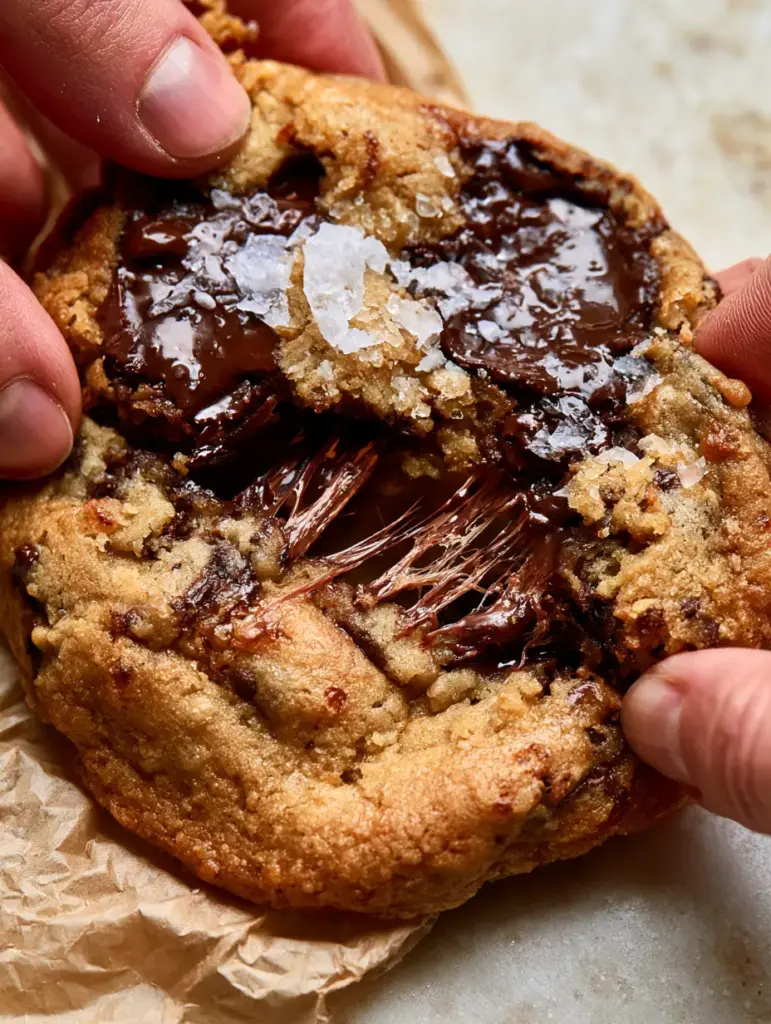
There is a specific, visceral magic in a bakery-style cookie that most home kitchens struggle to replicate. You know the one: a homemade chocolate chip cookies recipe that produces a thick, golden-brown disc with a craggy surface, pools of molten dark chocolate, and that unmistakable stretchy, gooey center. The secret isn’t just in the sugar; it is in the forensic details of the fat and the heat.
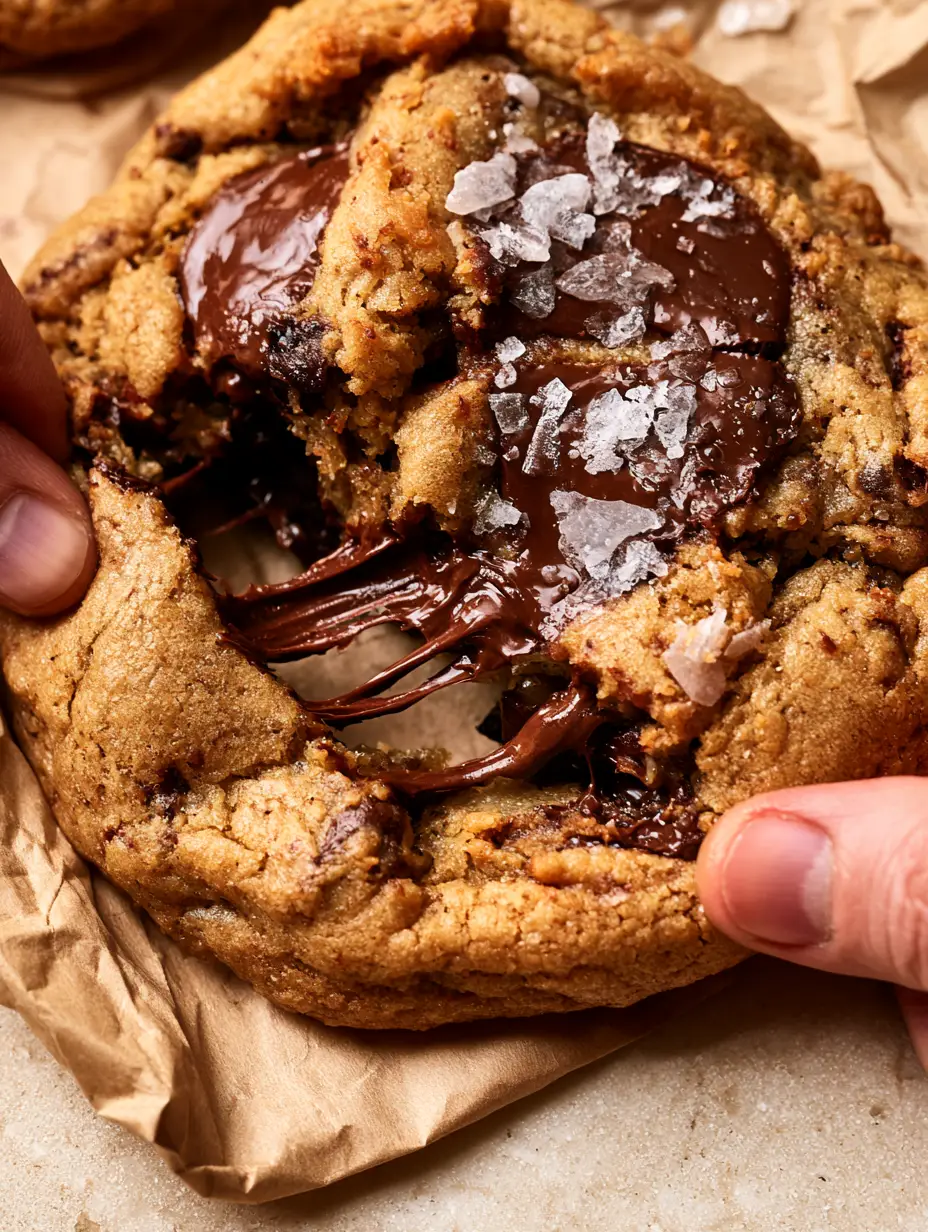
This particular homemade chocolate chip cookies recipe has been engineered to deliver a sensory explosion. Imagine pulling a warm cookie apart and seeing long, shimmering strands of high-quality dark chocolate stretching between two halves of dense, brown-butter-flecked dough. The finish is a sharp, crystalline hit of Maldon sea salt that cuts through the richness of the toasted butter bits.
By mastering the Maillard reaction through browning your butter and selecting the right cacao percentage, you aren’t just baking; you are performing culinary alchemy. Let’s dive into the architecture of the ultimate cookie.
Why This Is the Only Homemade Chocolate Chip Cookies Recipe You Need
- The Brown Butter Base: We move beyond softened butter to toasted “beurre noisette,” adding a nutty, complex depth that defines the golden-brown dough.
- Molten Chocolate Pools: By using chopped dark chocolate bars instead of standard chips, we create irregular, flowing rivers of cacao that stay gooey long after cooling.
- Bakery-Style Texture: A specific ratio of brown sugar to granulated sugar ensures a chewy, soft interior with a slightly crisp, craggy exterior.
- Sensory Contrast: The addition of large, flakey sea salt creates a sophisticated flavor profile that balances the intense sweetness of the dough.
The Architecture of Flavor: Essential Ingredients
The Fat: Unsalted Butter (Browned)
We start with 1 cup (227g) of high-quality unsalted butter. We melt this down until the milk solids toast into tiny brown specks, providing the “toasted brown butter bits” visible in the final cookie dough.
The Sugars: A Crucial Ratio
This recipe uses 1 cup (200g) of dark brown sugar and ½ cup (100g) of granulated sugar. The high molasses content in the dark brown sugar is what creates that dense and chewy texture we crave.
The Chocolate: Dark and Hand-Chopped
Forget standard chips; you need 8 oz (225g) of high-quality dark chocolate (at least 60% cacao). Chopping it by hand creates “chocolate dust” that seasons the dough and large chunks that melt into “molten chocolate pools.”
The Structural Foundation: Flour and Leavening
We use 2 ¼ cups (280g) of all-purpose flour mixed with 1 tsp (5g) of baking soda. This provides the lift and structure necessary for a thick, bakery-style result rather than a flat, greasy puddle.
The Invisible Essentials
1 tsp (6g) of fine sea salt goes into the dough to enhance the chocolate, while 1 tbsp (15ml) of vanilla bean paste adds those beautiful black flecks and a floral aroma. 2 large eggs at room temperature ensure proper emulsification.
Tools for the Perfect Bakery-Style Crinkle
To achieve the visual results of a professional bakery, you need a heavy-bottomed saucepan for browning the butter without burning it. A sturdy stand mixer or hand mixer is essential for aerating the sugar and butter mixture correctly.
For the baking process, use heavy-gauge aluminum baking sheets lined with crumpled natural parchment paper. The crumpling isn’t just for aesthetics; it creates small air pockets that help prevent the bottoms of the cookies from over-browning while adding to the rustic, textured look.
Step-by-Step Evolution of the Perfect Cookie
Phase 1: The Brown Butter Transformation
Place your butter in a small saucepan over medium heat. Melt the butter, then continue cooking, whisking constantly as it foams and pops. Watch for the foam to subside and tiny brown bits to form at the bottom; the aroma should be intensely nutty and toasted. Immediately transfer to a heat-proof bowl, scraping all those toasted bits in, and let it cool for 15 minutes.
Phase 2: Building the Emulsion
Combine the cooled brown butter with your brown and granulated sugars. Cream them together for at least 3-4 minutes until the mixture looks like wet sand. Add the vanilla bean paste and eggs one at a time, beating well after each addition until the dough is pale and voluminous.
Phase 3: The Dry Fold
Whisk together your flour, baking soda, and fine sea salt. Gently fold this into the wet ingredients until just a few streaks of flour remain. Over-mixing here will lead to a tough cookie, so stay light-handed to maintain the tender crumb structure.
Phase 4: Incorporating the Cacao
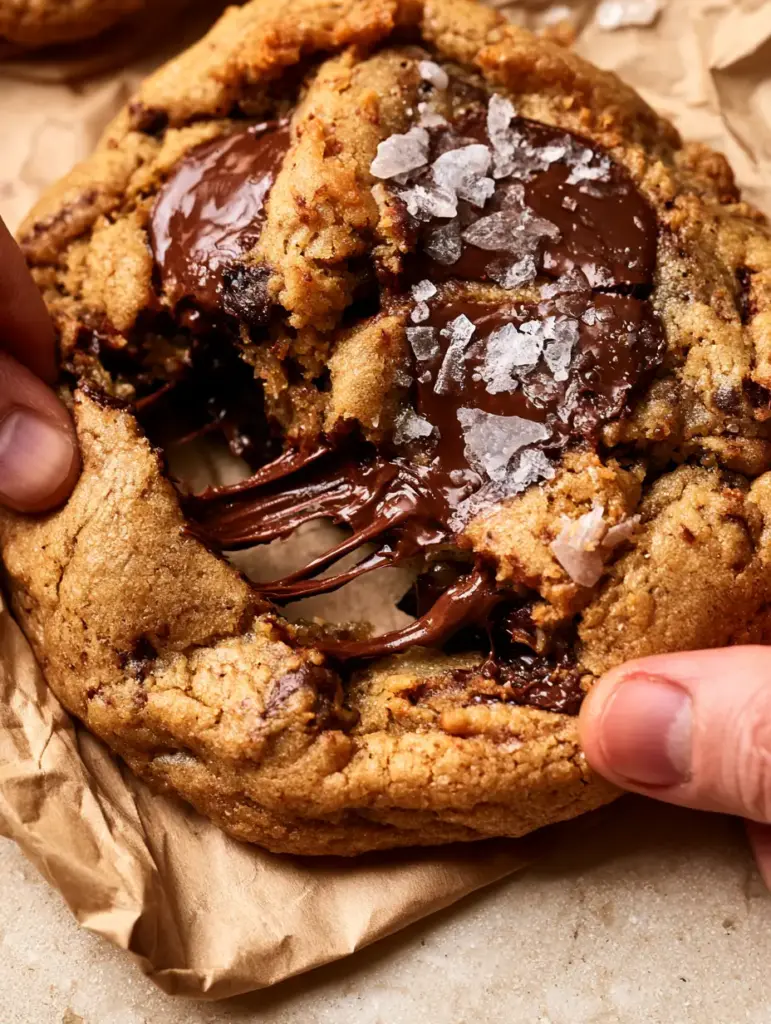
Fold in your hand-chopped dark chocolate. The “dust” from chopping will turn the dough a slightly darker shade, while the chunks will be distributed evenly. For the best results, chill this dough for at least 24 hours. This allows the flour to fully hydrate and the flavors to deepen significantly.
Phase 5: The Bake and Sensory Cues
Scoop large mounds of dough (about 3 tbsp or 60g each) onto your crumpled parchment. Bake at 350°F (175°C) for 10-12 minutes. Look for the edges to be thick and golden-brown, while the centers still look slightly underdone and soft. The chocolate should be shimmering in molten pools on the craggy surface.
Expert Tips for Bakery-Level Success
- The Pan Bang: Halfway through baking, lift the pan and gently drop it against the oven rack. This creates those beautiful ripples and ensures a dense, chewy center.
- The Salt Timing: Apply the large flakey sea salt (Maldon) immediately after the cookies come out of the oven. The residual heat helps the salt crystals adhere to the melting chocolate.
- Chocolate Quality: Use a bar of chocolate rather than chips. Chips contain stabilizers that prevent them from melting into the “long, stretchy strands” seen in professional food photography.
- Room Temp Eggs: Cold eggs will seize the brown butter, leading to a broken emulsion and a greasy cookie. Always use room temperature ingredients for this homemade chocolate chip cookies recipe.
Creative Pairings and Serving Suggestions
A cookie this rich deserves a thoughtful pairing. Serve these warm with a cold glass of milk, or go the sophisticated route by serving them alongside a savory leek soup dinner for a classic sweet-and-salty contrast. If you’re hosting a brunch, these cookies make an excellent follow-up to roasted ricotta peppers.
For those looking for more creative dessert ideas, consider crumbling these cookies over a key lime smoothie bowl for an unexpected texture play. The versatility of a solid **homemade chocolate chip cookies recipe** is endless.
Storage and Preservation
These cookies are best enjoyed within 24 hours for that peak “molten chocolate” experience. However, they will stay soft in an airtight container for up to 4 days. If you want to recreate the fresh-from-the-oven feel, microwave a cookie for 10 seconds until the chocolate pools glisten again.
You can also freeze the pre-scooped dough balls for up to 3 months. Bake them directly from frozen, adding 2-3 minutes to the total bake time, for a perfect cookie whenever the craving hits.
Frequently Asked Questions
You can, but chocolate chips contain stabilizers to hold their shape. Hand-chopped bars create the ‘molten chocolate pools’ and ‘stretchy strands’ seen in high-end bakery cookies.
A combination of using dark brown sugar, slightly higher flour content, and ‘pan banging’ halfway through the bake creates those signature ripples and textured surface.
Large flakey sea salt provides a textural crunch and a flavor bridge that enhances the bitterness of the dark chocolate and cuts through the richness of the brown butter.
Chilling for 24-48 hours allows the flour to hydrate and the fats to solidify. This prevents the cookies from spreading too thin and creates a more concentrated, complex flavor.
Browning the butter (beurre noisette) toasts the milk solids, creating a deep nutty flavor and adding ‘toasted brown butter bits’ that provide a complex, savory contrast to the sweet dough.
The Ultimate Homemade Chocolate Chip Cookies Recipe Card
Homemade Chocolate Chip Cookies Recipe with Brown Butter and Sea Salt
Ingredients
Equipment
Method
- Melt butter in a saucepan over medium heat. Cook, whisking constantly, until the butter turns a deep golden brown and smells nutty. Remove from heat immediately.
- Transfer butter and all toasted bits to a bowl and cool for 15 minutes.
- Mix the brown butter with both sugars for 3-4 minutes until well combined.
- Incorporate eggs and vanilla bean paste, beating until the mixture is light and fluffy.
- Gently fold in flour, baking soda, and fine salt until just combined. Fold in dark chocolate chunks.
- Scoop 3-tbsp mounds onto crumpled parchment paper. Bake at 350°F (175°C) for 10-12 minutes.
- Remove from oven when edges are golden and centers are soft. Immediately sprinkle with flakey sea salt.
Notes
Use a high-quality chocolate bar rather than chips for the best melting properties.

Closing & Call to Action
Mastering this homemade chocolate chip cookies recipe is a rite of passage for any serious home baker. The combination of toasted brown butter, high-cacao dark chocolate, and that final hit of flakey salt creates a profile that is truly world-class. If you enjoyed this deep dive into cookie forensics, please leave a comment below and share your results! Don’t forget to follow us on Pinterest for more elevated comfort food inspiration.