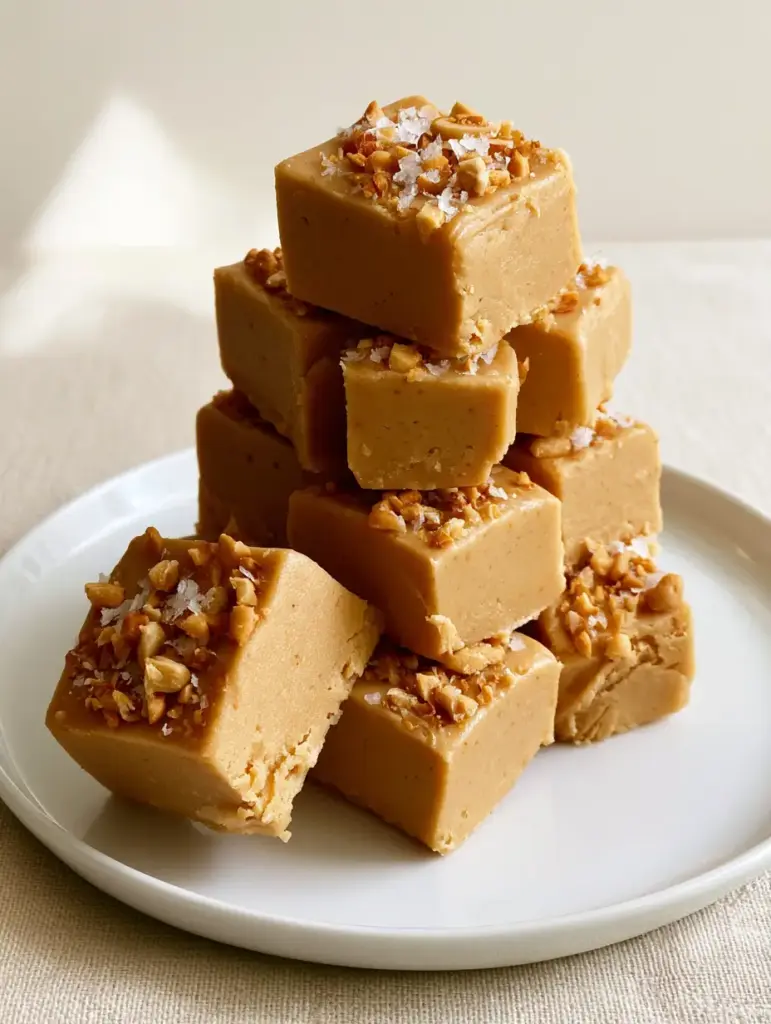
Peanut butter fudge is the quintessential comfort dessert, but achieving that professional, matte texture and velvety smooth finish can be elusive for many home cooks. This recipe delivers a towering stack of thick-cut squares that look like they stepped right out of a high-end confectionery shop. By combining rich, golden-beige peanut butter with a touch of vanilla and a calculated ratio of sugars, we create a treat that is structurally sound yet melts the moment it hits your tongue.
Whether you are preparing a dessert platter alongside creamy peanut butter balls or looking for a standalone showstopper, this fudge hits every sensory note. The contrast between the dense, creamy interior and the sharp, flaky Maldon sea salt topping creates a sophisticated flavor profile that keeps you reaching for “just one more” square.
Why This Is the Best Peanut Butter Fudge You’ll Ever Make
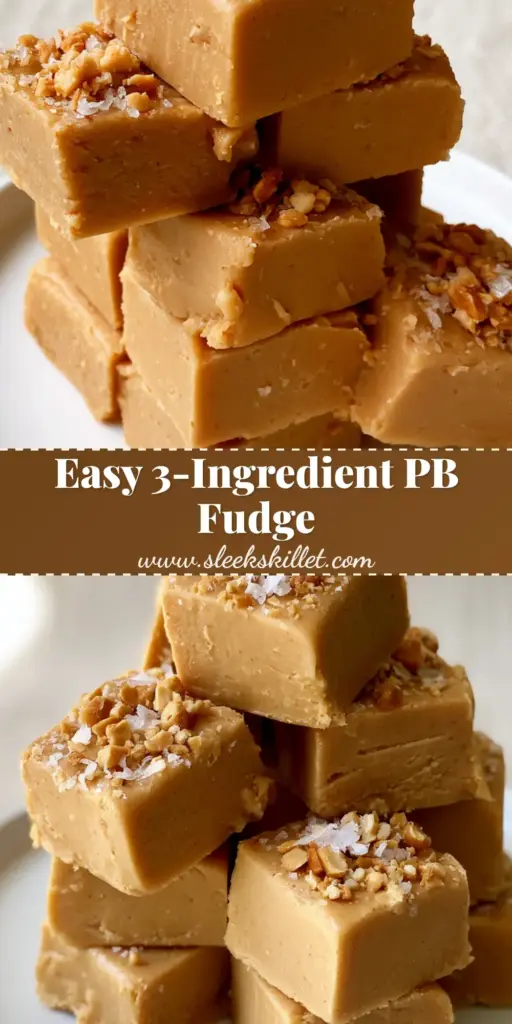
- Perfect Matte Texture: Unlike oily or grainy versions, this recipe yields a smooth, non-greasy finish that feels professional to the touch.
- Thick-Cut Aesthetic: Designed to be sliced into substantial, towering squares that hold their shape at room temperature.
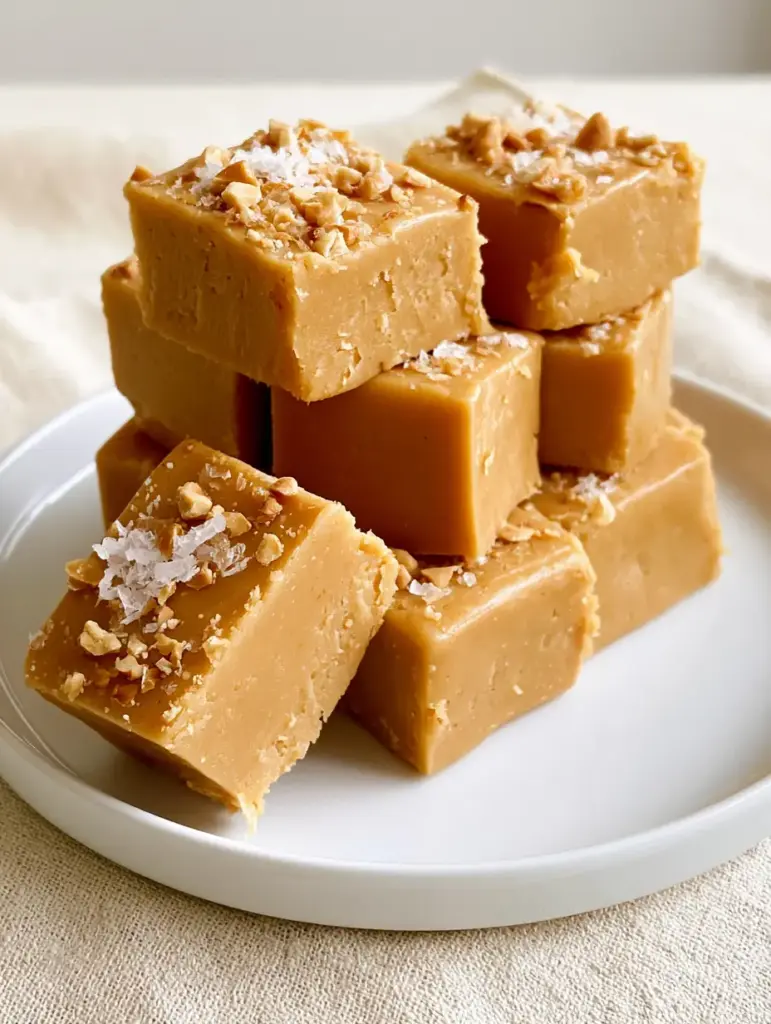
- Visual Contrast: The rich golden-beige hue is beautifully offset by the white flakes of sea salt and the earthy crunch of crushed roasted peanuts.
- Foolproof Method: No candy thermometer is required, making this accessible for beginners while delivering expert-level results.
If you love the rich, buttery profile of this recipe, you might also enjoy our salted caramel butter bars for your next baking session.
The Essential Ingredients for Velvet-Smooth Fudge
Creamy Peanut Butter: 2 cups (512g). Use a standard commercial brand (like Jif or Skippy) rather than natural “oil-separation” varieties to ensure the matte texture remains stable.
Unsalted Butter: 1 cup (225g). The butter provides the necessary fat for that melt-in-your-mouth interior and a rich, dairy backbone.
Pure Vanilla Extract: 1 teaspoon (5ml). This acts as a flavor enhancer, bridging the gap between the salty peanuts and the sweet sugar.
Confectioners’ Sugar: 4 cups (500g). Sifting this is non-negotiable; it is the secret to avoiding lumps and achieving a perfectly smooth consistency.
Fine Sea Salt: ¼ teaspoon (1.5g). A small amount inside the fudge balances the sweetness from within.
Maldon Sea Salt Flakes: 1 tablespoon (for garnish). These large, flat crystals provide the iconic “Visual Recipe Blueprint” look and a burst of salinity.
Crushed Roasted Peanuts: ¼ cup (35g). Finely crushed to add a rustic texture to the elegant matte top.
Step-by-Step Instructions for Professional Results
Preparing the Setting Foundation
Line an 8×8 inch (20x20cm) square baking pan with parchment paper, leaving an overhang on two sides. This allows you to lift the entire block of peanut butter fudge out easily once set, ensuring those thick-cut edges remain sharp and unmarred.
Melting the Golden Base
In a medium saucepan over medium heat, combine the unsalted butter and creamy peanut butter. Stir constantly with a heat-proof spatula until the mixture is completely melted and homogenous. You are looking for a glossy, liquid-gold appearance with no streaks of butter remaining.
Remove from heat immediately once smooth to prevent the oils in the peanut butter from separating, which would ruin the matte texture we are aiming for.
Incorporating the Sweetness
Whisk in the vanilla extract and fine sea salt. Gradually add the sifted confectioners’ sugar one cup at a time. As the mixture thickens, switch to a sturdy wooden spoon. The fudge will become heavy and lose its gloss, transitioning into a dense, velvety dough.
Ensure every trace of white sugar is folded into the peanut butter base. The final mixture should be perfectly smooth and hold its shape when pressed.
Pressing and Garnishing
Transfer the warm fudge into your prepared pan. Use an offset spatula or the bottom of a flat measuring cup to press the mixture into the corners and smooth the top into a flat, even surface. While the surface is still slightly tacky, sprinkle the crushed roasted peanuts and flaky Maldon sea salt evenly across the top.
Press the garnishes gently into the fudge so they adhere firmly. This creates the “handheld smartphone photo” aesthetic that makes this recipe a Pinterest favorite.
The Patience Phase: Chilling
Allow the fudge to cool to room temperature on the counter for 30 minutes, then refrigerate for at least 4 hours, or ideally overnight. Peanut butter fudge requires this time for the fats to crystalize and create that dense, melt-in-your-mouth interior.
For a different take on classic holiday treats, try our buttery shortbread cookies which also benefit from a long chill time.
Expert Tips for Success
- Sift Your Sugar: Even small lumps of powdered sugar will be visible in the final matte texture. Take the extra 60 seconds to sift.
- Avoid “Natural” PB: The oil in natural peanut butter is too unstable for this specific style of fudge; it often leads to a greasy surface.
- Clean Cuts: For those perfect thick-cut squares seen in the photos, run a sharp knife under hot water and wipe it dry between every single cut.
- Don’t Overheat: Boiling the peanut butter and butter mixture can cause it to become crumbly rather than creamy. Keep the heat moderate.
Storage, Reheating & Freezing
Room Temperature: You can store this peanut butter fudge in an airtight container for up to 1 week. It remains stable, though it is slightly softer at room temp.
Refrigeration: For the best “snap” and longest shelf life, keep it in the fridge for up to 3 weeks. Layer with parchment paper to prevent sticking.
Freezing: This fudge freezes beautifully. Wrap the entire block or individual squares tightly in plastic wrap and place in a freezer bag for up to 3 months. Thaw in the refrigerator before serving.
What to Serve With This
This rich dessert pairs exceptionally well with a bitter beverage to cut through the sweetness. A dark roast coffee or a cold glass of milk is traditional. If you are building a dessert board, consider adding red velvet banana pudding for a colorful contrast in textures.
Frequently Asked Questions
It is not recommended. Natural peanut butter (the kind that separates) contains too much unstable oil, which can prevent the fudge from achieving its signature matte, firm texture.
Use a sharp chef’s knife dipped in hot water and wiped dry between every cut. This melts the fats slightly as you slice, resulting in professional, smooth edges.
While it may feel firm after 2 hours, it requires at least 4 hours (or overnight) in the refrigerator to fully set into a sliceable, thick-cut consistency.
For the best texture and longevity, store it in an airtight container in the refrigerator. However, it is stable enough to sit out at room temperature for several hours during serving.
Graininess usually occurs if the confectioners’ sugar isn’t sifted or if the butter and peanut butter mixture was overheated, causing the sugars to crystallize unevenly.
The Full Peanut Butter Fudge Recipe
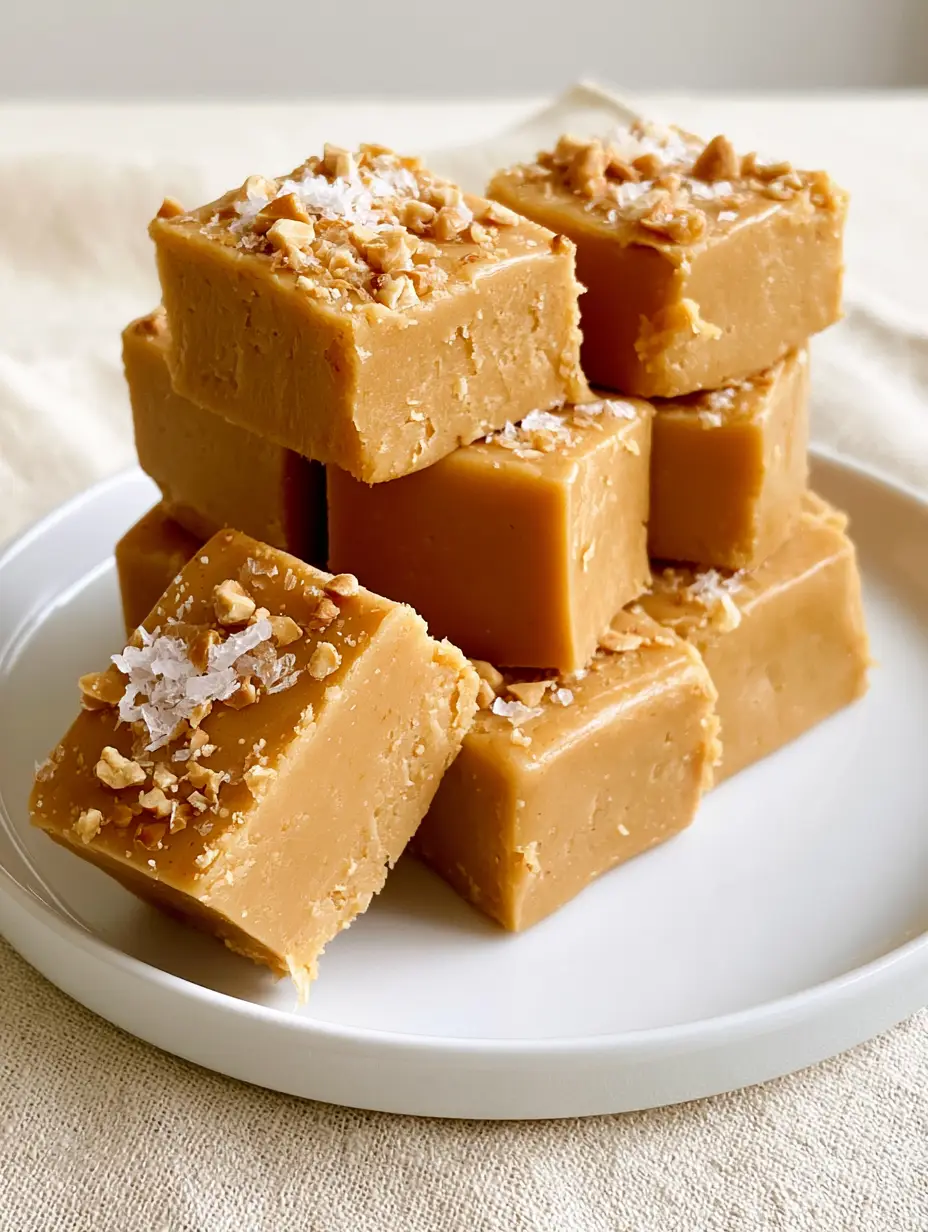
Peanut Butter Fudge: The Ultimate Thick-Cut Creamy Recipe
Ingredients
Equipment
Method
- Line an 8x8 inch pan with parchment paper, leaving an overhang for easy removal.
- In a saucepan over medium heat, melt the peanut butter and butter together until completely smooth. Remove from heat immediately.
- Stir in vanilla and fine salt. Gradually fold in the sifted powdered sugar until a dense, matte dough forms.
- Press the mixture into the pan. Sprinkle with crushed peanuts and Maldon salt, pressing lightly to adhere. Chill for at least 4 hours.
Notes
Use a hot knife to create clean, thick-cut squares for the best presentation.
Save, Share, and Rate!
If you love this peanut butter fudge, please save it to your favorite Pinterest board by hovering over any of the images! We would love to see your results—upload a photo of your towering fudge stack in the comments below. Don’t forget to leave a 5-star rating to help other home cooks find this perfectly smooth treat. Follow toastpantry for more elite dessert inspiration!