There is something inherently magical about a molten lava mug cake that defies the laws of traditional baking. In less time than it takes to brew a pot of coffee, you can transform a handful of pantry staples into a sophisticated, single-serve masterpiece that rivals any high-end bistro offering.
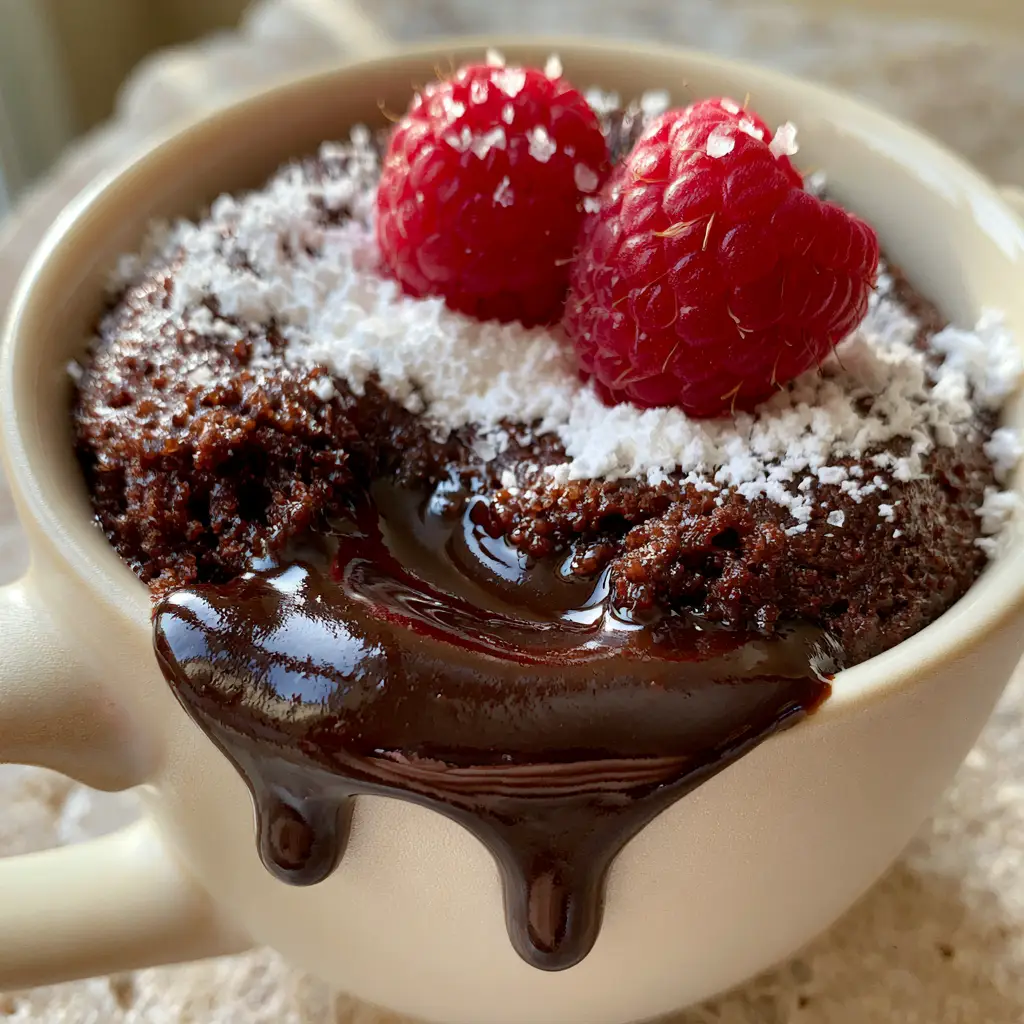
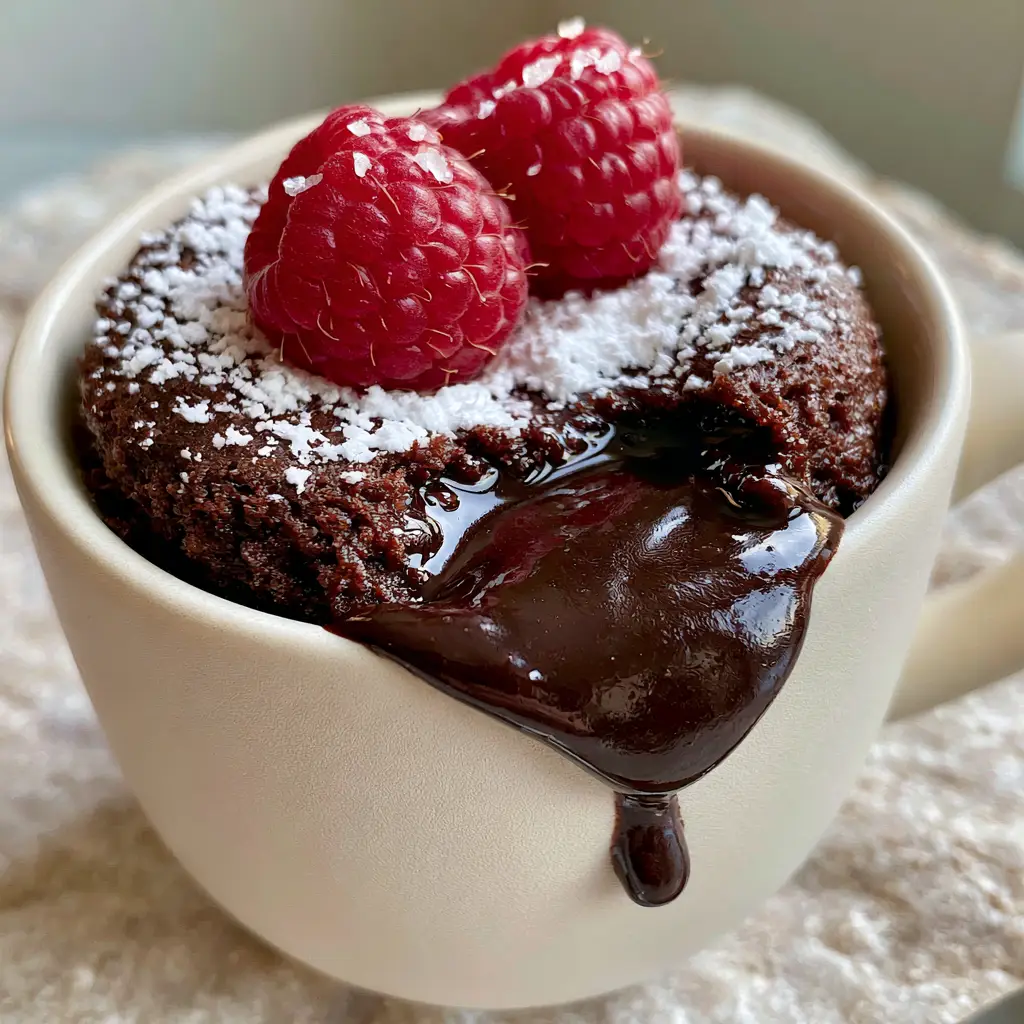
This isn’t your average rubbery microwave sponge; we are talking about a rich, moist chocolate crumb base with a glossy, thick, deep dark chocolate liquid center oozing over the side. The visual contrast of the dark cocoa against a premium matte-textured cream ceramic mug creates an instant “smartphone-ready” aesthetic that looks as good as it tastes.
By balancing the intense sweetness with fresh red raspberries and tiny sea salt flakes, we elevate this quick fix into a complex culinary experience. Whether you are craving a late-night indulgence or a quick impressive treat, this recipe delivers professional results with minimal effort.
The Anatomy of the Perfect Molten Center
- The “Lava” Core: Unlike inferior recipes that rely on undercooking flour, we use a dedicated ganache center to ensure a safe, glossy, and consistent liquid flow every single time.
- Moist Crumb Texture: A precise ratio of fat to flour ensures the cake remains tender and aerated, even after microwave radiation.
- Visual Sophistication: A delicate dusting of white powdered sugar provides the perfect snowy backdrop for the vibrant red raspberries.
- Flavor Counterpoints: Sea salt flakes are the “secret weapon” that cuts through the richness and amplifies the dark chocolate notes.
Essential Components for Your Chocolate Masterpiece
To achieve the specific texture seen in our professional visual blueprint, each ingredient serves a calculated forensic purpose in the batter’s structure.
All-Purpose Flour: 1/4 cup (30g) provides the essential gluten structure that holds the molten core in place without becoming overly dense.
Dutch-Processed Cocoa Powder: 2 tbsp (10g) gives the cake its deep, dark color and a mellow, smooth chocolate profile that isn’t too acidic.
Granulated Sugar: 2 tbsp (25g) is necessary not just for sweetness, but to interfere with gluten development, ensuring the “moist chocolate crumb” we desire.
Baking Powder: 1/4 tsp (1g) acts as the leavening agent, reacting instantly to the heat to create those tiny air pockets in the cake wall.
Whole Milk: 3 tbsp (45ml) hydrates the cocoa and flour, providing the liquid base for our batter’s emulsion.
Neutral Vegetable Oil or Melted Butter: 2 tbsp (30ml) is critical for that “glossy” mouthfeel and prevents the cake from drying out during the rapid cooking process.
Dark Chocolate Chips or Ganache Truffle: 1 tbsp (15g) is placed in the center to create the “molten” effect as it melts into a thick liquid pool.
The Finishing Touches: You will need 2 fresh red raspberries, a pinch of sea salt flakes, and a dusting of powdered sugar for the final plating.
Professional Tools for Single-Serve Success
To replicate the handheld smartphone photo aesthetic, you should use a 10-12 ounce (300-350ml) matte-textured ceramic mug. The wide mouth of a premium ceramic mug allows the “lava” to ooze over the side properly, while the thickness of the ceramic helps retain heat for the ganache center.
A small balloon whisk or even a simple fork is needed to ensure the dry ingredients are fully incorporated with the wet, leaving no flour streaks at the bottom of the mug. For the sugar dusting, a fine-mesh sieve is the only way to achieve that elegant, even coating without clumps.
Mastering the Microwave: Your Step-by-Step Guide to the Perfect Ooze
Step 1: The Dry Ingredient Sift
In your cream ceramic mug, whisk together the flour, cocoa powder, sugar, baking powder, and a tiny pinch of salt. Ensure there are no large lumps of cocoa, as these will create bitter pockets in the finished molten lava mug cake.
Step 2: Emulsifying the Batter
Pour in the milk and oil (or melted butter). Whisk gently until the batter is smooth, glossy, and thick—similar to the consistency of heavy lava. Scrape the bottom edges of the mug to ensure no dry flour remains trapped.
Step 3: Engineering the Molten Core
Take your dark chocolate chips or ganache truffle and press them into the dead center of the batter. Do not stir them in; simply push them down until they are just submerged. This is how we achieve that specific liquid center oozing over the side later.
Step 4: The Precision Bake
Microwave on high for 70 to 90 seconds. Watch for the cake to rise to the top of the mug and the edges to look set and “baked,” while the center should still appear slightly damp. Every microwave is different, so start with 70 seconds and add 10-second increments if needed.
Step 5: The Final Flourish
Let the cake rest for 1 minute—this is crucial for the internal steam to finish setting the crumb. Sift a light dusting of powdered sugar over the top. Place two fresh vibrant red raspberries on the peak and sprinkle the sea salt flakes to finish.
Expert Tips for a Five-Star Result
- Avoid Overbaking: If the cake looks dry, you’ve gone too far. The center should look “wobble-ready” when you take it out.
- Quality Chocolate: Since this recipe is minimalist, the quality of your dark chocolate center determines the luxury of the “ooze.”
- The Salt Factor: Use flaky sea salt (like Maldon) rather than table salt; the larger crystals provide a textural pop that complements the moist crumb.
- Room Temperature Milk: Using cold milk can cause the melted butter or oil to seize, leading to an uneven texture.
Serving Suggestions and Flavor Pairings
While this molten lava mug cake is a star on its own, it pairs beautifully with other fruit-forward or creamy desserts. If you enjoy the raspberry component here, you might also love the bright profiles of a mango mousse cake or the light, airy layers of a mango crepe cake.
For those who prefer a more traditional custard-soaked finish, consider serving this alongside a slice of mango tres leches cake. If you’re hosting a dinner party and want to contrast the warm chocolate with a chilled treat, a bowl of mango bingsu provides a refreshing, icy counterpoint to the rich molten center.
Frequently Asked Questions
Yes, you can bake this in an oven-safe ramekin at 350°F (175°C) for about 12-15 minutes, but the microwave is specifically recommended for this ‘instant’ recipe.
Yes, you can substitute the all-purpose flour with a 1:1 gluten-free baking blend. Ensure the blend contains xanthan gum for the best structure.
While you can rely on undercooking the batter, using a chocolate truffle or chips ensures a consistent, glossy ‘lava’ flow that is safe and delicious every time.
A 10-12 ounce ceramic mug is ideal. Ceramic holds heat well, which helps melt the chocolate center, and the size prevents the batter from overflowing during the rise.
Rubbery texture is usually caused by overmixing the flour or overcooking the cake in the microwave. Mix just until combined and pull the cake out while the center still looks slightly damp.
The Ultimate Molten Lava Mug Cake Recipe
Molten Lava Mug Cake: The Ultimate 2-Minute Gourmet Dessert
Ingredients
Equipment
Method
- In a 10-12 oz microwave-safe mug, whisk together flour, cocoa, sugar, and baking powder until no lumps remain.
- Stir in the milk and oil until the batter is smooth and glossy. Ensure you reach the corners of the mug.
- Drop the chocolate chips or truffle into the center of the batter and push down until submerged but not stirred in.
- Cook on high for 70-90 seconds until the edges are set but the center still looks slightly damp.
- Let rest for 1 minute. Dust with powdered sugar, top with two raspberries and sea salt flakes.
Notes
Use a high-quality dark chocolate for the center to ensure a glossy, thick 'lava' flow.
Closing & Call to Action
This molten lava mug cake is proof that you don’t need hours in the kitchen to produce a professional-grade dessert. With its moist chocolate crumb and indulgent liquid center, it is the perfect solution for your next chocolate craving. We would love to see your results—did your lava ooze perfectly over the side of your mug?
Leave a comment below with your favorite toppings, and don’t forget to share your photos and pin this recipe to your favorite boards on Pinterest so you never lose this 2-minute treasure!