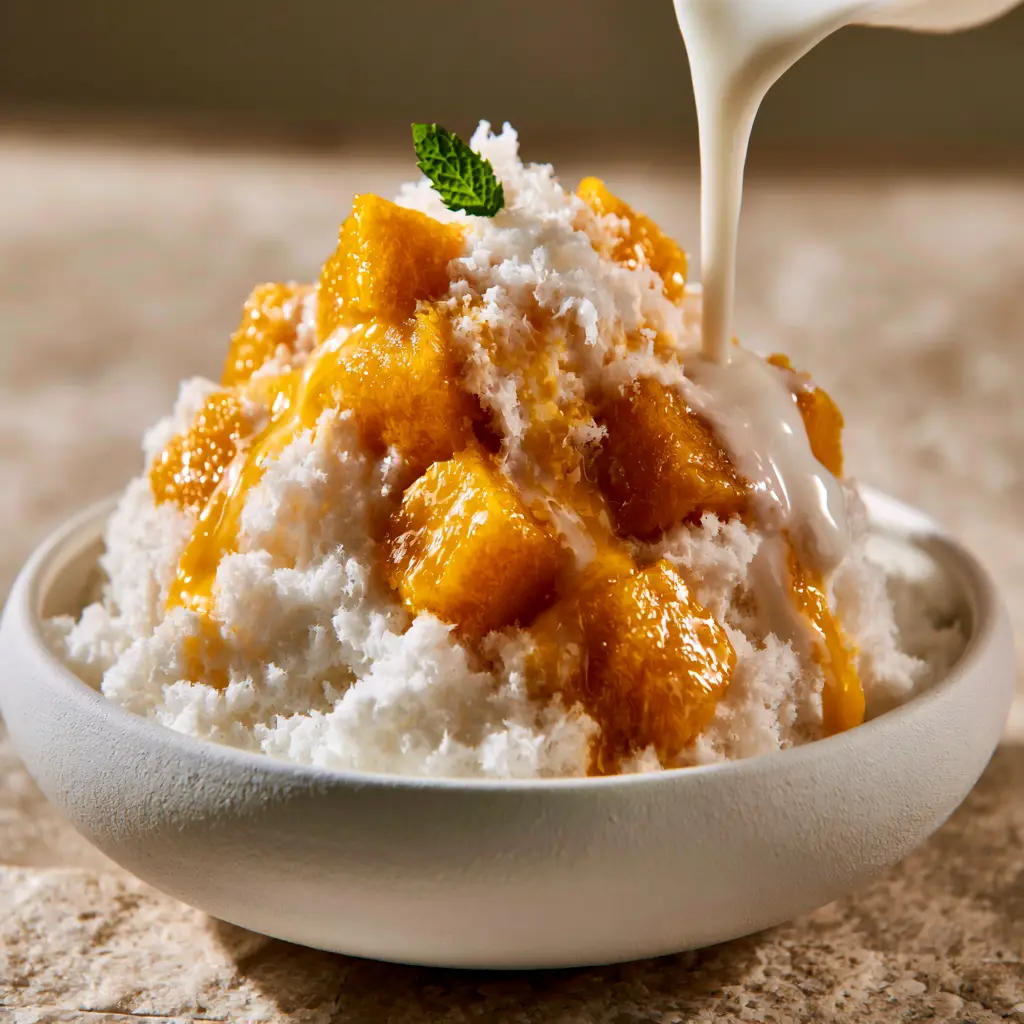
There is nothing quite like the sensory experience of a perfect mango bingsu. Imagine a mountain of powdery, white milk-ice crystals that look exactly like freshly fallen snow, piled high into a handcrafted matte white ceramic bowl. As you take your first spoonful, the ice doesn’t crunch; it simply melts away, leaving behind the creamy essence of sweetened milk and the vibrant, tropical punch of golden-orange mango.
In this guide, we are recreating that iconic Korean cafe experience right in your kitchen. This mango bingsu isn’t just a dessert; it’s a structural marvel of culinary science. We will master the “snow” texture, select the perfect Kensington Pride mangoes, and finish with that signature thick, glossy sweetened condensed milk drizzle that creates ribbons of sweetness across the fruit.
Why This Mango Bingsu Is the Ultimate Summer Refreshment
- Cloud-Like Texture: Unlike traditional shaved ice made with water, our milk-based snow is incredibly soft and fine-textured.
- Vibrant Kensington Pride Mangoes: We specifically utilize this variety for its deep golden-orange hue and lack of stringy fibers, ensuring a “glistening” appearance.
- High-Contrast Aesthetics: The bright green mint sprig at the peak provides a professional color contrast against the white ice and orange fruit.
- Glossy Finish: The thick, opaque white stream of condensed milk creates a high-specular highlight, just like a professional food photograph.
The Anatomy of a Perfect Mango Bingsu Snow Base
To achieve the “snowy” look described in our visual blueprint, we cannot use plain water. Water freezes into hard, translucent crystals. Instead, we use a blend of whole milk and a touch of heavy cream. The fat content in the dairy interferes with large crystal formation, resulting in the powdery, opaque white appearance of fresh snow.
We also include a small amount of sugar or condensed milk directly into the freezing liquid. This lowers the freezing point slightly, making the ice easier to “shave” into those delicate, airy flakes rather than hard chunks. If you love mango-forward treats, you might also enjoy exploring our guide to professional mango-themed desserts.
Essential Ingredients for the Perfect Shaved Ice
Whole Milk (500ml / 2 cups): This is the foundation of your snow. It provides the opaque white color and the creamy mouthfeel that defines authentic mango bingsu.
Heavy Cream (60ml / 1/4 cup): This “invisible” ingredient adds the necessary fat to ensure the ice remains fluffy and doesn’t turn into a solid block of hard ice.
Sweetened Condensed Milk (120ml / 1/2 cup): You will use half of this in the milk base for structural sweetness and the other half for the final “thick, glossy drizzle” shown in the visual prompt.
Kensington Pride Mangoes (2 large): Known for their intense aroma and vibrant color, these are cubed into uniform 1-inch (2.5cm) pieces to create that “glistening” golden-orange pile.
Fresh Mint (1 tiny sprig): A single, bright green leaf is the essential garnish for color contrast at the very peak of the ice mountain.
Fine Sea Salt (1 pinch): A tiny, scientifically required addition that heightens the perception of sweetness in the mango and cream.
Tools Required for Snowy Textures
While professional cafes use $2,000 bingsu machines, you can achieve a similar result at home. A high-powered blender with a “pulse” function or a dedicated home ice shaver is ideal. You will also need a handcrafted matte white ceramic bowl to replicate the eye-level, handheld smartphone photo aesthetic of our blueprint.
For freezing, use a large, flat freezer-safe bag. Laying the milk mixture flat allows it to freeze into a thin sheet, which breaks down much more easily into powdery crystals than a solid cube would. This technique is similar to how we prepare the base for our light and airy mango mousse cake.
The Science of Creating Milk Snow
Step 1: Preparing the Creamy Base
In a large measuring jug, whisk together 2 cups (500ml) of whole milk, 1/4 cup (60ml) of heavy cream, 2 tablespoons (30ml) of sweetened condensed milk, and a pinch of salt. Whisk until the condensed milk is fully dissolved. You are looking for a uniform, opaque white liquid with no streaks.
Step 2: The Flat-Freeze Method
Pour the mixture into a gallon-sized Ziploc bag. Squeeze out all the air and seal it tightly. Lay the bag flat on a baking sheet and place it in the coldest part of your freezer for at least 4-6 hours. Laying it flat ensures the “ice crystals” stay small and manageable for the next step.
Step 3: Prepping the Kensington Pride Mangoes
While the milk freezes, prepare your mangoes. Slice the cheeks off the pit and use a sharp knife to score 1-inch (2.5cm) cubes. Invert the skin so the cubes “pop” out, then gently slice them off. They should look uniform, vibrant, and glistening. If you have leftover fruit, consider using it for a layered mango crepe cake.
Step 4: Shaving the Snow
Remove the frozen milk sheet from the freezer. Let it sit on the counter for exactly 2-3 minutes—this is a “tempering” step that prevents the ice from being too brittle. Break the sheet into chunks and place them in a blender. Pulse in short, 1-second bursts. You are looking for the visual cue of “powdery white crystals” that look like freshly fallen snow.
Step 5: Architectural Assembly
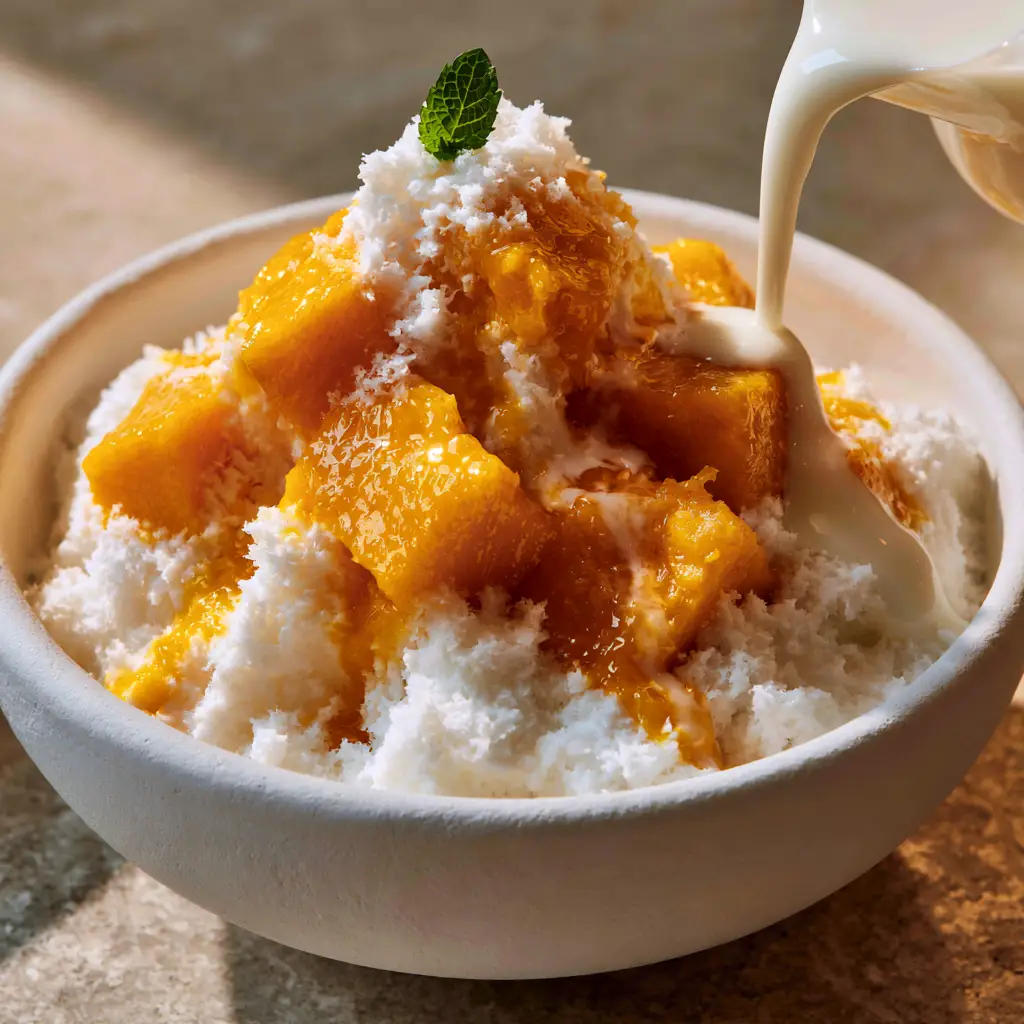
Immediately transfer the snow to your chilled matte white bowl. Pile it high into a heap, creating a soft mountain. Do not press down on the ice; you want to maintain the “crevices” for the drizzle to seep into. Carefully place the mango cubes around the base and sides, moving toward the peak.
Step 6: The Signature Drizzle and Garnish
Hold your remaining condensed milk just out of frame (or above the bowl) and pour it in a steady, slow stream. Create “glossy ribbons” that coat the mango and seep into the snowy crevices. Finally, place the single tiny mint leaf at the very peak for that perfect bright green contrast.
Expert Tips for Bingsu Perfection
- Chill Your Bowl: Place your ceramic bowl in the freezer for 20 minutes before assembling. This prevents the delicate snow from melting the moment it touches the surface.
- Temper the Ice: Never blend milk ice straight from the deep freeze. Giving it those 2 minutes of “thaw” time ensures the crystals stay powdery rather than turning into slush.
- The “Gloss” Factor: If your condensed milk is too thick to pour in ribbons, microwave it for 5 seconds to slightly lower its viscosity without making it runny.
- Variety Matters: If Kensington Pride mangoes aren’t in season, Ataulfo (Honey) mangoes are a great substitute due to their similar color and lack of fiber.
Storage and Serving Logistics
Mango bingsu is a “moment-in-time” dessert. Because of the high surface area of the snow crystals, it will begin to lose its fluffy structure within 5-10 minutes of assembly. It is not suitable for traditional storage once assembled.
However, you can store the frozen milk sheets in the freezer for up to 2 weeks. Simply shave the ice and top with fresh fruit whenever the craving strikes. For a complete tropical dinner party, serve this after a main course of Thai red curry noodle soup to cool down the palate.
What to Serve with Mango Bingsu
This dessert is quite rich due to the cream and condensed milk. It pairs beautifully with light, savory dishes that won’t overwhelm the palate. Consider serving it as a refreshing finale after grilled steak kabobs or a bright Mexican street corn salad.
The sweetness of the mango also complements spicy profiles perfectly. If you are hosting a summer brunch, follow up a plate of crispy Greek yogurt waffles with a shared bowl of this bingsu for a spectacular finish.
Frequently Asked Questions
Yes! By freezing a mixture of milk and cream flat in a Ziploc bag, you can simply pulse the frozen sheet in a blender to create the signature powdery snow texture.
Yes, but use a high-fat alternative like full-fat coconut milk or barista-grade oat milk to ensure the ice crystals remain creamy and opaque rather than translucent.
A small amount of sugar or condensed milk in the base is recommended. It not only adds flavor but also prevents the ice from freezing into a rock-hard block, making it easier to shave.
Kensington Pride or Ataulfo (Honey) mangoes are best because they are incredibly sweet, vibrant in color, and have almost no stringy fibers.
Milk ice has a lower melting point than water ice. To slow melting, chill your serving bowl in the freezer for 20 minutes before assembling the dessert.
The Ultimate Mango Bingsu Recipe
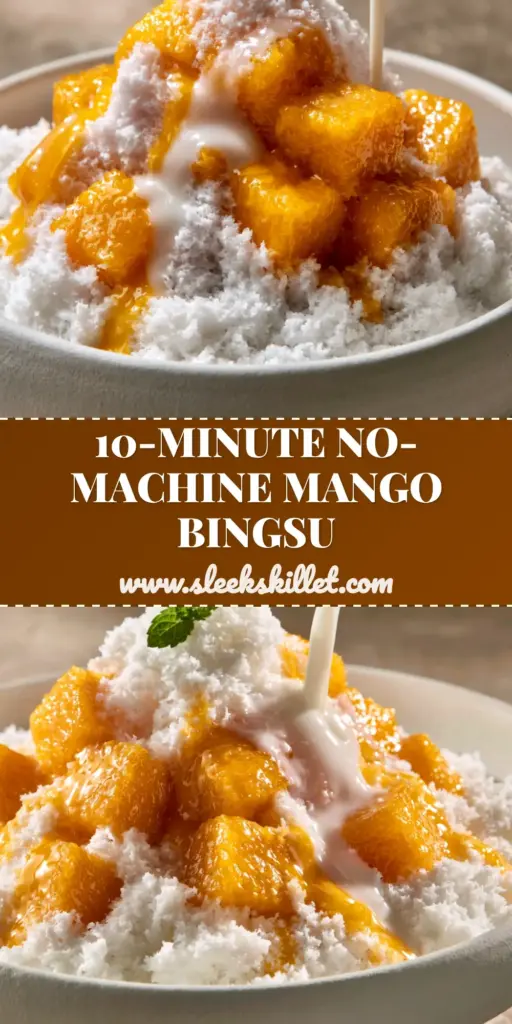
Mango Bingsu: The Ultimate Recipe for Fluffy Korean Shaved Milk Ice
Ingredients
Equipment
Method
- Whisk milk, cream, 2 tbsp condensed milk, and salt until uniform.
- Pour into a gallon bag, seal flat, and freeze for 4-6 hours until solid.
- Cube the Kensington Pride mangoes into uniform 1-inch pieces.
- Break frozen milk sheet into pieces and pulse in a blender until powdery like snow.
- Pile ice into a chilled bowl, top with mango cubes, and drizzle with remaining condensed milk.
- Place a single mint leaf at the peak and serve immediately.
Notes
Use Kensington Pride or Ataulfo mangoes for the best fiber-free texture.
Join the Bingsu Revolution!
There is nothing more satisfying than successfully creating that cafe-quality snow at home. This mango bingsu is a testament to how simple ingredients—milk, cream, and fruit—can be transformed through technique into something truly magical. The golden-orange mango against the powdery white ice is a visual and culinary masterpiece.
Did you manage to get that perfect “glossy ribbon” drizzle? We want to see your creations! Leave a comment below or share your photos on Pinterest and tag us. Don’t forget to sign up for our newsletter for more deep-dives into the science of your favorite desserts.