There is a specific, soul-satisfying alchemy that happens when the perfect brown sugar chocolate chip cookies emerge from the oven. We aren’t just talking about a standard cookie; we are talking about a bakery-style masterpiece featuring a deep toffee-colored crinkle-top, shimmering pools of dark chocolate, and that elusive, bendable, gooey center.
The secret to achieving this level of culinary excellence lies in the forensic details of the dough. By prioritizing a high ratio of dark brown sugar and utilizing specific “pan-banging” techniques, you can create the dramatic ripples and cracks that make these cookies a viral sensation.
Whether you are a seasoned baker or someone looking for their new “forever” recipe, this guide will walk you through the science of the Maillard reaction and the structural requirements of a truly gooey, salty-sweet treat. Grab your apron and let’s dive into the ultimate cookie experience.
The Aesthetic Allure of the Perfect Crinkle-Top Cookie
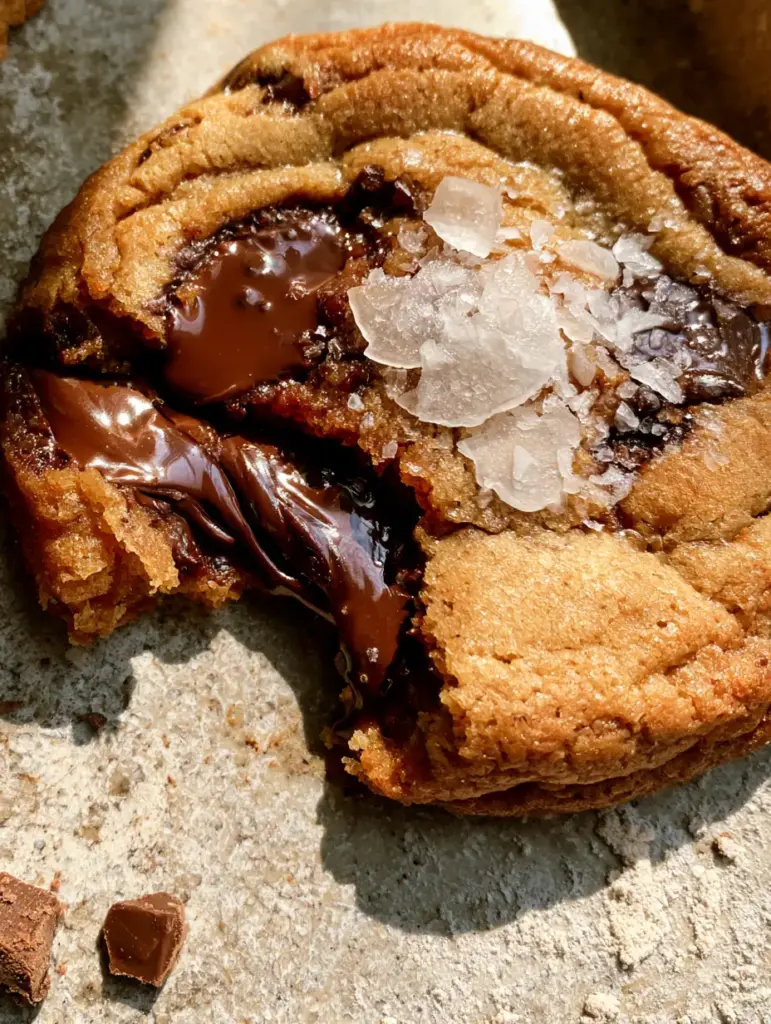
What makes these brown sugar chocolate chip cookies stand out in a sea of generic recipes is the intentional contrast in textures. Every bite offers a journey through different sensory checkpoints that are visually confirmed before you even take a taste.
- Rippled Crinkle-Top: A series of concentric ridges and cracks that provide a delicate, wafer-like crunch on the edges.
- Molten Dark Chocolate Pools: Using chopped chocolate bars instead of standard chips ensures wide, glistening reservoirs of cocoa.
- Gooey, Bendable Core: A soft, underbaked center that yields perfectly when the cookie is broken in half.
- Maldon Sea Salt Garnish: Large, translucent flakes that catch the light and balance the intense molasses notes.
- Rustic Flour Dusting: A final, light dusting of flour that gives these cookies a professional, “straight-from-the-artisanal-bakery” look.
Essential Elements for Oozy Dark Chocolate Pools
To achieve the specific visual blueprint of these brown sugar chocolate chip cookies, every ingredient must serve a functional purpose. We aren’t just mixing dough; we are engineering a texture profile that supports heavy chocolate and a rippled surface.
Unsalted Butter (Browned): 1 cup (227g). Browning the butter adds a nutty complexity and provides the “toffee” undertone mentioned in the visual prompt. Ensure you scrape every brown bit into the bowl.
Dark Brown Sugar: 1 ½ cups (330g). The high molasses content in dark brown sugar is non-negotiable for achieving that deep golden-brown color and the “bendable” structure. This is the primary driver of the cookie’s chewiness.
Granulated White Sugar: ½ cup (100g). White sugar is the key to the “crinkle” effect, as it helps the edges crisp up and provides the necessary sweetness to balance the dark chocolate.
Large Eggs (Room Temperature): 2 eggs. Room temperature eggs emulsify more effectively with the fats, creating a smoother dough that spreads evenly to form those beautiful ripples.
Vanilla Bean Paste or Extract: 1 tbsp (15ml). While extract works, paste provides those tiny black flecks that enhance the rustic, high-end appearance of the final product.
All-Purpose Flour: 2 ¼ cups (280g). This provides the structural foundation. We also keep a small amount aside for that “light flour dusting” to achieve the forensic visual accuracy required.
Baking Soda: 1 tsp (6g). This leavener reacts with the acidic molasses in the brown sugar, helping the cookies rise and then fall to create the “rippled” texture.
Cornstarch: 1 tsp (3g). A secret “invisible” ingredient that ensures the center remains gooey and soft even after the cookies have cooled.
Fine Sea Salt: ¾ tsp (4g). This is added to the dough to enhance the chocolate flavors from within, distinct from the flakes on top.
Dark Chocolate Bars (70% Cocoa): 10 oz (280g). Roughly chop these into large, irregular chunks. This creates the “stray chocolate chunks” and “melted pools” seen in our hero image.
Maldon Sea Salt Flakes: For Garnish. Use these generously. The large, flat crystals provide the “glistening” highlight that defines the visual appeal of these cookies.
Must-Have Tools for the Bakery-Style Result
Achieving the perfect brown sugar chocolate chip cookies requires more than just a bowl and a spoon. To get those specific ripples, you need to use the right equipment.
First, a heavy-duty light-colored saucepan is essential for browning the butter so you can accurately judge the color change. A large 3-tablespoon (50g) cookie scoop ensures each cookie is “bakery-style” in size, allowing for the textural gradient from crispy edge to gooey center.
Finally, use a light-colored, rimmed baking sheet. Dark pans absorb too much heat and may burn the bottoms before the “crinkle-top” has a chance to form. If you’ve mastered this, you might also enjoy experimenting with rippled chocolate chip cookies for a more uniform aesthetic.
The Science of Pan-Banging and Toffee-Toned Dough
Phase 1: The Brown Butter Foundation
In a medium saucepan over medium heat, melt the butter. Continue cooking, whisking constantly, until the foam subsides and you see golden-brown bits at the bottom. The smell should be intensely nutty; this is the base for our salted butter chocolate chip cookies flavor profile. Remove from heat immediately and let cool for 10 minutes.
Phase 2: Developing the Crinkle Surface
Combine the cooled brown butter with the dark brown sugar and granulated sugar. Whisk vigorously for at least 2-3 minutes. This step is vital; it dissolves the sugar enough to create that shiny, cracked top layer. Add the eggs and vanilla, whisking until the mixture is pale and slightly thickened.
Phase 3: The Gentle Fold
Sift in the flour, baking soda, cornstarch, and fine salt. Use a spatula to fold the dry ingredients into the wet until just a few streaks of flour remain. Fold in the large dark chocolate chunks, reserving a handful to press into the tops later for those “melted pools.”
Phase 4: The Chill and Scoop
Chill the dough for at least 30 minutes. This prevents the cookies from spreading too thin and keeps the center “gooey” and “bendable.” Scoop large balls of dough onto the prepared baking sheet, spacing them 3 inches apart.
Phase 5: The “Pan-Banging” Technique
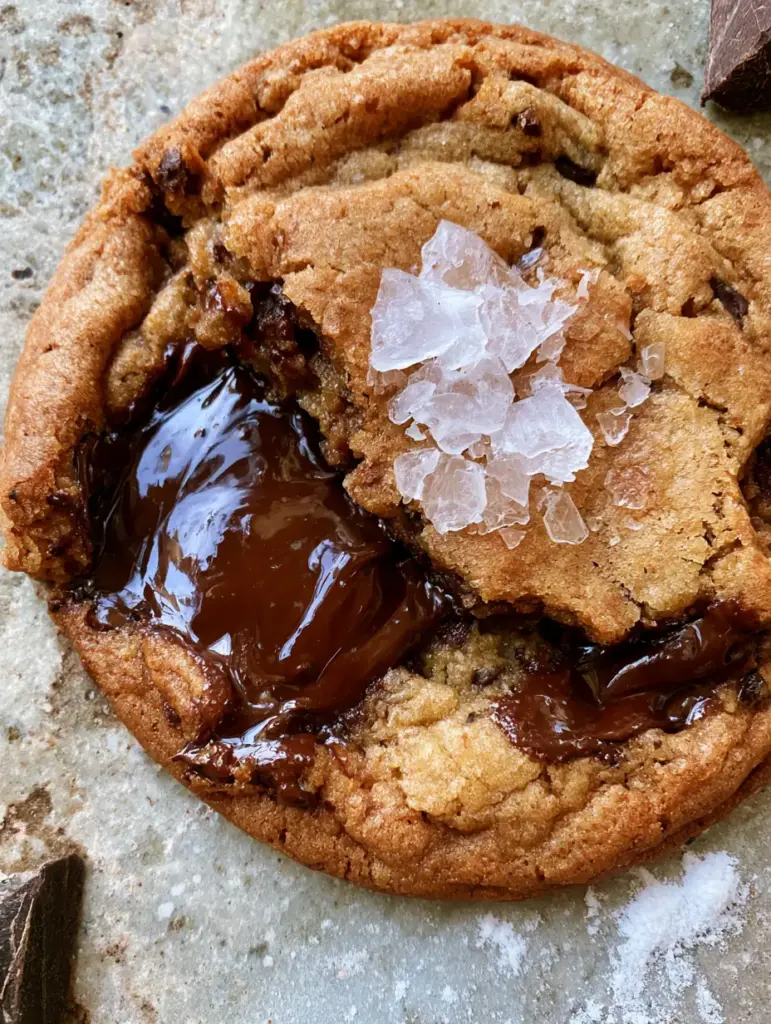
Bake at 350°F (175°C). After 8 minutes, the cookies will have puffed up. Lift one side of the baking sheet 4 inches and let it drop against the oven rack. Repeat this 3-4 times. This “bang” collapses the air bubbles, creating the ripples and cracks. Bake for another 2-3 minutes until the edges are deep golden brown.
Troubleshooting for the Ultimate Cookie Texture
- If your cookies are too puffy: You may have over-creamed the butter and sugar or used too much flour. Ensure you are using the “spoon and level” method for measurements.
- If there are no “pools”: You likely used standard chips. Chips contain stabilizers to keep their shape. Use chopped high-quality chocolate bars for that melting effect.
- Achieving the “Dusting”: For the forensic look, lightly tap a fine-mesh sieve with a pinch of flour over the finished cookies while they are still warm.
- Center isn’t gooey: You may have overbaked. The cookies should look slightly wet in the center when you pull them out; they will firm up on the hot pan.
The Ideal Pairings for Salty-Sweet Cookies
These brown sugar chocolate chip cookies are a decadent treat on their own, but they also pair beautifully with other textures. If you’re looking for a savory contrast, try serving them alongside some salty snack recipes at your next gathering.
For those who love a full dessert spread, these cookies complement the richness of a chocolate cream cheese danish or even the refreshing zest of a coconut key lime pie smoothie. If you want something even simpler, you could even try making a batch of chocolate chipless cookies to compare the flavor of the toffee dough itself.
Expert Solutions for Common Baking Questions
You can, but the cookies will be lighter in color and have a less intense toffee flavor. Dark brown sugar provides the moisture needed for a truly bendable center.
Use high-quality chocolate bars chopped into chunks. Press a few extra chunks into the top of the dough balls immediately before baking.
Thanks to the cornstarch and brown sugar ratio, they stay soft and gooey for up to 3 days when stored in an airtight container at room temperature.
Ripples are created by ‘pan-banging.’ You must lift and drop the pan during the baking process to collapse the air bubbles, which creates the ridges.
The browned butter must be cooled before mixing, and the dough needs at least 30 minutes in the fridge to hydrate the flour and firm up the fats.
The Ultimate Brown Sugar Chocolate Chip Cookie Recipe
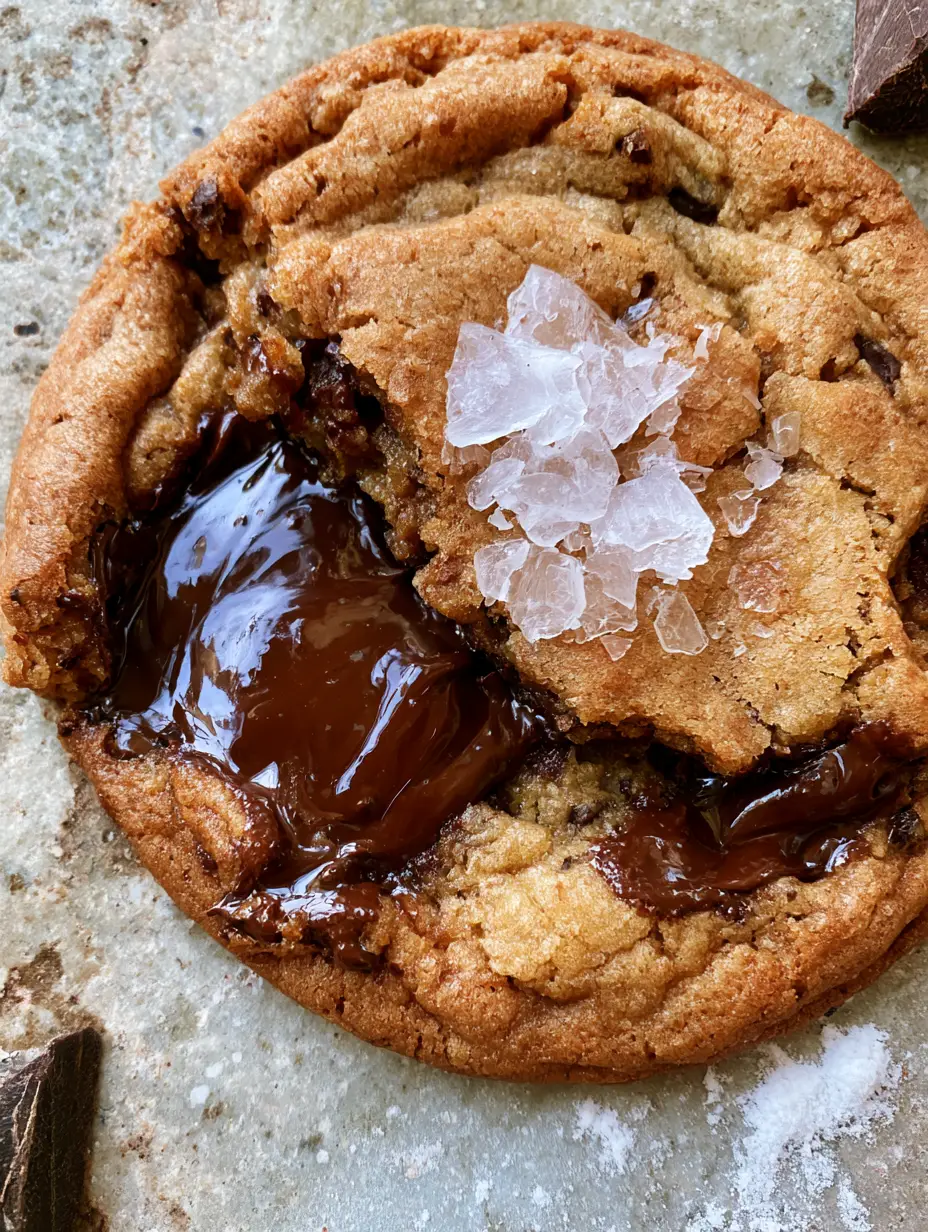
Brown Sugar Chocolate Chip Cookies with Gooey Centers and Rippled Edges
Ingredients
Equipment
Method
- Melt butter in a saucepan over medium heat, whisking until it turns golden brown with a nutty aroma. Remove and cool for 10 minutes.
- Whisk browned butter with both sugars for 2-3 minutes. Add eggs and vanilla, whisking until the mixture is pale and thickened.
- Sift in flour, baking soda, cornstarch, and fine salt. Fold until just combined, then stir in chopped dark chocolate.
- Chill the dough in the refrigerator for 30 minutes to ensure a gooey center and controlled spread.
- Scoop 3-tbsp sized balls onto a baking sheet. Bake at 350°F (175°C) for 8 minutes.
- Lift and drop the pan against the oven rack 3-4 times to create ripples. Bake 2-3 more minutes until edges are golden brown.
- Immediately top with Maldon sea salt flakes and a light dusting of flour for a rustic look.
Notes
Use high-quality dark chocolate bars instead of chips for the best melting pools.

Join the Toast Pantry Community
We hope these brown sugar chocolate chip cookies bring a bit of bakery-style magic to your kitchen. The combination of the rippled edges and the glistening Maldon salt is truly a sight to behold—and an even better one to eat!
If you made this recipe, we want to hear about it! Leave a comment below and tell us how your “pan-banging” went. Don’t forget to follow us on Pinterest and share your gooey cookie photos with the community. Happy baking!