The chocolate chipless cookies are the ultimate testament to the power of high-quality ingredients and precise technique. While most bakers focus on the inclusions, this recipe strips everything away to highlight the complex beauty of caramelized butter and aromatic vanilla.
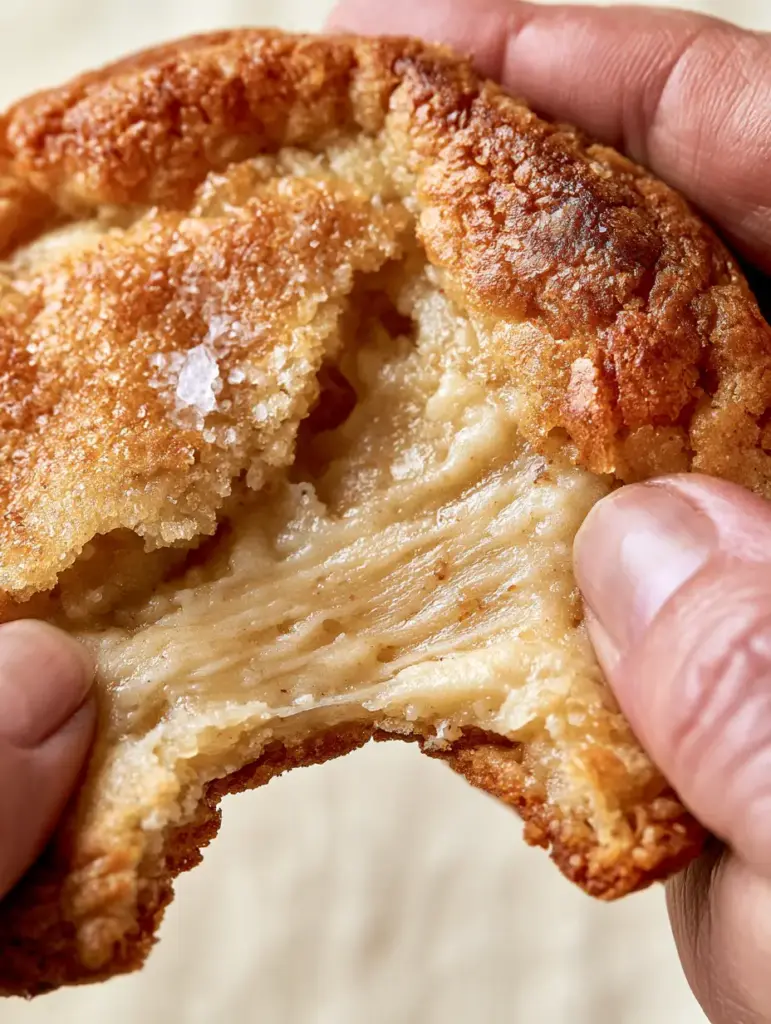
Imagine a cookie that offers the perfect textural dichotomy: a crisp, golden-brown edge that shatters upon impact, giving way to a pale, buttery, and intentionally underbaked center. This is the “naked” cookie that has taken the culinary world by storm, proving that you don’t need chocolate to make a lasting impression.
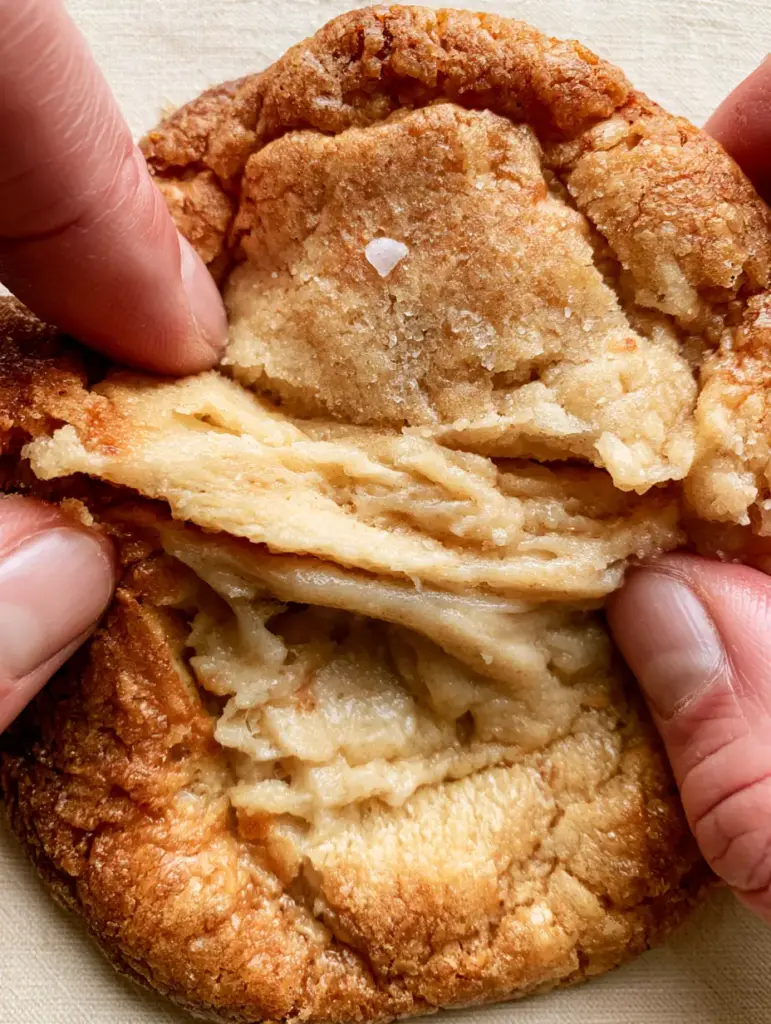
By focusing on the Maillard reaction and the hydration levels of the dough, we have engineered a cookie that looks as stunning as it tastes. The crinkled, crackled surface catches the light, shimmering with a light dusting of fine sugar crystals and a single, strategic flake of sea salt.
The Irresistible Allure of the Chipless Masterpiece
- Textural Contrast: A dual-zone experience featuring a high-snap caramelized rim and a molten, custard-like vanilla core.
- Visual Sophistication: A minimalist golden-brown aesthetic with artisanal crinkles and a professional buttery sheen.
- Pure Vanilla Profile: Intense aromatic depth achieved through a heavy hand of vanilla bean paste and slow-creamed sugars.
- Salty-Sweet Balance: A sophisticated finish using both fine sugar crystals for crunch and flaky sea salt for mineral pop.
The Anatomy of Pure Vanilla Cookie Excellence
To achieve the visual and sensory goals of these chocolate chipless cookies, every ingredient serves a dual purpose for both flavor and structure. We aren’t just making a cookie; we are building a foundation of flavor that stands entirely on its own.
Unsalted Butter (227g / 1 cup): High-quality European-style butter is essential here to provide the necessary fat for that signature buttery sheen and soft interior ripples. We use it softened but cool to ensure the dough maintains its structure during the initial creaming phase.
Light Brown Sugar (200g / 1 cup): This is the engine behind our caramelized brown sugar edges, providing the moisture and molasses needed for a chewy texture. It reacts with the heat to create that deep golden finish described in our visual blueprint.
Granulated Sugar (100g / 0.5 cup): White sugar is critical for achieving the crinkled cookie top, as it encourages spreading and creates a crisp exterior lattice. It also provides the base for the fine sugar crystals dusted on top before serving.
Large Egg + 1 Egg Yolk: The additional yolk is the secret to the pale, underbaked center, adding fat and emulsifiers that prevent the middle from drying out. This ensures the “soft ripples” and visible moisture seen in the handheld pull photo.
Vanilla Bean Paste (15ml / 1 tbsp): Since there is no chocolate, the vanilla must be loud and proud, using paste to provide those beautiful visible specks. This ingredient transforms a simple dough into a creamy vanilla cookie dough masterpiece.
All-Purpose Flour (250g / 2 cups): A moderate protein content allows for enough structure to hold the oversized shape without making the cookie tough or bread-like. It creates the “pale dough” look when handled with a light touch.
Baking Soda (6g / 1 tsp): This alkaline agent is responsible for the browning of the edges, facilitating the Maillard reaction for that caramelized finish. It works in tandem with the brown sugar to create the perfect golden-brown hue.
Baking Powder (3g / 0.5 tsp): A small amount of baking powder provides a vertical lift, contributing to the crinkled, crackled surface as the cookies rise and then deflate. It helps create the “soft ripples” in the dough’s interior.
Fine Sea Salt (3g / 0.5 tsp): Incorporated into the dough to enhance the vanilla, while the flaky sea salt on top provides a visual and flavor contrast. This internal seasoning is vital for fans of salty snack recipes.
Essential Equipment for Bakery-Style Results
Achieving the perfect crinkle and the underbaked center requires more than just ingredients; you need the right tools to control heat and airflow. A heavy-duty stand mixer is preferred for the creaming process to aerate the butter and sugar correctly.
You will also need a large 3-ounce (85g) cookie scoop to ensure these cookies are “oversized,” as smaller cookies will bake through too quickly. A light-colored aluminum baking sheet is vital to prevent the bottoms from burning before the edges caramelize.
Finally, a cooling rack is non-negotiable to stop the cooking process immediately once the cookies leave the oven. This preservation of the pale center is what separates a good cookie from a professional chipless vanilla cookie.
Step-by-Step Guide to the Ultimate Chipless Cookie
The Creaming and Aeration Phase
Begin by creaming the softened butter with the brown and granulated sugars for at least 5 minutes on medium-high speed. You are looking for the mixture to turn pale and voluminous, which is the first step toward that buttery sheen.
Add the egg, the extra yolk, and the vanilla bean paste, beating for another 2 minutes until the mixture looks like a thick custard. The scent of vanilla should be overpowering at this stage, indicating the depth of the finished product.
Integrating the Dry Components
Whisk together your flour, baking soda, baking powder, and fine salt in a separate bowl to ensure even distribution. Slowly add this to the wet ingredients, mixing only until no streaks of flour remain to preserve the delicate gluten structure.
Do not overmix at this stage, or you will lose the pale, underbaked center texture that we are striving for. The dough should feel soft, pliable, and slightly tacky to the touch, reminiscent of the base for rippled cookie texture.
The Critical Chill Period
Scoop the dough into large, oversized balls and place them on a tray; then, chill them in the refrigerator for at least 2 hours. This cold start is what allows the edges to caramelize while the center remains pale and moist during the bake.
Chilling the dough also develops the flavor, allowing the sugars to fully hydrate and the vanilla to permeate the flour. It is the secret step used in the most famous classic cookie base recipes.
Baking for Visual Contrast
Preheat your oven to 375°F (190°C) to ensure a high-heat environment that will snap the edges into a golden-brown finish quickly. Place only four cookies per sheet to allow for significant spreading and the development of the crinkled top.
Watch for the “Visual & Sensory Cues”: the edges should be a deep mahogany brown and the tops should have deep crackles, while the center remains puffed and pale. If the center begins to brown, you have baked them too long; remove them immediately.
Expert Tips for Professional Crinkles
- The Pan-Bang Method: Halfway through baking, lift the cookie sheet and drop it against the oven rack to force the cookies to deflate and create those soft ripples.
- Room Temperature Eggs: Ensure your eggs are not cold when mixing to prevent the butter from curdling, which maintains the buttery sheen.
- Sugar Dusting: Sprinkle the fine sugar crystals immediately after the pan-bang to ensure they adhere to the molten surface.
- Quality of Vanilla: Use the best vanilla you can find; since there are no chips, the vanilla is the primary flavor profile.
Storage and Preservation of Freshness
These chocolate chipless cookies are best enjoyed within the first 4 hours of baking when the edge-to-center contrast is at its peak. However, they can be stored in an airtight container at room temperature for up to 3 days without losing their chew.
To revive the underbaked texture, microwave a cookie for 8-10 seconds until the center softens slightly. This mimics the fresh-from-the-oven experience and brings back the moisture in the buttery dough.
What to Serve With Vanilla Chipless Cookies
Because these cookies are so rich and vanilla-forward, they pair beautifully with acidic or refreshing beverages. A cold glass of milk is the classic choice, but for a gourmet twist, try serving them alongside a refreshing dessert drink to cut through the butter.
If you are serving these as part of a larger dessert spread, they complement the deeper molasses notes of brown sugar chocolate chip cookies perfectly. For those who enjoy a savory balance, they also work well following a meal of ricotta stuffed peppers.
Frequently Asked Questions
Yes, you can freeze the pre-scooped dough balls for up to 3 months. Bake directly from frozen, adding 1-2 minutes to the total baking time.
Use the ‘pan-banging’ method by lifting and dropping the baking sheet during the bake, and ensure you have a high ratio of granulated sugar to encourage spreading.
A single flake of high-quality sea salt (like Maldon) is recommended to provide a clean mineral crunch that balances the sweetness of the vanilla dough.
The pale center is achieved by using an extra egg yolk for moisture and chilling the dough, which allows the edges to set and brown while the middle remains underbaked.
Omitting the chips allows the complex flavors of caramelized brown sugar, high-quality butter, and aromatic vanilla bean paste to take center stage without distraction.
The Official Chocolate Chipless Cookies Recipe
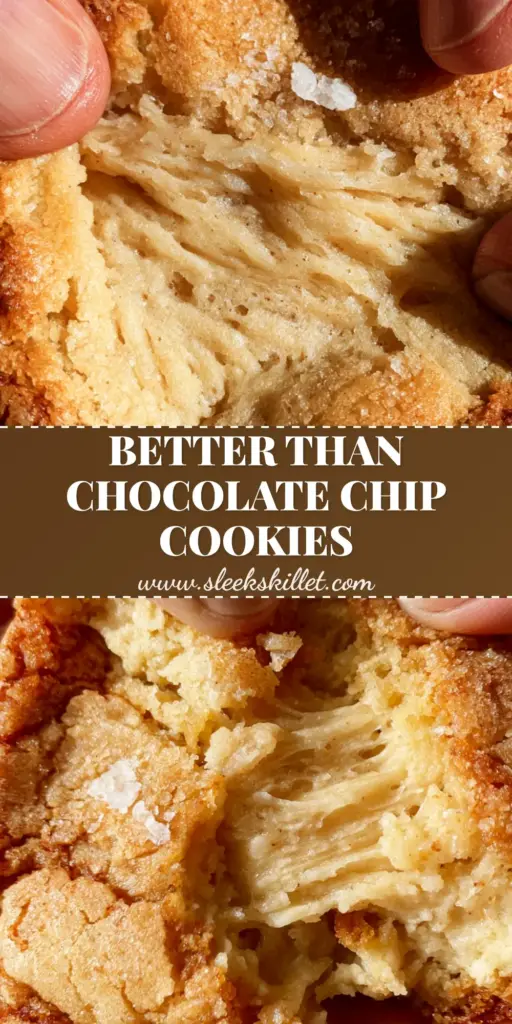
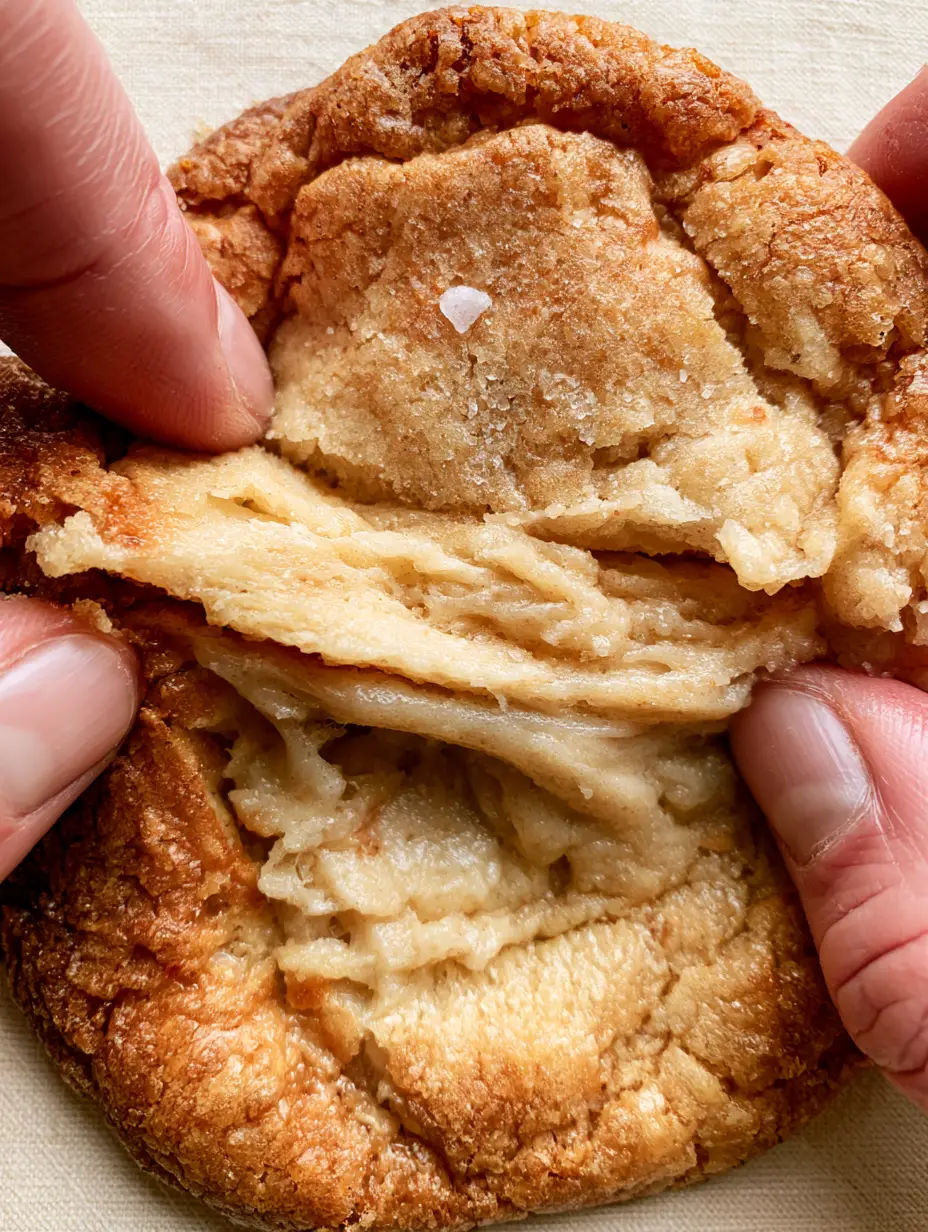
Chocolate Chipless Cookies with Caramelized Edges and Salted Vanilla Centers
Ingredients
Equipment
Method
- Cream the butter and both sugars in a stand mixer for 5 minutes until pale and fluffy.
- Add the egg, yolk, and vanilla paste, beating for 2 minutes until emulsified.
- Slowly fold in the flour, baking soda, baking powder, and fine salt until just combined.
- Scoop 3-ounce balls and chill in the refrigerator for at least 1 hour.
- Bake at 375°F (190°C) for 9-11 minutes. Bang the pan halfway through to create crinkles.
- Remove when edges are golden brown but centers are pale. Dust with sugar crystals and flaky salt.
Notes
Use high-quality vanilla bean paste for visible specks and intense flavor.
Sharing the Chipless Joy
We hope you love these chocolate chipless cookies as much as we do, celebrating the pure, unadulterated joy of vanilla and butter. If you make this recipe, please leave a comment below and let us know how your caramelized edges turned out!
Don’t forget to follow us on Pinterest for more minimalist dessert inspiration and “naked” cookie variations. Share your bake on social media and tag us to show off those beautiful, buttery ripples!