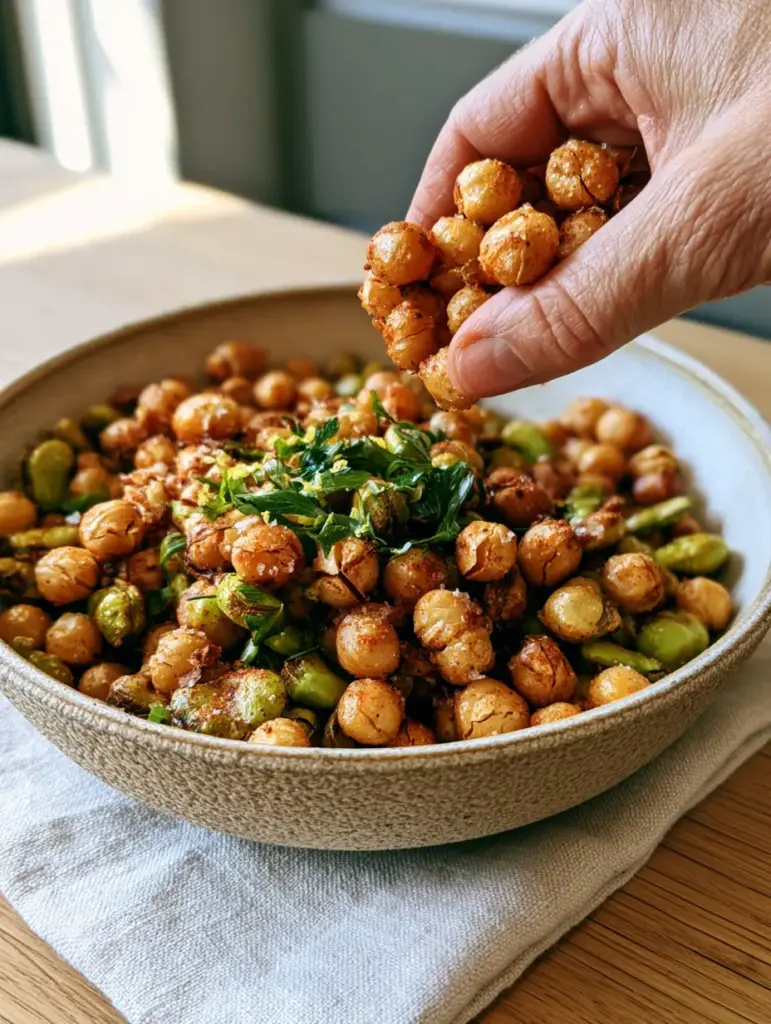
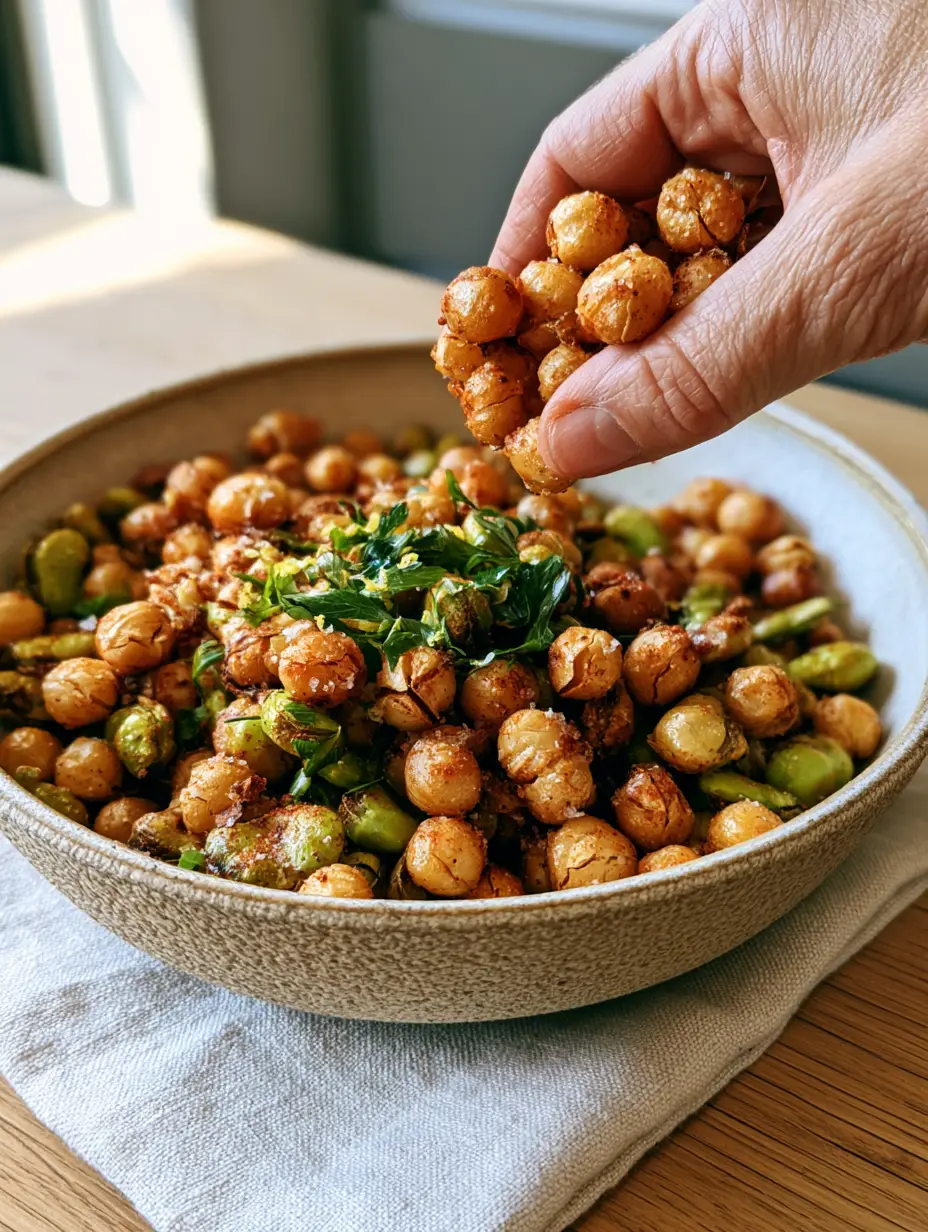
There is a specific, audible “snap” that defines the perfect crunchy snack recipe, a sound that promises a satisfying shatter followed by a burst of savory flavor. Imagine reaching into a textured ceramic bowl, your fingers brushing against legumes that have been transformed by high heat into golden-brown nuggets of joy.
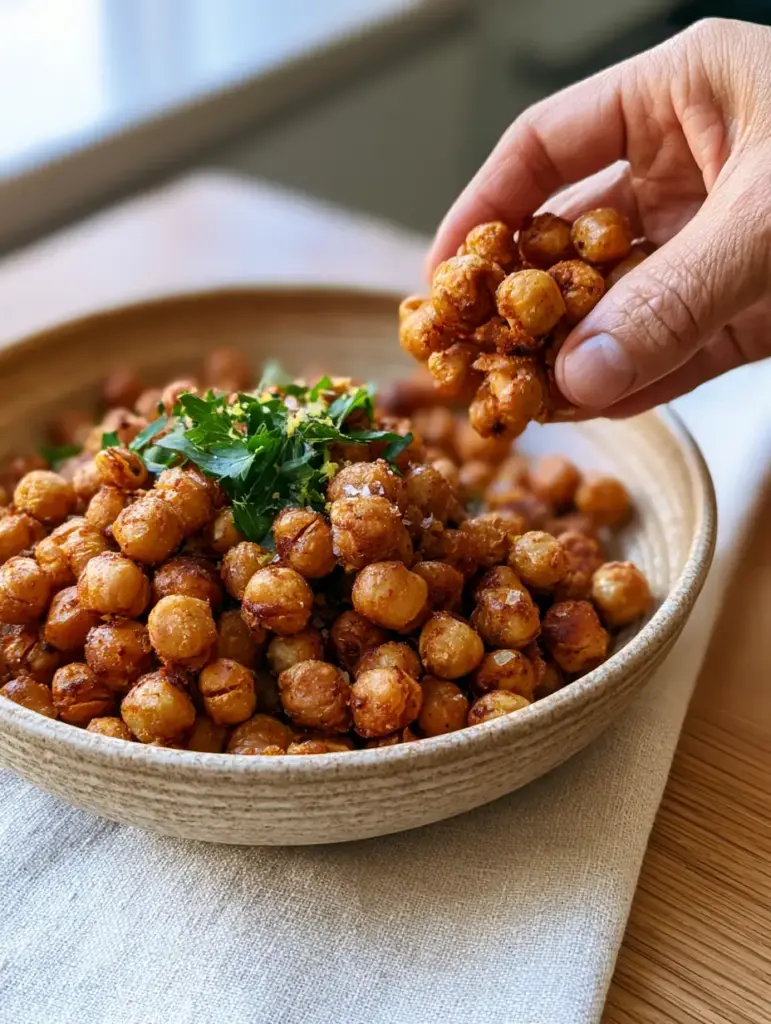
This isn’t just another bag of store-bought nuts; this is a handcrafted blend of roasted chickpeas with blistered skins and toasted green edamame, finished with a vibrant dusting of smoked paprika and a bright citrus lift. The visual appeal is undeniable, featuring delicate cracks in the legumes and a light chiffonade of fresh flat-leaf parsley that looks as good as it tastes.
Whether you are looking for a high-protein midday fuel or a sophisticated appetizer for your next gathering, this recipe delivers on every sensory level. We are bridging the gap between professional culinary techniques and home kitchen accessibility to ensure every bite is perfectly seasoned and impossibly crisp.
Why This Will Become Your Go-To Crunchy Snack Recipe
- Textural Complexity: By combining the hearty crunch of roasted chickpeas with the lighter, shatter-crisp texture of toasted edamame, you get a multi-dimensional snacking experience.
- Scientifically Crispy: We utilize specific moisture-reduction techniques to ensure those “blistered skins” and “delicate cracks” mentioned in our visual blueprint are achieved every single time.
- Visual Sophistication: The contrast between the deep golden-brown legumes, the vibrant red paprika dusting, and the bright green flecks of parsley and lemon zest makes this a centerpiece-worthy snack.
- Nutrition Focused: This is a powerhouse of plant-based protein and fiber, making it one of those healthy foods that actually tastes like a decadent indulgence.
The Pantry Staples Behind Every Ultra-Crispy Legume
To achieve the results seen in our high-resolution photography, you need more than just the legumes; you need the right foundational elements to facilitate heat transfer and flavor adhesion.
Cooked Chickpeas (Garbanzo Beans): 1 can (15 oz / 425g), rinsed and dried thoroughly. The chickpea provides the structural integrity and the classic “blistered” look that defines a high-quality salty snack recipe.
Shelled Edamame: 1.5 cups (250g), thawed if frozen. These toasted green gems add a unique nutty sweetness and a lighter crunch compared to the denser chickpea.
Avocado Oil or Grapeseed Oil: 2 tbsp (30ml). You need an oil with a high smoke point to withstand the 400°F (200°C) roasting temperature without breaking down or tasting bitter.
Smoked Paprika: 1 tsp (2g). This provides the “light dusting” and deep orange hue visible in the visual blueprint, offering a subtle earthiness and campfire aroma.
Large Flake Sea Salt: 1 tsp (5g). Unlike fine salt, flake salt provides those visible “crystals” that catch the light and offer intermittent bursts of salinity.
Fresh Flat-Leaf Parsley: 2 tbsp (8g), finely minced. Adding this at the very end ensures the “fine chiffonade” remains vibrant green and doesn’t wilt or turn brown from the oven’s heat.
Fresh Lemon Zest: 1 tsp (2g), micro-planed. The tiny flecks of zest cut through the richness of the oil and the smokiness of the paprika, providing a necessary top note of acidity.
Garlic Powder & Onion Powder (Optional Foundation): 0.5 tsp (1.5g) each. These “invisible” ingredients build a savory base layer of flavor that supports the primary spices.
Essential Tools for the Perfect Roast
Achieving a professional-grade crunchy snack recipe requires the right equipment to manage airflow and heat distribution. A standard rimmed baking sheet is your best friend here, as the low sides allow moisture to escape quickly rather than steaming the legumes.
You will also need plenty of clean kitchen towels or paper towels. The secret to the “blistered skins” is the absolute removal of surface moisture before the legumes ever touch the oil.
A large mixing bowl is essential for ensuring every single chickpea and edamame bean is evenly coated in oil and spices. Finally, a microplane is the only tool that can achieve the “tiny flecks of lemon zest” required for that professional finish.
The Culinary Blueprint: Step-by-Step Instructions
Phase 1: The Critical Dehydration Step
Start by preheating your oven to 400°F (200°C). While the oven reaches temperature, drain your chickpeas and edamame. Place them on a flat surface lined with triple-layered paper towels.
Roll the legumes around gently under another towel. You want to see the chickpea skins start to slightly loosen; this creates the “delicate cracks” that allow heat to penetrate the center. If time permits, let them air dry for 15-20 minutes after towel drying.
Phase 2: The Oil Coating Technique
Transfer the bone-dry legumes to a large bowl. Drizzle with the 2 tbsp (30ml) of avocado oil. Do not add the salt or paprika yet!
Toss vigorously. You want a thin, shimmering film of oil over every surface. This oil acts as a heat conductor, ensuring the “golden-brown toasted exterior” is uniform rather than patchy.
Phase 3: The High-Heat Roast
Spread the legumes onto your baking sheet in a single, non-crowded layer. Slide them into the center rack of the oven. Roast for 25-30 minutes, shaking the pan every 10 minutes.
Listen for a light “rattling” sound when you shake the pan—this is the sensory cue that the moisture has evaporated. Look for the skins to appear papery and blistered. The edamame should have transitioned from bright green to a deeper, toasted olive-gold.
Phase 4: The Flavor Infusion
Immediately upon removing the pan from the oven, while the oil is still sizzling, sprinkle the smoked paprika and flake sea salt over the legumes. The residual heat will “bloom” the paprika, intensifying its color and aroma.
Toss the snacks directly on the hot pan to ensure even distribution. The salt crystals should adhere to the oily surfaces, creating the grainy, salty surface highlighted in the photography prompt.
Phase 5: The Fresh Finish
Allow the snack to cool for at least 10 minutes. This cooling period is when the final “crunch” sets. Once cooled, sprinkle the chiffonade of parsley and the micro-planed lemon zest over the bowl.
Toss one last time. The contrast of the cold, fresh herbs against the room-temperature toasted legumes creates a sophisticated flavor profile that rivals any gourmet roasted vegetable recipe.
Expert Tips for Success
- The “Skin” Factor: For the absolute best blistered texture, you can gently rub the chickpeas until the clear outer skins come off entirely, though leaving them on (as in our blueprint) provides more “cracks” and visual interest.
- Avoid Overcrowding: If the legumes are touching, they will steam each other. Use two pans if necessary to ensure plenty of airflow.
- Wait for the Zest: Never zest the lemon onto the legumes before roasting. The oils in the zest will burn and turn bitter in a 400°F (200°C) oven.
- The Canned vs. Fresh Debate: Canned chickpeas actually roast better for snacks because they have been “pre-soaked” to a specific moisture level that reacts well to sudden high heat.
Storage and Maintaining the Crunch
This crunchy snack recipe is at its peak within 4 hours of roasting. However, if you have leftovers, store them in a glass jar with the lid slightly ajar. Closing the lid tight can trap residual moisture, leading to a chewy rather than crunchy texture.
If they do lose their snap, simply pop them back into a 350°F (175°C) oven for 5 minutes to re-crisp. Do not freeze these, as the cellular structure of the roasted legume will collapse upon thawing, resulting in a mushy mess.
What to Pair With Your Roasted Legumes
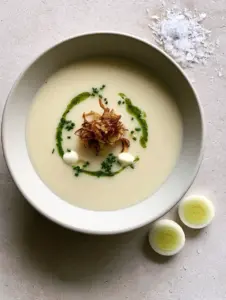
While these are a standalone star, they also function beautifully as a high-protein crouton. Try scattering them over a healthy bowl recipe or using them as a garnish for a creamy potato leek soup recipe.
If you are putting together a full spread, these legumes offer a great salty counterpoint to sweeter options like recipe ideas for fruit-based desserts or a tropical smoothie. Their versatility makes them a staple for any modern kitchen counter.
Frequently Asked Questions
Yes, they are high in fiber and plant-based protein. By using a high-quality oil like avocado oil, you keep the fats heart-healthy while maintaining a satisfying crunch.
Yes! Roast at 390°F (195°C) for 12-15 minutes, shaking the basket frequently. The air fryer is excellent for achieving those blistered skins due to high convection.
Absolutely. While smoked paprika is classic, you can try cumin, chili powder, or even nutritional yeast for a cheesy flavor profile.
They are best on the first day. If stored in a breathable container, they stay crunchy for about 24 hours. Re-toast them briefly if they become chewy.
The most common reason is residual moisture. If the chickpeas aren’t completely dry before oiling, they will steam in the oven. Also, ensure you don’t crowd the pan.
The Ultimate Crunchy Roasted Chickpea and Edamame Recipe
Crunchy Snack Recipe: Ultra-Crispy Roasted Chickpeas and Edamame
Ingredients
Equipment
Method
- Thoroughly dry the chickpeas and edamame using paper towels until no surface moisture remains. This is key for blistering.
- Toss the dried legumes in a bowl with avocado oil until every piece is shimmery and evenly coated.
- Spread on a baking sheet and roast at 400°F (200°C) for 25-30 minutes, shaking every 10 minutes until golden-brown and crackling.
- Remove from oven and immediately toss with smoked paprika and flake sea salt while still hot.
- Once cooled for 10 minutes, top with minced parsley and lemon zest before serving.
Notes
Store in a glass jar with the lid slightly ajar to maintain texture.
Final Thoughts on This Crispy Masterpiece
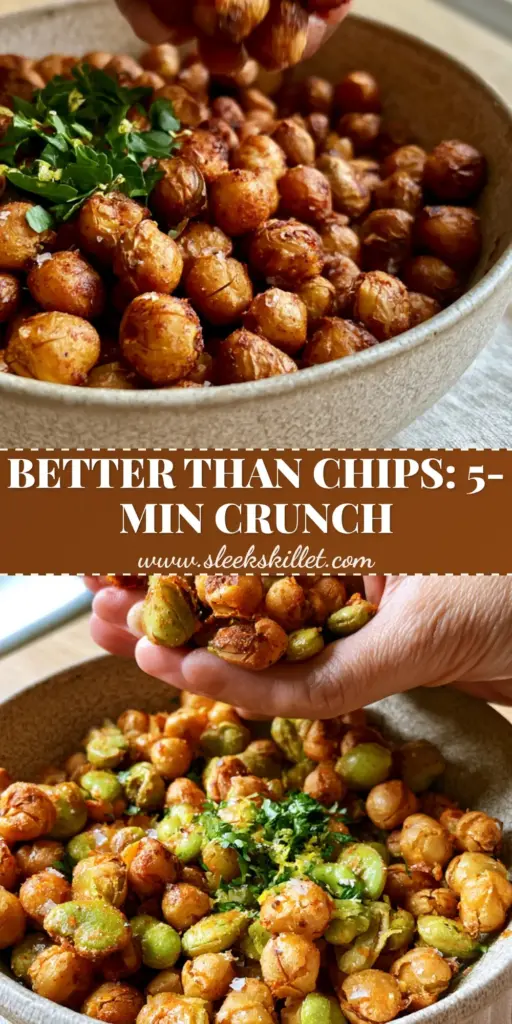
Creating a truly memorable crunchy snack recipe is about mastering the balance of moisture, heat, and seasoning. By following this forensic culinary approach, you’ve transformed humble pantry staples into a textured, vibrant, and incredibly healthy treat that satisfies every craving.
If you enjoyed the shatter-crisp texture of these roasted legumes, please leave a comment below and let us know how your blistered skins turned out! Don’t forget to share your creations on Pinterest and tag us so we can see your beautiful golden-brown results.