A layered salad is more than just a side dish; it is a visual masterpiece that serves as the centerpiece of any gathering. If you are looking for that perfect, retro-inspired dish that looks stunning in a glass trifle bowl, you have found it. This recipe combines the crunch of fresh romaine with the smoky saltiness of bacon and a thick, velvety dressing that seals in the freshness.
We designed this layered salad to be the ultimate crowd-pleaser. Whether you are prepping for a summer barbecue or a holiday dinner, the distinct colorful tiers of ingredients create a “wow” factor that few other salads can match. The secret lies in the assembly and the thick mayonnaise-based “seal” that keeps the vegetables crisp for hours.
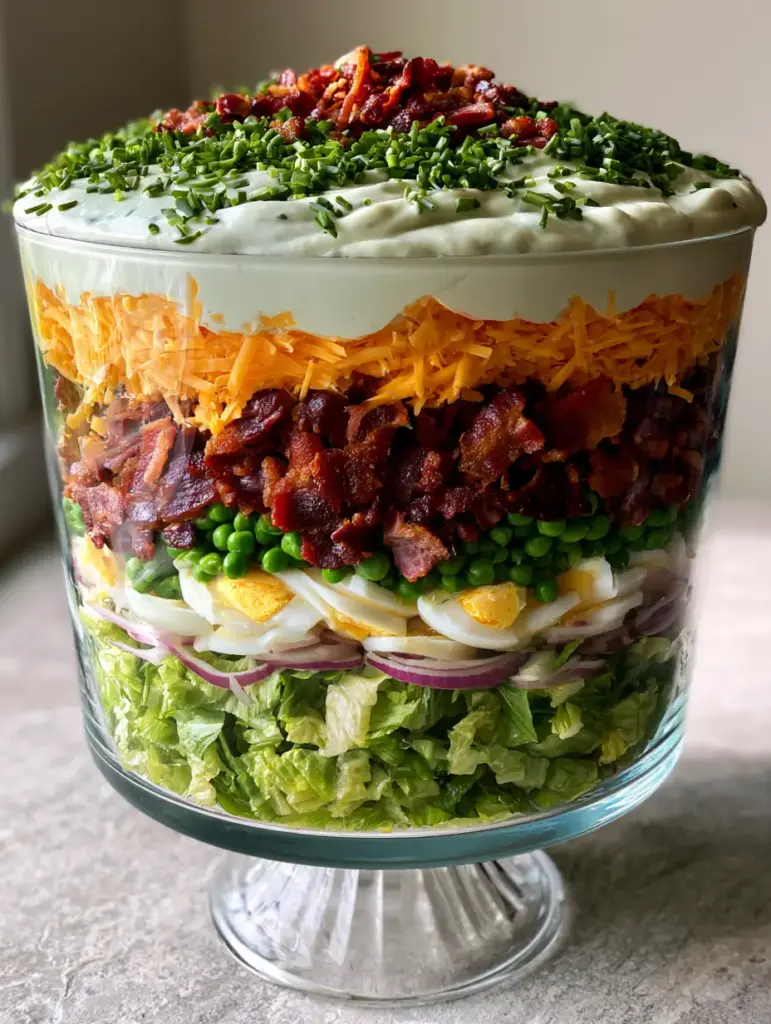
Why This Vertical Layered Salad Works Every Time
- Visual Impact: The vibrant contrast between the bright green peas, orange cheddar, and deep-browned bacon is a Pinterest dream.
- Make-Ahead Magic: Unlike tossed salads that wilt, this layered salad actually tastes better after the flavors meld in the fridge.
- Perfect Textural Balance: You get the snap of the red onions, the creaminess of the hard-boiled eggs, and the crunch of the romaine in every single bite.
- Ad-Ready Height: The vertical structure of this dish makes it perfect for long-form photography and keeping readers scrolling for the secret technique.
The Anatomy of a Perfect Layered Salad
To achieve the look of a professional food stylist, you need to understand the role of each ingredient. We aren’t just throwing things in a bowl; we are building a foundation of flavor.
The Crunchy Foundation: Romaine Lettuce
We use 1 large head of romaine lettuce, finely chopped. Romaine provides the structural integrity needed to support the heavier layers above. Unlike iceberg, romaine offers a deeper green color and more nutritional value, making your layered salad look and taste more premium.
The Sweet & Snap: Frozen Sweet Peas
You will need 10 ounces (280g) of frozen sweet peas. Pro Tip: Do not thaw them! Adding them frozen allows them to slowly defrost in the fridge, releasing just enough moisture to keep the lower layers cool without making the lettuce soggy. This is a staple in a traditional southern pea salad.
The Sharp Bite: Red Onions
Use 1/2 medium red onion, sliced into paper-thin half-moons. The thinness is key; you want the flavor to permeate the salad without overpowering the delicate peas and eggs. If you prefer a milder taste, you can soak the slices in ice water for 10 minutes before layering.
The Protein Core: Hard-Boiled Eggs
We use 6 large hard-boiled eggs, sliced into rounds. Look for bright yellow yolks to ensure the colors pop against the glass of your trifle bowl. This layer adds a rich, custardy texture that bridges the gap between the vegetables and the heavier toppings, similar to the profile of a low-carb keto deviled egg salad.
The Smoky Crunch: Crumbled Fried Bacon
You will need 1 pound (450g) of thick-cut bacon, fried until deeply browned and extremely crispy. Crumble it into small bits. The saltiness of the bacon is the primary seasoning for the entire layered salad, so do not skimp here! Save a few tablespoons for the final garnish.
The Golden Topping: Sharp Cheddar Cheese
2 cups (225g) of sharp orange cheddar cheese, finely shredded. Finely shredded cheese creates a denser layer that prevents the dressing from sinking too quickly into the lower layers. The bright orange hue is the perfect visual transition to the white dressing.
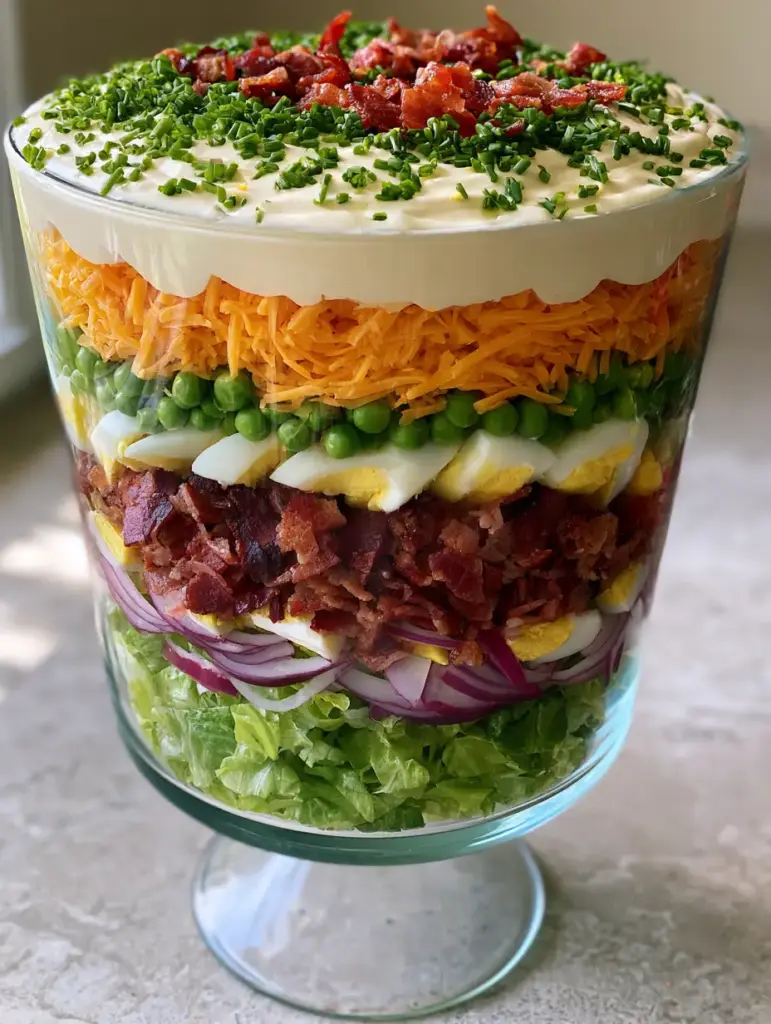
How to Assemble the Ultimate Layered Salad
Step 1: Preparing the Base
Wash and thoroughly dry your romaine lettuce. Any residual water will pool at the bottom of the bowl and ruin the crunch. Chop the leaves into 1-inch (2.5cm) pieces. Place them at the bottom of a tall, clear glass trifle bowl, pressing down slightly to create an even surface.
Step 2: Building the Middle Tiers
Evenly distribute the frozen peas over the lettuce. Follow this with the thinly sliced red onions, spreading them to the edges of the glass so they are visible from the outside. Next, place the sliced eggs in a tight pattern. For the best layered salad aesthetics, lean the egg slices against the glass.
Step 3: The Bacon and Cheese Barrier
Sprinkle the crumbled bacon over the eggs, ensuring a thick, dark layer. Top this with the finely shredded sharp cheddar. Use the back of a spoon to level the cheese. This creates a flat “floor” for our heavy dressing to sit upon.
Step 4: The Matte-White Mayonnaise Seal
In a separate bowl, whisk together 2 cups (480ml) of thick mayonnaise, 2 tablespoons (30g) of sugar, and 1 teaspoon of cracked black pepper. Spread this mixture edge-to-edge over the cheese. Crucial Step: Ensure the dressing touches the glass all the way around. This seals the air out and keeps the vegetables beneath it fresh.
Step 5: The Final Flourish
Garnish the top with fresh chopped chives, the remaining bacon bits, and an extra dusting of cracked black pepper. The contrast of the green chives against the matte-white dressing is the hallmark of a high-end layered salad.
Expert Tips for Success
- Dry Your Greens: Use a salad spinner. If the romaine is wet, the bottom of your trifle bowl will become a swamp by the time you serve.
- Chill for 4 Hours: This salad needs time. The sugar in the dressing draws out just a hint of moisture from the onions, creating a light vinaigrette effect that seasons the lower layers.
- Vertical Height Strategy: Use a bowl that is narrower and taller rather than wide and shallow. This forces the eyes to move vertically, increasing the perceived value of the dish.
- Dressing Thickness: If your mayo is too thin, whisk in a tablespoon of sour cream or Greek yogurt to stiffen it up before spreading.
Storage and Serving Suggestions
This layered salad is best served within 12-24 hours of assembly. Once you toss the salad to serve it, the clock starts ticking. Leftovers can be stored in an airtight container in the refrigerator for up to 2 days, though the bacon will lose its signature crunch.
This dish pairs beautifully with hearty mains. Consider serving it alongside a savory pizza rustica or as a refreshing side to a creamy ham soup. For those hosting a larger brunch, it complements a classic chicken salad perfectly.
Frequently Asked Questions
Yes! In fact, it is recommended. Making this salad 12-24 hours in advance allows the flavors to meld and the dressing to lightly season the layers below.
No, do not thaw the peas. Adding them frozen helps keep the salad cold and they will naturally defrost to a perfect texture while the salad chills in the fridge.
The two secrets are: 1. Use a salad spinner to ensure the romaine is bone-dry. 2. Spread the dressing all the way to the edge of the glass to create an airtight seal.
For a similar thickness, you can use a mix of Greek yogurt and sour cream, but you may need to add a bit more salt and sugar to mimic the classic flavor profile.
While it looks beautiful in layers, it should be tossed right before serving to ensure every guest gets a bit of every ingredient and the creamy dressing.
The Official Layered Salad Recipe Card
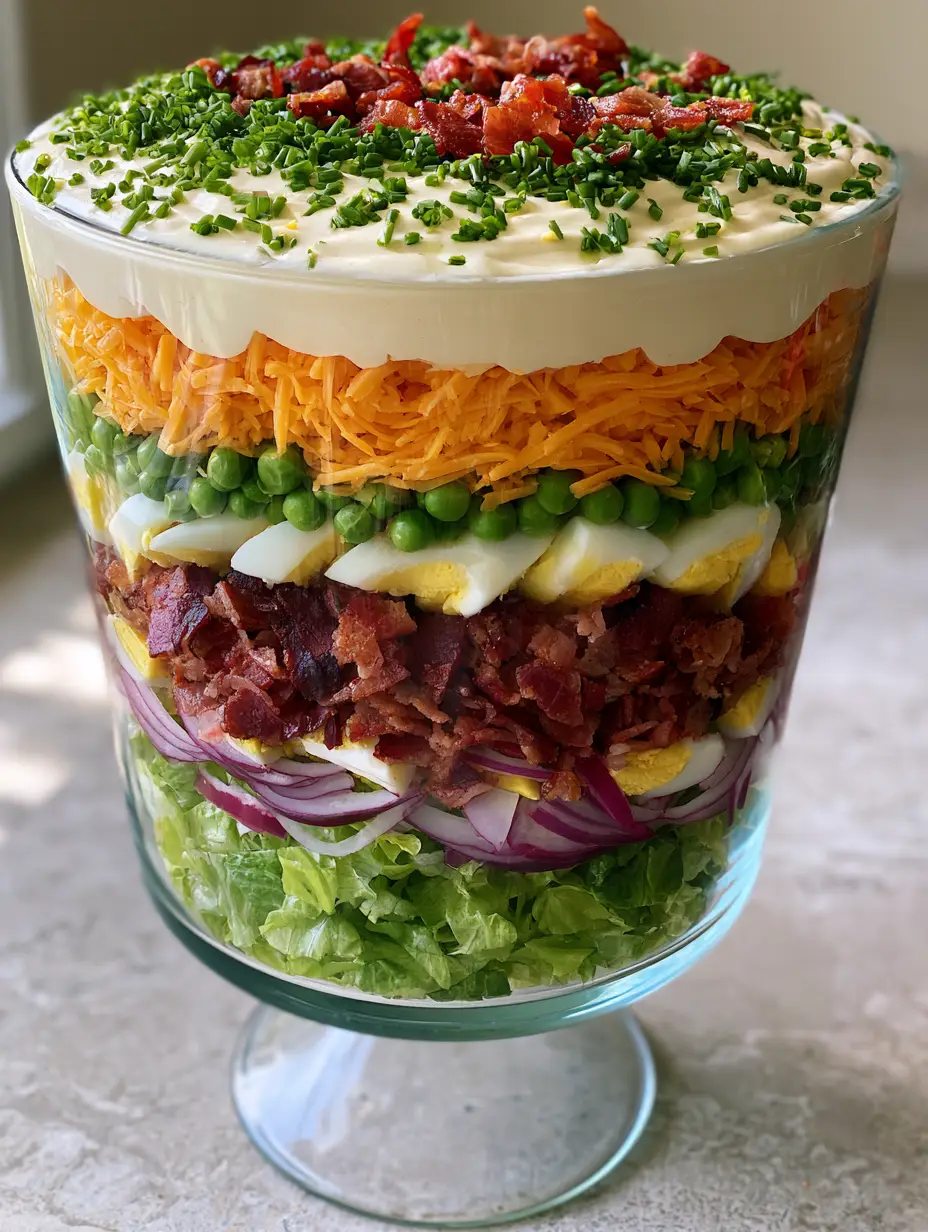
Layered Salad: The Ultimate Classic 7-Layer Recipe for Your Next Potluck
Ingredients
Equipment
Method
- Wash, dry, and chop the romaine lettuce. Place it at the bottom of the trifle bowl.
- Add the frozen peas directly over the lettuce, followed by the thinly sliced red onions.
- Place sliced hard-boiled eggs over the onions, pressing them against the glass for visual appeal.
- Layer the crumbled bacon followed by a thick layer of shredded sharp cheddar cheese.
- Whisk mayo, sugar, and pepper. Spread edge-to-edge over the cheese to seal the salad.
- Top with chives, extra bacon, and more black pepper. Chill for at least 4 hours before serving.
Notes
Use frozen peas to keep the salad cold and crisp during the chilling process.
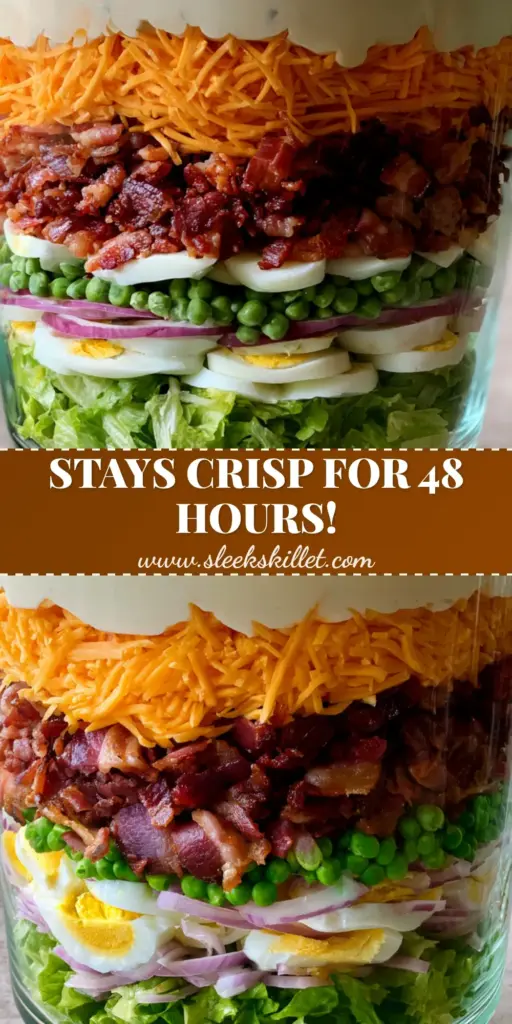
Save This Recipe for Your Next Party!
If you loved this layered salad, don’t forget to save it to your “Potluck Favorites” or “Summer Salads” board on Pinterest! Following toastpantry helps us bring you more visually stunning and scientifically tested recipes every week.
Did you make this? We want to see your beautiful layers! Post a photo of your trifle bowl in the comments below and give us a 5-star rating if this hit the spot. Happy layering!