There is nothing quite as disappointing as a dry, rubbery chicken breast. We have all been there—staring at a plate of overcooked poultry that requires a gallon of water just to swallow. That ends today.
This melt in your mouth chicken is the definitive answer to the weeknight dinner dilemma. By utilizing a scientifically backed moisture-locking coating, we transform standard chicken breasts into a succulent masterpiece that literally yields to the slight pressure of a fork.
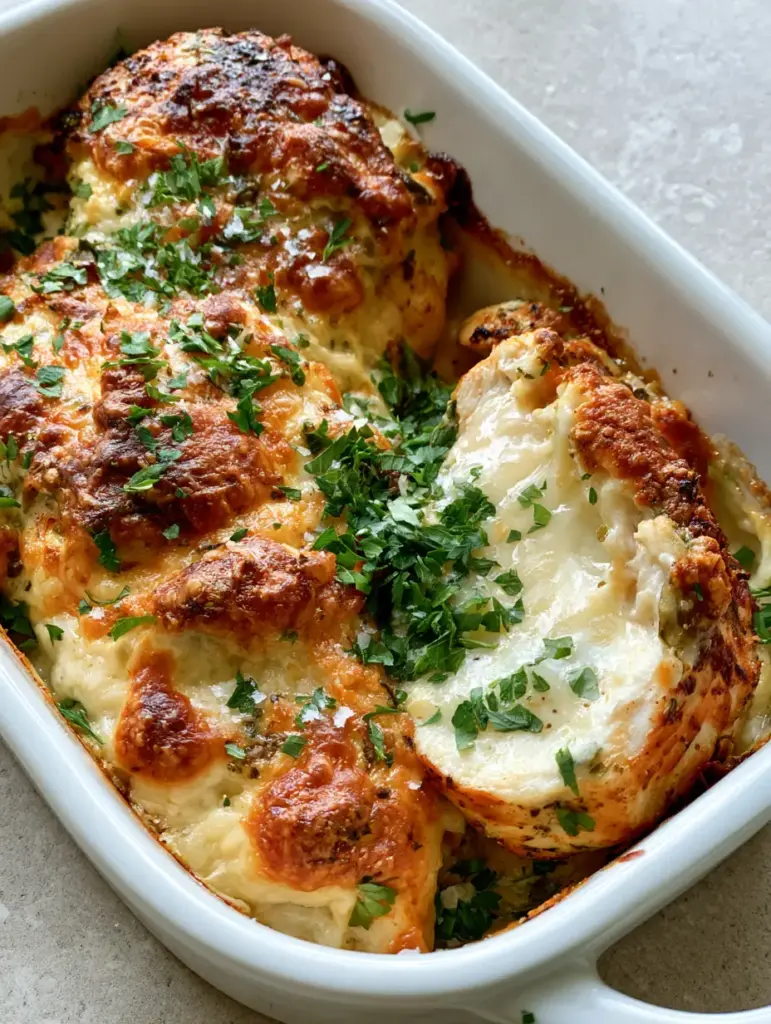
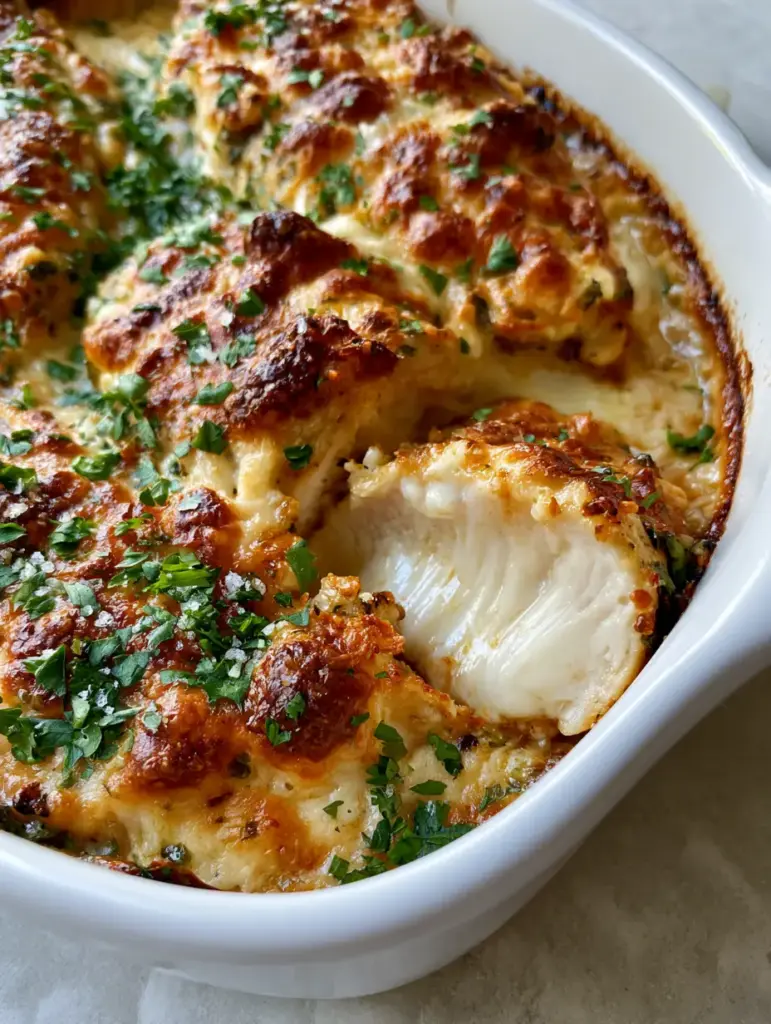
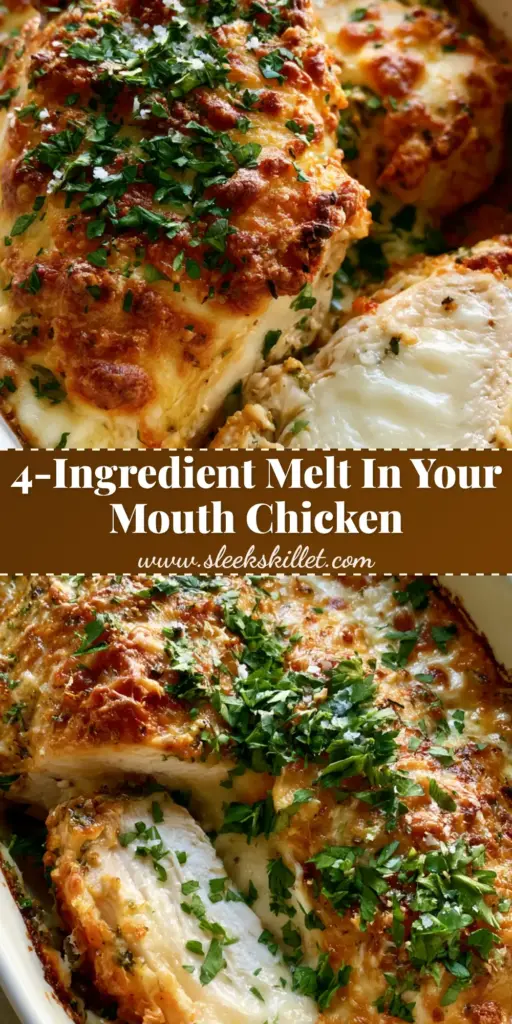
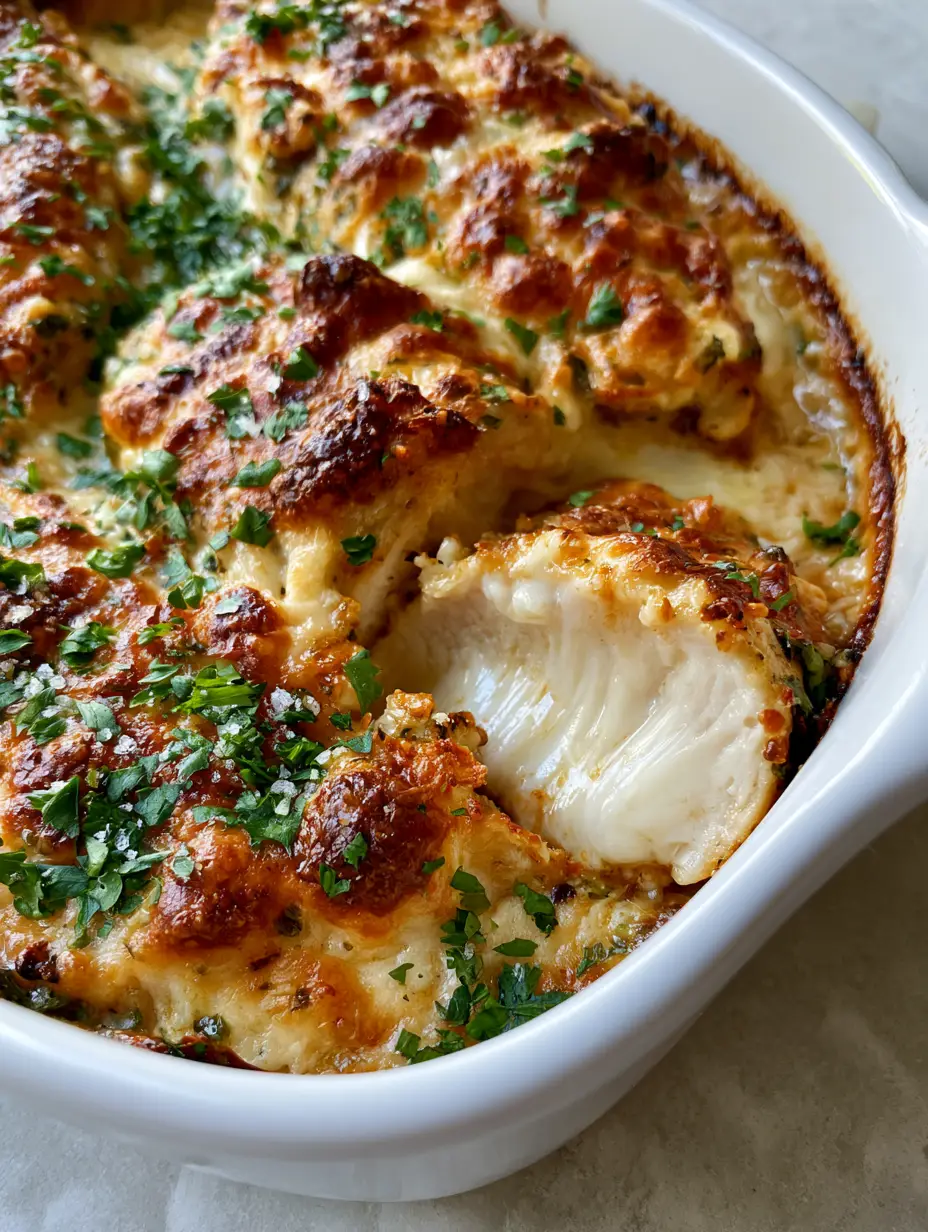
Imagine pulling a white ceramic dish from the oven, the surface covered in a heavy, bubbly golden-brown parmesan crust. You see toasted cheese peaks and melted creamy pockets sizzling against the heat. As you slice into the center, a cloud of steam escapes, revealing a glistening, incredibly moist white center that proves chicken can, indeed, be decadent.
Why This Is The Ultimate Melt In Your Mouth Chicken
- Texture Contrast: The heavy parmesan coating creates toasted cheese peaks that offer a satisfying crunch against the tender meat.
- Moisture Lock Technology: The creamy white sauce base acts as a barrier, preventing the meat juices from evaporating during the high-heat baking process.
- Visual Appeal: With vibrant, finely chopped fresh parsley and cracked black pepper, this dish looks like it was plucked straight from a professional culinary photoshoot.
- Effortless Elegance: It requires minimal prep time but delivers a restaurant-quality result that is perfect for hosting or a cozy family dinner.
The Anatomy of a Perfect Chicken Crust: Ingredients
To achieve the specific visual results of our melt in your mouth chicken, each ingredient plays a structural and flavorful role. Do not skip the foundational elements that create the “bubbly” texture seen in the photos.
Boneless Skinless Chicken Breasts: Use thick, high-quality breasts, roughly 1.5 lbs (680g) total. Ensure they are even in thickness for uniform cooking and maximum glistening juices.
Mayonnaise: 1/2 cup (120ml) of full-fat mayonnaise is the secret emulsifier. It provides the fat necessary to keep the meat tender while acting as the glue for the cheese crust.
Sour Cream: 1/4 cup (60ml) of sour cream adds a subtle tang and contributes to the “creamy white sauce base” that stays moist under the toasted topping.
Parmesan Cheese: 1 cup (90g) of freshly grated parmesan is vital. Pre-grated cheese contains cellulose which prevents the “bubbly melted” effect and those iconic golden-brown peaks.
Seasoning Trio: 1 tsp (5g) garlic powder, 1/2 tsp (3g) coarse sea salt, and 1/2 tsp (2g) cracked black pepper provide the savory backbone and visual grit.
Fresh Flat-Leaf Parsley: 2 tbsp (8g) finely chopped parsley added at the very end provides a burst of color and a fresh herbal finish to cut through the richness.
Essential Tools for Success
To mirror the authentic handheld aesthetic of our visual blueprint, you need the right gear. A high-quality white ceramic baking dish is preferred as it retains heat evenly and provides the perfect high-contrast background for the golden crust.
You will also need a meat thermometer. Achieving a “glistening, moist white center” is a matter of science—pulling the chicken at exactly 165°F (74°C) ensures it remains succulent rather than stringy. Finally, a sharp chef’s knife is required to get that clean cross-section slice that shows off the interior texture.
How to Make Melt In Your Mouth Chicken Step-by-Step
1. Prepare the Moisture Barrier
Preheat your oven to 375°F (190°C). In a small mixing bowl, combine the mayonnaise, sour cream, garlic powder, and half of the parmesan cheese. Stir until a thick, uniform paste forms. This mixture is what creates the creamy pockets described in the visual blueprint.
2. Season and Coat the Chicken
Pat your chicken breasts dry with a paper towel; this is a professional secret that ensures the sauce sticks to the meat rather than sliding off. Season both sides lightly with salt and pepper. Place the chicken in your ceramic dish and spread the creamy mixture generously over the top of each breast, ensuring a thick, even layer.
3. Create the Toasted Cheese Peaks
Sprinkle the remaining parmesan cheese over the top of the creamy coating. Use your fingers to slightly mound the cheese in areas—this irregularity is what leads to the “toasted cheese peaks” during the baking process. If you enjoy diverse textures, you might also like the coating on my crispy malibu chicken.
4. The Golden-Brown Bake
Slide the dish into the center rack of the oven. Bake for 20-25 minutes. During the last 2-3 minutes, turn the broiler to high. Watch closely as the cheese begins to bubble and brown. You are looking for a deep golden-brown color with slightly charred, crispy edges on the cheese mounds.
5. The Final Flourish
Remove the dish from the oven and let it rest for 5 minutes. This resting period allows the glistening meat juices to redistribute. Garnish with a generous scattering of finely chopped fresh flat-leaf parsley and an extra dusting of coarse sea salt for that authentic, unedited aesthetic.
Expert Tips for the Most Tender Results
- Don’t Overcrowd: Ensure there is space between the chicken breasts in the dish. This allows the hot air to circulate, creating the bubbly crust on the sides as well as the top.
- Room Temperature Meat: Take the chicken out of the fridge 15 minutes before cooking to take the chill off. This leads to more even cooking throughout the thickest part of the breast.
- The Broiler is Key: The “bubbly golden-brown” look is achieved in those final seconds under the broiler. Stay by the oven to prevent burning.
- Sauce Variations: If you want a deeper flavor profile, similar to my peppercorn chicken, add a teaspoon of Dijon mustard to the mayo mixture.
What to Serve with Creamy Parmesan Chicken
This melt in your mouth chicken is incredibly versatile. To balance the richness of the parmesan crust, I recommend serving it alongside a light, refreshing cucumber salad or a variety of roasted potato side dishes.
If you prefer a more “comfort food” style meal, serving this over a bed of rice works beautifully, much like the presentation in my smothered chicken and rice recipe. The creamy sauce from the chicken acts as a built-in gravy for the grains.
Frequently Asked Questions
You can use a vegan mayonnaise and a dairy-free sour cream alternative, but finding a dairy-free parmesan that browns and bubbles similarly can be difficult. Look for a cashew-based parmesan alternative.
Yes, you can use boneless skinless chicken thighs. Increase the baking time by about 5-8 minutes and ensure the internal temperature reaches 175°F (80°C) for the best texture.
While a thermometer is best, you can check by piercing the thickest part; the juices should run completely clear, and the meat should feel firm to the touch but not hard.
Greek yogurt is the best substitute, though it will be slightly tangier and less rich. The mayonnaise provides the oil-base necessary for the ‘melt in your mouth’ texture.
This usually happens if you use pre-shredded cheese from a bag. Use freshly grated parmesan from a block; it lacks the anti-caking agents that prevent melting and browning.
The Official Melt In Your Mouth Chicken Recipe Card
Melt In Your Mouth Chicken with Bubbly Parmesan Crust
Ingredients
Equipment
Method
- Preheat your oven to 375°F (190°C). In a small bowl, whisk together 1/2 cup (120ml) mayonnaise, 1/4 cup (60ml) sour cream, 1 tsp (5g) garlic powder, and 1/2 cup (45g) of the parmesan cheese until smooth.
- Place 1.5 lbs (680g) chicken breasts in a white ceramic baking dish. Spread the creamy mixture over the tops. Sprinkle the remaining 1/2 cup (45g) parmesan cheese on top, creating small mounds for peaks.
- Bake for 20-25 minutes until the chicken reaching 165°F (74°C). Switch to the broiler for 2-3 minutes until the crust shows golden-brown toasted peaks and bubbly pockets.
- Let rest for 5 minutes. Garnish with 2 tbsp (8g) finely chopped parsley and a dusting of coarse sea salt before slicing to reveal glistening juices.
Notes
Freshly grated parmesan is mandatory for the bubbly texture.
Closing Thoughts on This Easy Dinner
Mastering the melt in your mouth chicken technique is a game-changer for any home cook. It proves that you don’t need complex ingredients to achieve extraordinary results. The combination of the bubbly, toasted crust and the succulent, glistening meat creates a sensory experience that is truly unmatched.
If you enjoyed this recipe, please leave a comment below and let me know how your crust turned out! Don’t forget to share your photos and save this recipe to your favorite boards on Pinterest for your next Sunday dinner.