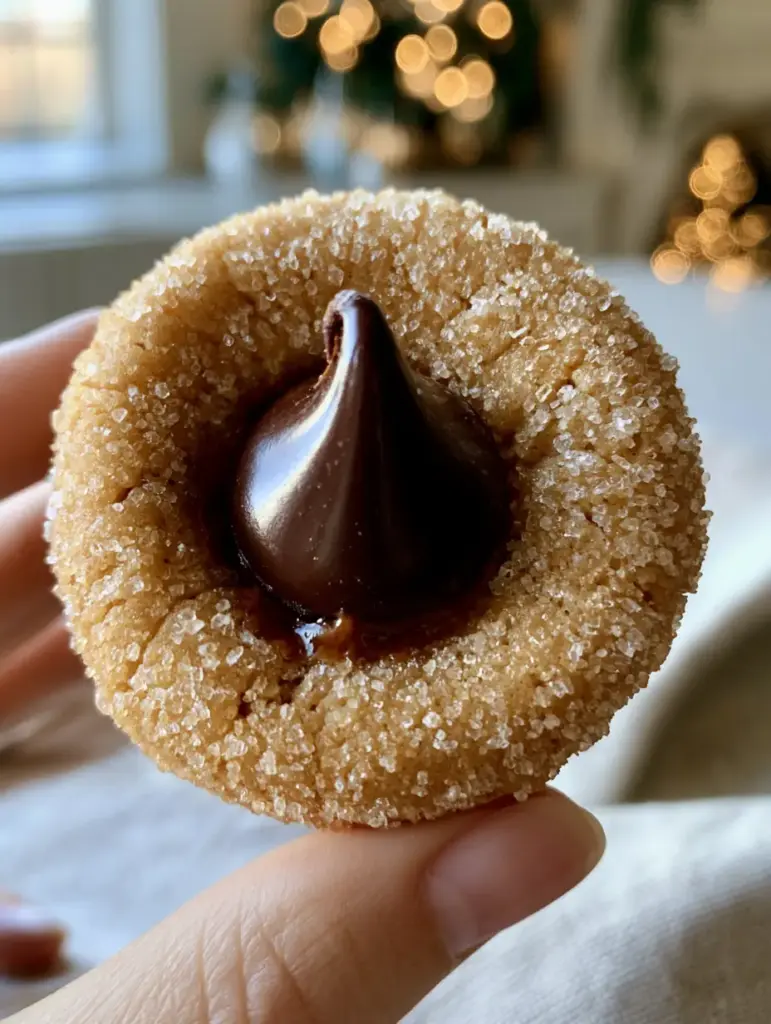
Peanut butter blossoms are the undisputed royalty of the holiday cookie tray, but achieving that elusive, bakery-style finish is harder than it looks. We have all been there: you pull the tray out of the oven, press the chocolate kiss into the center, and watch in frustration as the edges shatter into a spiderweb of dry cracks. But what if you could bake a cookie that stays thick, pillowy, and perfectly smooth? This recipe is designed to create a soft peanut butter dough base with a moist interior crumb that melts in your mouth, perfectly capturing that nostalgic flavor without the structural flaws of traditional recipes.
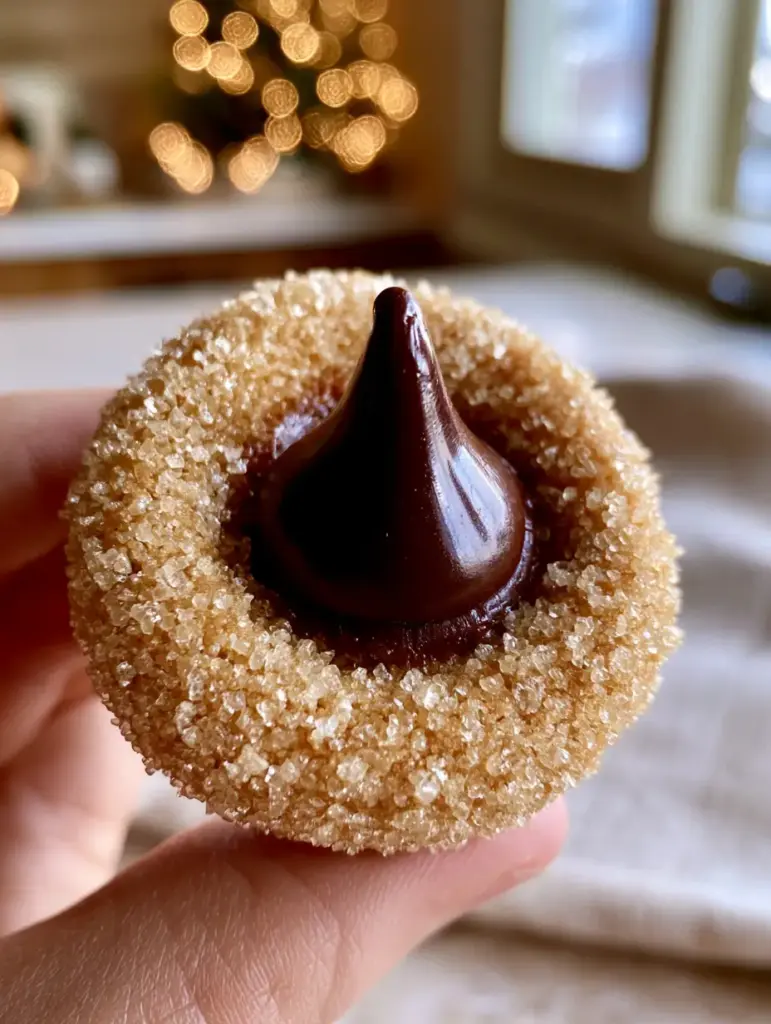
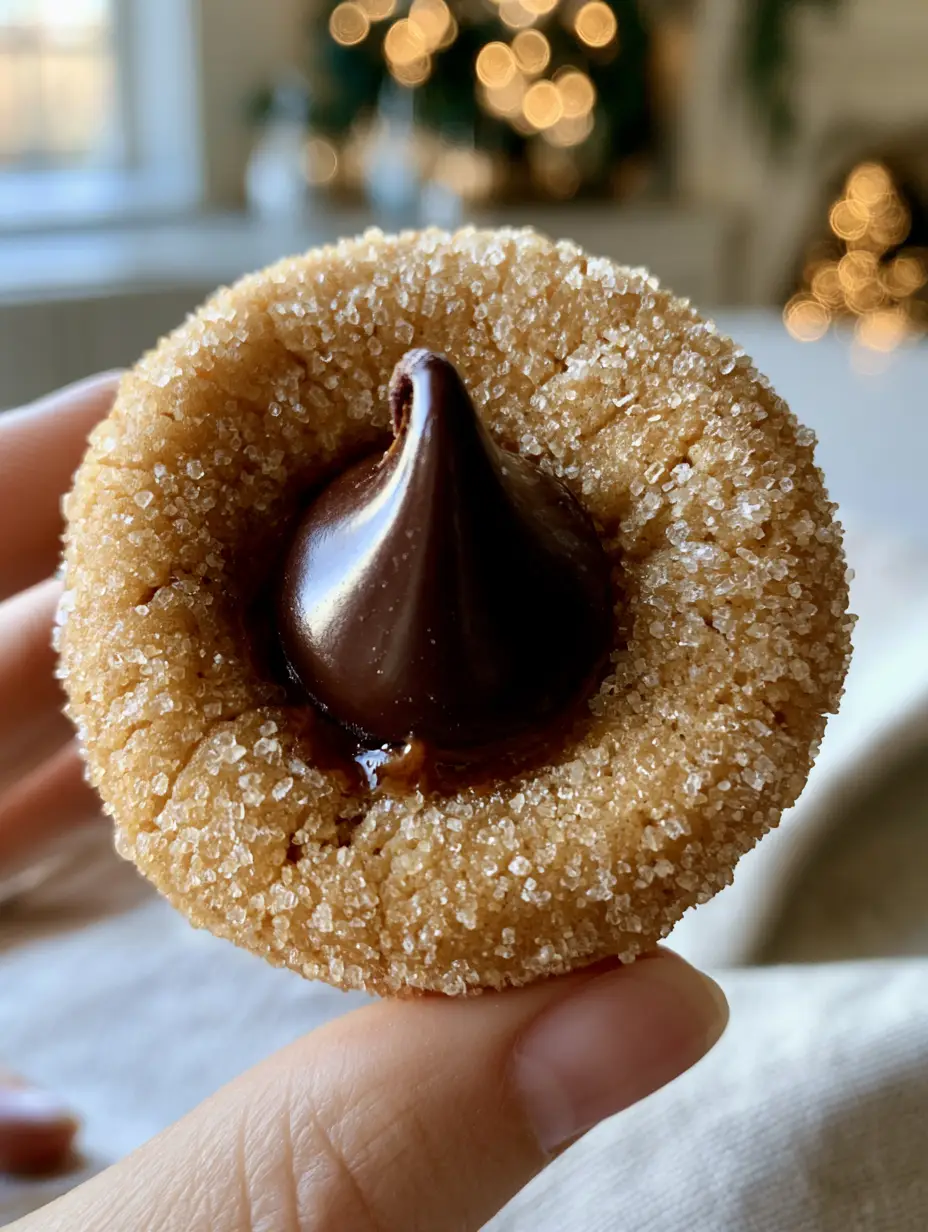
The secret to these viral-worthy Peanut butter blossoms lies in the science of hydration and temperature control. By balancing the fats in the creamy peanut butter with a hint of milk, we create a dough that is supple enough to expand without breaking. When you roll these dough balls in shimmering granulated sugar and bake them to a warm golden-brown, you aren’t just making a snack; you are creating a visual masterpiece that looks exactly like the handheld, high-resolution food photography you see on your Pinterest feed.
Why This Is The Only Peanut Butter Blossom Recipe You Need
- Zero Cracking: A specialized hydration technique ensures the edges remain smooth and supple even after the kiss is pressed in.
- Moist Interior Crumb: Unlike dry, sandy versions, these stay soft for days thanks to a specific brown sugar ratio.
- High-Visual Impact: The glossy milk chocolate kiss sits perfectly atop a shimmering, sugar-encrusted golden base.
- Perfect Texture: A thick, pillowy mouthfeel that mimics a soft-baked bakery cookie rather than a hard biscuit.
The Anatomy of a Perfect Peanut Butter Cookie
To master Peanut butter blossoms, we have to look at the ingredients through a culinary lens. Every component serves a specific structural purpose to ensure that warm golden-brown bake we’re looking for.
Creamy Peanut Butter (250g / 1 cup): Use a processed brand like Jif or Skippy for this specific recipe. Natural oils in organic peanut butters can separate, leading to those unwanted surface cracks.
Unsalted Butter (113g / 1/2 cup): Ensure this is softened to room temperature (about 65°F / 18°C). It provides the fat needed for that moist interior crumb.
Granulated Sugar & Light Brown Sugar (100g each / 1/2 cup each): The white sugar provides the crisp edges, while the brown sugar adds moisture and chewiness. You will also need extra granulated sugar for rolling.
Large Egg (1): Acts as the binder. Ensure it is at room temperature to emulsify properly with the fats.
Whole Milk (30ml / 2 tablespoons): This is our secret weapon. The extra moisture prevents the dough from drying out in the oven, ensuring no visible surface cracks.
All-Purpose Flour (190g / 1 1/2 cups): The structural foundation. Measure carefully using a scale to avoid a “cakey” or dry texture.
Baking Soda (1 tsp) & Fine Sea Salt (1/2 tsp): Essential for leavening and balancing the sweetness of the glossy milk chocolate kiss.
Milk Chocolate Kisses (Approx. 36): The centerpiece. For the best look, unwrap these while the cookies are baking so they are ready to press immediately.
Step-By-Step Guide to Professional Peanut Butter Blossoms
Phase 1: Creaming for Aeration and Structure
Start by creaming your softened butter, 1 cup (250g) of peanut butter, and both sugars in a stand mixer fitted with the paddle attachment. Beat on medium-high for at least 3 minutes. You are looking for the mixture to turn pale and fluffy. This process creates tiny air pockets that result in a thick and pillowy cookie base. Add the egg, milk, and vanilla, beating until just combined. If you love festive treats, you might also enjoy our hot chocolate cookies for a similar chocolatey experience.
Phase 2: Incorporating the Dry Ingredients
In a separate bowl, whisk together the flour, baking soda, and salt. Turn your mixer to low and slowly add the flour mixture. Do not overmix. Stop as soon as the last streak of flour disappears. Overworking the dough develops gluten, which leads to a tough, bready cookie rather than a soft peanut butter dough base. If the dough feels too soft, chill it for 20 minutes before rolling.
Phase 3: The Sugar Coating and Shaping
Scoop rounded tablespoons of dough (about 25g each) and roll them into smooth, even balls between your palms. Roll each ball in a bowl of large granulated sugar crystals until completely coated. This coating isn’t just for flavor—it creates a “shimmering layer” that catches the light and adds a crucial textural crunch to the warm golden-brown bake. Space them 2 inches apart on a parchment-lined sheet.
Phase 4: The Precision Bake and The “Kiss” Placement
Bake at 375°F (190°C) for exactly 8-10 minutes. You are looking for the edges to be set and the bottoms to be warm golden-brown, but the tops should still look slightly underdone. This is the key to a moist interior crumb. Immediately upon removing from the oven, press a glossy milk chocolate kiss into the center of each cookie. The residual heat will soften the base of the chocolate, making it “slightly melty” so it adheres perfectly to the cookie.
Expert Tips for Success
- The Milk Secret: If your dough feels crumbly at all, add one more teaspoon of milk. A hydrated dough is a crack-free dough.
- Temperature Matters: If your kitchen is hot, chill the dough balls for 10 minutes before baking to prevent them from spreading too thin. We want them thick and pillowy!
- The Chocolate Hack: If you find your chocolate kisses are melting too much, pop the finished cookies into the fridge for 5 minutes to set the chocolate’s “glossy” finish.
- Storage: Never stack these until the chocolate has completely hardened, or you’ll ruin the aesthetic.
How to Store and Freeze Peanut Butter Blossoms
These cookies stay incredibly fresh when stored in an airtight container at room temperature for up to 5 days. Because of the moist interior crumb, they don’t turn into bricks overnight! If you want to plan ahead, you can freeze the raw dough balls (after rolling in sugar). Just add 1-2 minutes to the bake time when cooking from frozen. These are a great addition to a holiday spread alongside our pumpkin chocolate chip cookies or even peanut butter eggs during the spring season.
What to Serve With This Dish
While a cold glass of milk is the classic choice, these Peanut butter blossoms pair beautifully with a festive hot beverage. If you are hosting a holiday party, consider serving these alongside a savory spread including 7-layer salad or a hearty ham soup recipe to balance the sweetness of the chocolate.
Frequently Asked Questions
It is not recommended. Natural peanut butter varies in oil content, which can lead to dry, sandy cookies that crack easily. For the pillowy, soft texture shown in the photos, stick to standard creamy peanut butter.
The key is timing. You must press the chocolate kiss into the cookie immediately after removing it from the oven. The residual heat melts the bottom of the chocolate just enough to ‘glue’ it to the cookie as it cools.
If your kitchen is warm or the dough feels very soft, chilling for 20 minutes is helpful. This ensures the cookies stay thick and pillowy rather than spreading too thin during the bake.
Cracking usually happens because the dough is too dry or the peanut butter has too much oil separation. Adding 2 tablespoons of milk to the dough and using a standard processed peanut butter like Jif ensures a supple, crack-free finish.
The Ultimate Peanut Butter Blossoms Recipe Card
Peanut butter blossoms: The Ultimate Pillowy, Crack-Free Recipe
Ingredients
Equipment
Method
- Cream butter, peanut butter, and both sugars for 3 minutes until pale and fluffy. Add egg, milk, and vanilla, beating until combined.
- Slowly mix in flour, baking soda, and salt on low speed until just combined. Do not overmix.
- Roll dough into 1-inch balls, then coat thoroughly in granulated sugar. Place on prepared baking sheets.
- Bake at 375°F (190°C) for 8-10 minutes until edges are set and bottoms are golden-brown.
- Immediately press a chocolate kiss into the center of each warm cookie. Allow to cool completely on a wire rack.
Notes
Tip 2. Ensure the milk chocolate kiss is pressed in while the cookie is hot to ensure it sticks.
Share Your Bake!
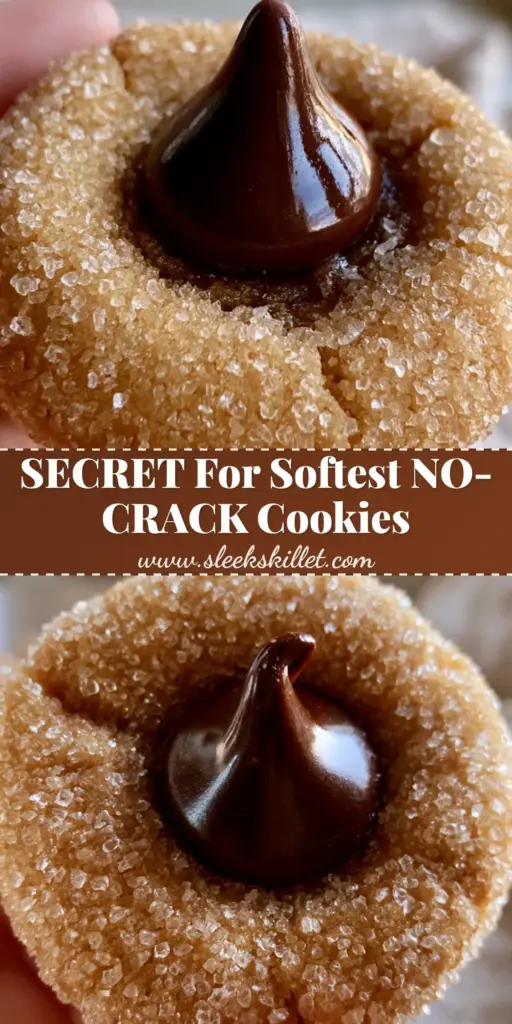
Did you achieve that perfect, crack-free shine? We want to see your Peanut butter blossoms! Save this recipe to your “Holiday Baking” board on Pinterest so you never lose it. Follow toastpantry for more triple-tested dessert recipes. If you made these, please leave a 5-star rating and upload a photo of your cookies in the comments below—it helps our community so much!