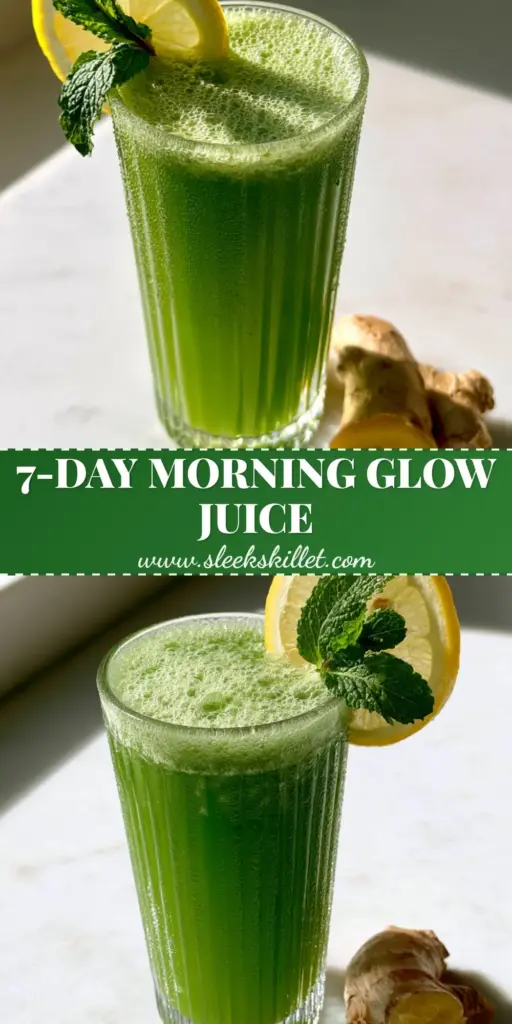
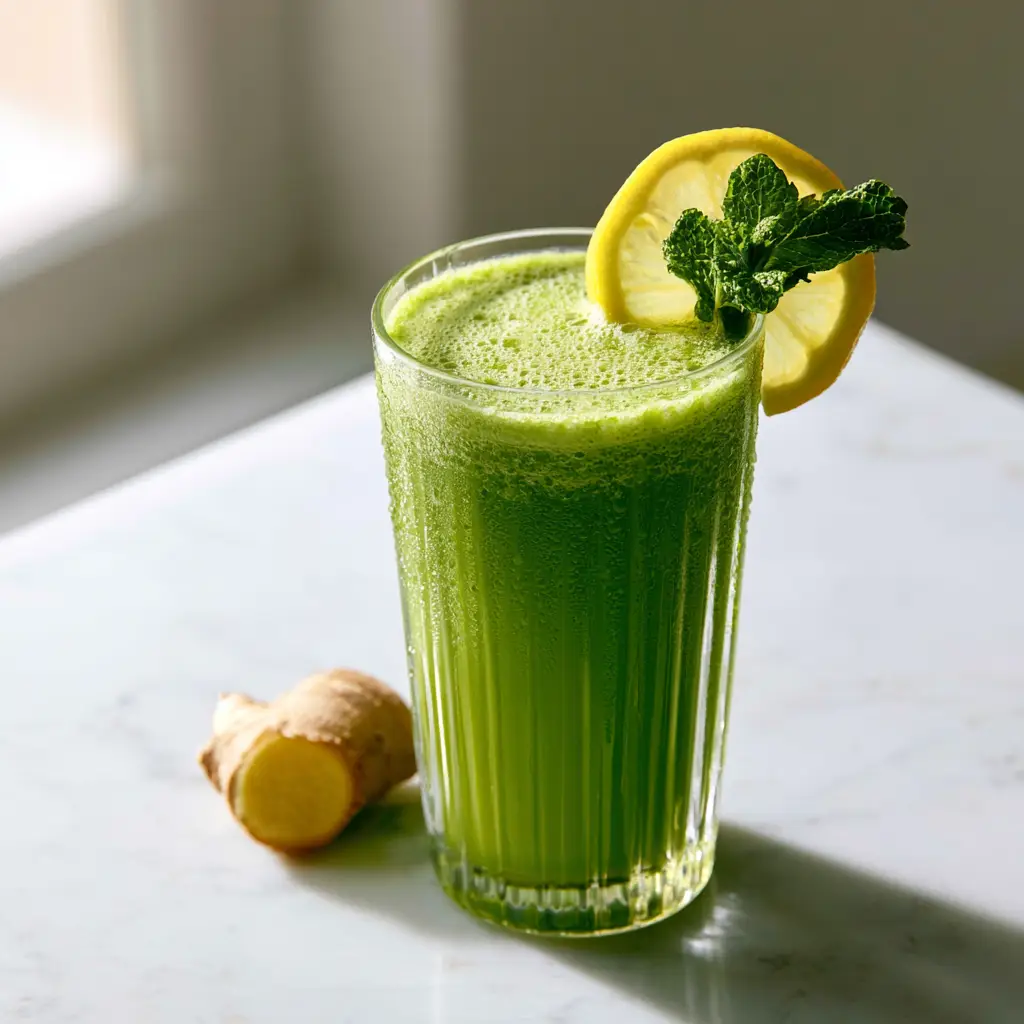
There is nothing quite like the sight of a tall, ribbed glass filled with vibrant, translucent emerald Green juice catching the first rays of morning sunlight. As the golden light hits the glass, it illuminates a delicate layer of micro-bubbles and a light, airy froth that dances on the surface.
This isn’t just a beverage; it is a sensory experience designed to awaken your palate and provide a concentrated burst of nutrients. The fine, cold condensation droplets clinging to the glass tell a story of crisp, chilled refreshment that is both visually stunning and physically rejuvenating.
To truly master this recipe, we must look beyond the liquid and focus on the details—the sharp acidity of a lemon wheel garnish, the aromatic punch of a mint sprig, and the spicy, fibrous bite of raw ginger. Let’s dive into the science and art of crafting the perfect emerald tonic.
Why This Vibrant Emerald Tonic Stands Out
- Translucent Emerald Clarity: Unlike thick smoothies, this Green juice is filtered to a translucent finish, allowing light to pass through the liquid for a brilliant jewel-tone appearance.
- Micro-Bubble Aeration: By using specific cold-press techniques, we achieve a signature airy froth on the surface that enhances the mouthfeel.
- Perfectly Balanced Aromatics: The combination of fresh mint and ginger root provides a sensory contrast that balances the earthy notes of leafy greens.
- Temperature Contrast: The recipe focuses on serving the juice at the optimal temperature to create that iconic condensation on a ribbed glass.
Elements for a Translucent Emerald Glow
Choosing the right ingredients is the first step in ensuring your Green juice achieves that perfect translucent emerald color described in our visual blueprint. Every component serves a specific culinary and aesthetic purpose.
2 large (approx. 400g) English Cucumbers: These serve as the high-water content base of our juice. They provide the necessary volume while maintaining a neutral, crisp flavor profile that doesn’t overpower the delicate greens.
4 stalks (approx. 150g) Celery: Celery adds a subtle saltiness and essential minerals. Its light pigment ensures the juice remains translucent rather than becoming an opaque, muddy brown.
2 packed cups (60g) Fresh Kale or Spinach: This is where the deep emerald pigment originates. We use cold-pressing to extract the chlorophyll without oxidizing the delicate leaves.
2 medium (300g) Green Apples: Green apples provide the necessary sweetness and malic acid. This acid helps preserve the bright green color by preventing rapid oxidation of the vegetable enzymes.
1 inch (2.5cm) Fresh Ginger Root: A small, gnarled piece of ginger provides a spicy undertone. For the visual presentation, keep a clean-cut piece beside the glass to highlight the fibrous, yellow interior.
1 whole (approx. 60g) Lemon: We use the juice for brightness and a thin, circular slice for the rim. The citric acid is a “foundational” ingredient that keeps the emerald hue from fading.
1 small sprig Fresh Mint: Used both in the juicing process and as a garnish. Mint adds a cooling finish that lingers on the tongue.
Pinch of Sea Salt: This is an invisible but vital ingredient. A tiny pinch of salt acts as a flavor enhancer, cutting through any bitterness from the kale.
The Essential Cold-Pressing Hardware
To achieve the specific textures of micro-bubbles and translucent liquid, your choice of equipment is paramount. A standard blender often introduces too much heat and air, which can lead to rapid separation.
A slow-masticating juicer is the gold standard for this Green juice. These machines use a cold-press auger to gently crush the produce, preserving enzymes and creating a smooth, froth-topped liquid.
If you only have a blender, you will need a fine-mesh nut milk bag. This allows you to strain out every bit of fibrous pulp, resulting in the “translucent” appearance seen in high-end culinary photography.
Finally, to match the visual prompt exactly, you will need a tall ribbed glass. The ridges on the glass are not just for style; they increase the surface area for condensation to form, creating those beautiful droplets.
Crafting the Perfect Morning Green Juice
Phase 1: Precision Prep for Maximum Extraction
Begin by washing all produce in ice-cold water. This isn’t just for hygiene; cold produce yields more juice and ensures the final beverage is chilled enough to create condensation on the glass.
Slice the cucumbers and apples into 1-inch (2.5cm) pieces. Cut the ginger root, ensuring you leave one “clean cut” side exposed for your visual presentation on the marble countertop.
Phase 2: The Art of Cold-Pressing
Feed the kale and mint into the juicer first, followed by the high-moisture cucumber and celery. This “flushes” the pigments through the machine, ensuring you don’t lose any of that precious emerald color in the pulp bin.
As the juice collects in the pitcher, you will notice a layer of micro-bubbles forming. This is a natural result of the gentle pressure applied during extraction. Do not stir the juice vigorously, as we want to preserve that light, airy froth.
Phase 3: The Refinement Process
If your juicer leaves behind any visible sediment, pour the Green juice through a fine-mesh strainer one last time. We are aiming for a translucent finish that catches the light like a gemstone.
Add a tiny pinch of sea salt and a squeeze of lemon juice. This stabilizes the flavor and ensures the juice tastes as vibrant as it looks.
Pro-Level Garnishing for Your Ribbed Glass
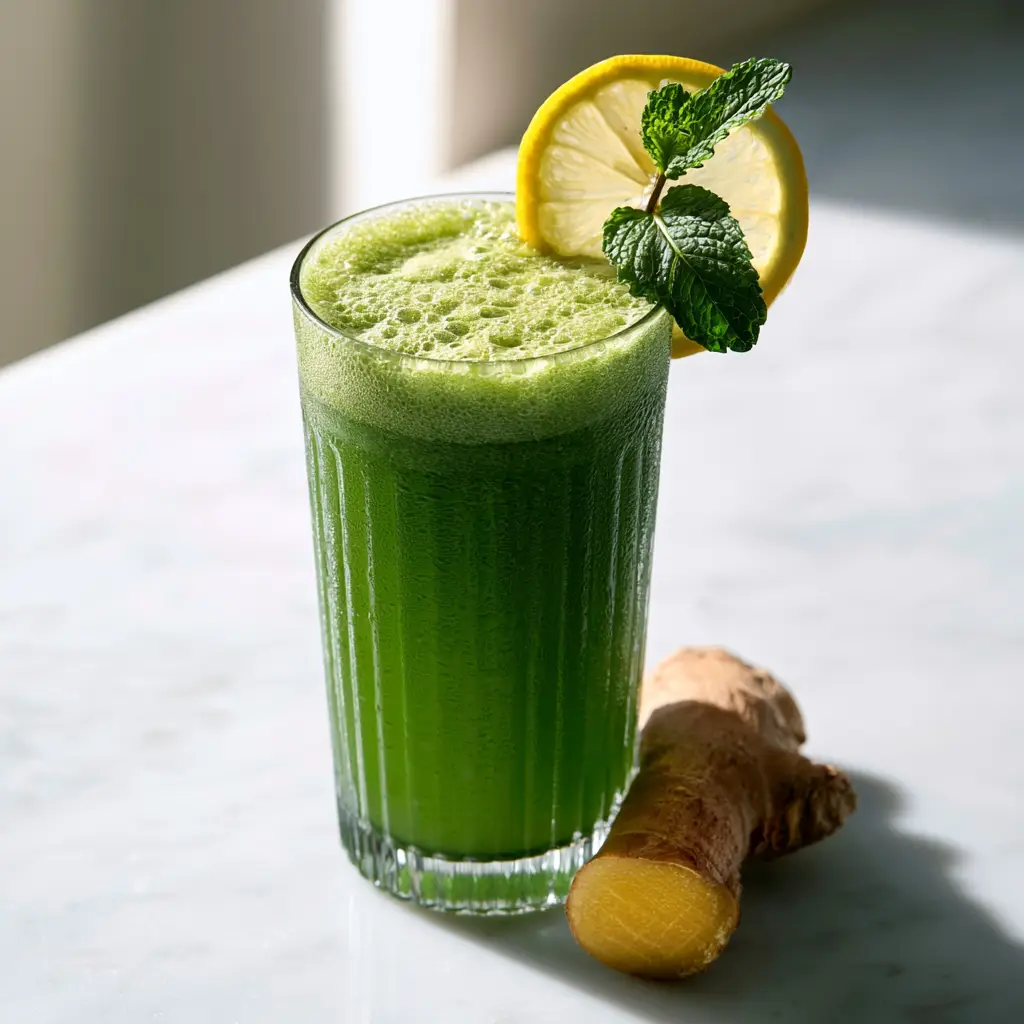
The final presentation of your Green juice is what transforms it from a simple drink into a work of art. To replicate the morning sun aesthetic, follow these specific steps.
Chill your tall ribbed glass in the freezer for 5 minutes. This is the secret to getting “fine, cold condensation droplets” the moment the room-temperature air hits the cold glass.
Slice a perfectly circular wheel of lemon, about 1/8 inch (3mm) thick. Make a small slit from the center to the edge and perch it securely on the rim of the glass.
Take a single sprig of crisp, dark green mint and tuck it just behind the lemon wheel. The contrast between the bright yellow and deep green is a classic culinary visual cue for freshness.
Place the glass on a white marble surface. Position a gnarled piece of ginger nearby, showing the fibrous interior. Ensure you are near a window to catch that warm, soft morning sunlight.
Keeping It Fresh: Storage and Longevity
While this Green juice is best enjoyed immediately to appreciate the micro-bubbles and froth, life often gets in the way. If you must store it, use an airtight glass jar.
Fill the jar to the very top to minimize the amount of oxygen trapped inside. This prevents the emerald color from turning to a dull khaki green. You can store the juice for up to 24 hours in the refrigerator.
If the juice separates, which is a natural occurrence in cold-pressed drinks, give it a very gentle swirl. Avoid shaking it, as this will destroy the translucent clarity we worked so hard to achieve.
What to Sip Alongside This Glow Juice
This light, refreshing tonic is the perfect way to begin a morning of culinary exploration. If you are looking for more healthy foods to round out your diet, consider pairing this with a protein-rich breakfast.
For a weekend brunch, this juice acts as a vibrant palate cleanser after a rich cheeseburger pie or a savory vegetable lasagna. The acidity of the lemon cuts through the richness of the cheese perfectly.
If you prefer a lighter pairing, try serving this juice alongside a viral cucumber salad for a double dose of hydration. If you have a sweet tooth, the juice is a fantastic way to balance the indulgence of brown sugar chocolate chip cookies.
For those who love a variety of textures, this juice provides a “wet” contrast to salty snack recipes or a crisp crunchy snack recipe.
Common Juicing Queries
Yes, you can use a high-powered blender. Blend the ingredients with a small amount of water, then pour the mixture through a nut milk bag to remove all solids and achieve that clear emerald liquid.
To achieve translucency, use a slow masticating juicer or strain your juice through a fine-mesh nut milk bag. High-speed blenders often incorporate too much pulp and air, resulting in an opaque texture.
Chill your ribbed glass in the freezer for at least 5-10 minutes before pouring in the chilled juice. The temperature difference between the glass and the room air will instantly create those fine droplets.
The micro-bubbles are a sign of fresh, cold-pressed extraction. They provide a lighter, creamier mouthfeel and indicate that the delicate enzymes in the greens haven’t been destroyed by high heat.
Oxidation causes juice to turn brown. To prevent this, include high-acid ingredients like lemon or green apples, and use a cold-press juicer which generates less heat than centrifugal models.
The Complete Emerald Cold-Pressed Recipe
Green Juice: The Ultimate Cold-Pressed Recipe for Vibrant Morning Energy
Ingredients
Equipment
Method
- Wash all ingredients in ice-cold water to ensure maximum freshness and temperature.
- Chop cucumbers, apples, and celery into sizes appropriate for your juicer's chute.
- Feed the kale and mint into the juicer first to capture the deep emerald pigment.
- Follow with the cucumbers and celery to wash the greens through the machine.
- Add green apples and ginger, then finish by stirring in the lemon juice and a pinch of salt.
- Pour into a chilled ribbed glass. Garnish with a lemon wheel and a mint sprig. Place a cut ginger root beside the glass for the final visual touch.
Notes
Use green apples specifically to maintain the translucent emerald color.
A Final Sip of Morning Radiance
Mastering the art of Green juice is about more than just health; it’s about the ritual of the morning. The way the condensation feels against your hand and the bright citrus aroma of the lemon garnish creates a moment of mindfulness in a busy day.
We hope this recipe helps you achieve that perfect, translucent emerald glow in your own kitchen. Whether you are serving this on a minimalist marble countertop or enjoying it on your porch, it is a recipe designed to impress both the eyes and the body.
If you enjoyed this visual and culinary guide, please leave a comment below! Don’t forget to share your photos and follow us on Pinterest for more vibrant kitchen inspiration.